Indulging in a batch of warm, mouthwatering cookies straight from the oven is a universal joy. But what if you're on a vegan journey or simply looking to explore the world of plant-based baking? Fear not! In this post you'll learn just how to make vegan cookies. We will guide you step by step on how to create the most delectable vegan cookies that even non-vegans will swoon over. From choosing the best ingredients to mastering the art of texture and flavor, you'll be making the greatest cookies around in no time!

Contents
- Important Ingredients when Baking Vegan Cookies
- Best Vegan Butter Brands
- Ingredients to Avoid in Vegan Baking
- How to "Veganize" Cookie Recipes
- Creaming Together Vegan Butter and Sugar Effectively
- How to Properly Mix Vegan Cookie Dough
- Why to Chill Vegan Cookie Dough
- How to Shape Vegan Cookie Dough Before Baking
- Tools Needed for Making Vegan Cookies
- How to get Perfect Looking Cookies Every Time
- How to Freeze Vegan Cookie Dough
- How to Store Vegan Cookies
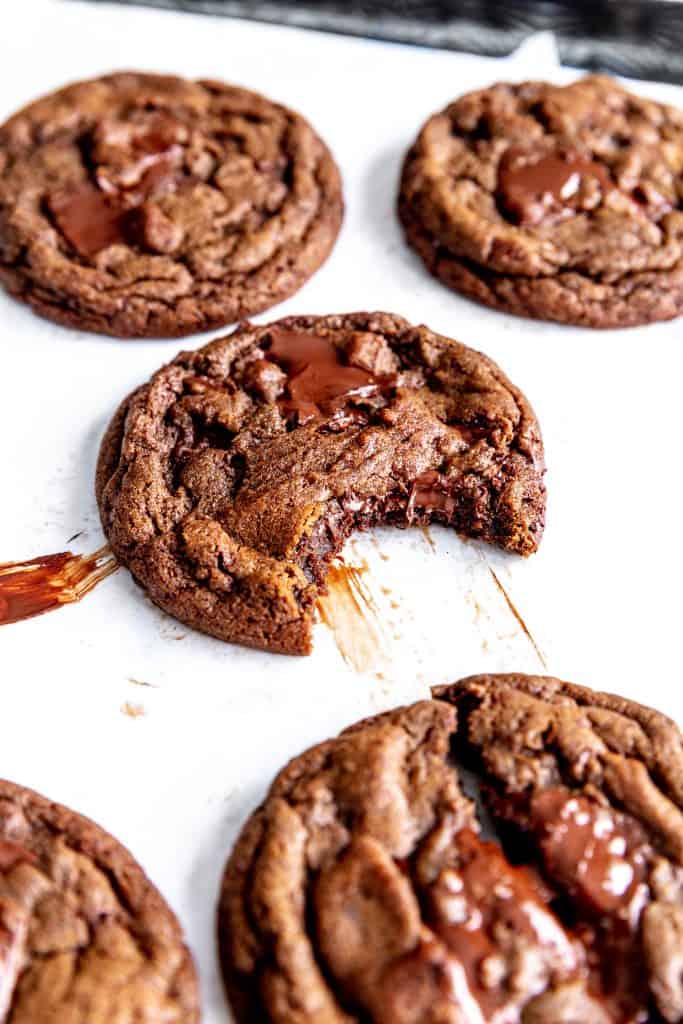
There's a lot to consider when making vegan cookies. Everything from ingredient selection to technique is important. While some cookie making tips and tricks are great for non-vegan and vegan cookies alike, not everything is universal.
Below we have compiled everything we have learned in our years of vegan baking. Here's hoping it will streamline things for you considerable.
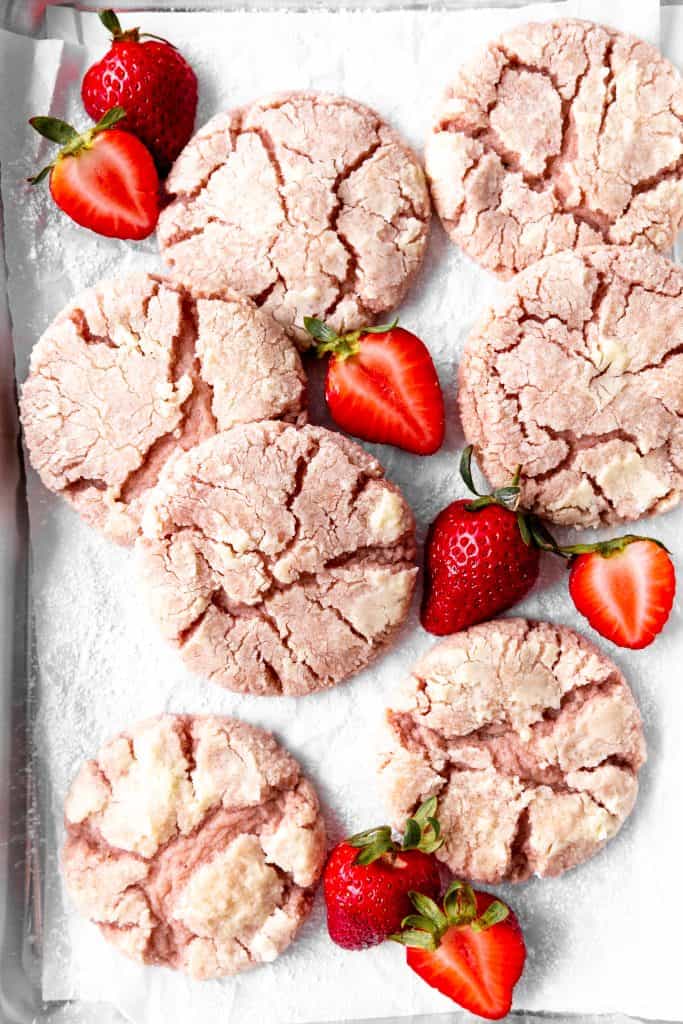
Important Ingredients When Baking Vegan Cookies
In vegan cookies, the key is to replace traditional animal-based ingredients with plant-based alternatives. Here are some essential ingredients commonly used in vegan cookie recipes:
- Flour: All-purpose flour or whole wheat flour are often used as the base in vegan cookies.
- Plant-based milk: Replace cow's milk with almond milk, soy milk, oat milk, coconut milk, or any other non-dairy milk.
- Vegan butter or oils: Use vegan butter or non-dairy margarine, or substitute with oils like coconut oil, vegetable oil, or olive oil.
- Egg replacements: There are several vegan options to replace eggs in cookies, including applesauce, mashed bananas, flaxseed or chia seed "eggs," or commercial egg replacers. Sometimes a delicate combination of leaveners can also be used to replace eggs.
- Sweeteners: When it comes to baking, I am of the mind that no sweetener is better or more effective than regular sugars, ie white sugar, light brown sugar and dark brown sugar. There is a time and a place for more "natural" alternatives but results are always best with more traditional ingredients.
- Baking Powder and Baking Soda: These leavening agents help the cookies rise during baking.
- Salt: A pinch of salt enhances the overall flavor of the cookies.
- Vanilla extract: Provides a lovely aroma and flavor to the cookies.
- Vegan chocolate chips or chunks: Make sure to use chocolate products that are labeled as vegan or dairy-free.
- Add-ins: Get creative with nuts (e.g., almonds, walnuts), seeds (e.g., chia seeds, sunflower seeds), dried fruits (e.g., raisins, cranberries), and other mix-ins to add texture and flavor.
You can combine these basic ingredients in various ways to create a wide variety of vegan cookie recipes. Don't forget to check labels and ensure that all the ingredients you use are free from animal-derived products, as well as any potential cross-contamination with animal products.

What to Look Out for When Purchasing Vegan Cookie Ingredients
Best Brands of Vegan Butter
When it comes to baking vegan cookies, the type of butter you purchase matters. While all vegan butters are pretty similar in taste, they are not created equal when baking. The following are my favorite brands for achieving the perfect cookies in no particular order:
- Miyoko's Creamery: Miyoko's produces a range of vegan butter spreads made from plant-based ingredients like cashews and coconut oil. Their products are known for their rich and creamy texture.
- Earth Balance: Earth Balance offers a variety of vegan buttery spreads and sticks made from oils like coconut, soybean, and olive. They are widely available in many grocery stores.
- Country Crock Plant Butter: Country Crock has a line of plant-based buttery spreads made with plant oils like avocado, olive, and almond. They offer both salted and unsalted options.
- Violife: Violife vegan butter uses simple plant-based ingredients to produce a dairy-free and vegan spread that tastes great and bakes beautifully.
- Forager Project: Forager Project's vegan butter is made from organic coconut oil and cashews, providing a creamy and smooth texture.
While quality varies slightly between these brands, you can be assured of achieving a great result. Straying from these brands, using a low-quality margarine or trying a store brand will induce excess spreading and an overall subpar result.
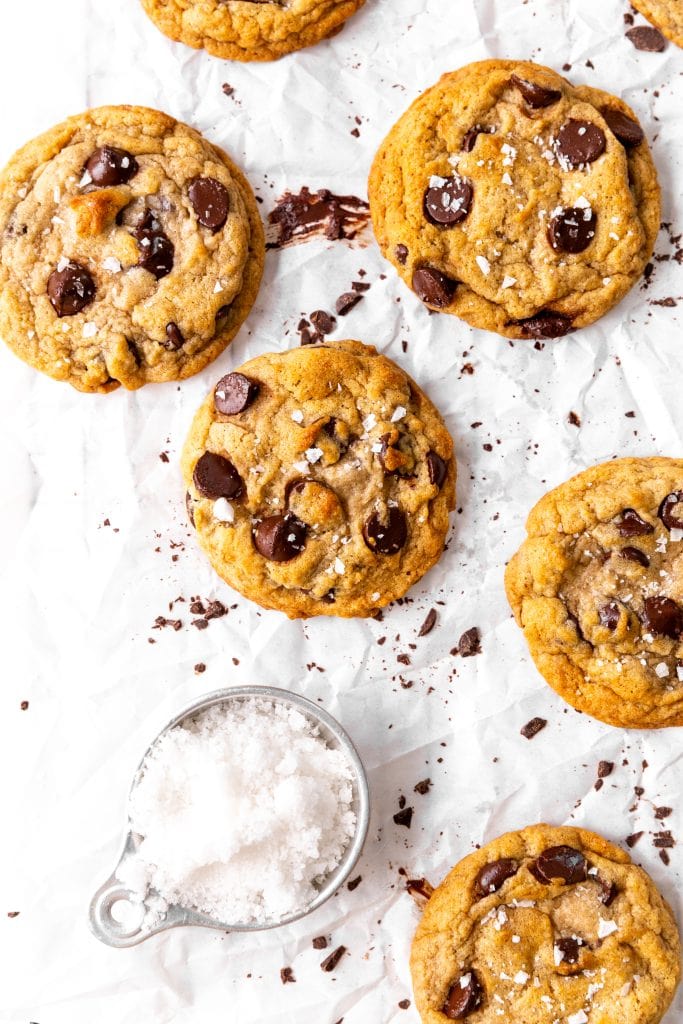
Why to Use Unsweetened and Unflavored Nondairy Milks
While there is a lot of leeway when it comes to which nondairy milk you should use in baking, the one rule that should always be adhered to is finding a milk that is unsweetened and unflavored.
- Control over sweetness: When you use unsweetened nondairy milk, you have complete control over the sweetness of your baked goods. You can add sweeteners like sugar, maple syrup, or agave separately, allowing you to adjust the sweetness to your taste preferences or the specific recipe requirements.
- Balanced flavors: In baking, the balance of flavors is crucial. By using unsweetened nondairy milk, you ensure that the sweetness level comes from the sugars or sweeteners you add, and it won't be overpowering or interfere with other flavors in the recipe.
- Recipe accuracy: Many vegan baking recipes are designed with the assumption that unsweetened nondairy milk will be used. Using sweetened versions could throw off the balance of wet to dry ingredients, potentially affecting the texture and outcome of the baked goods.
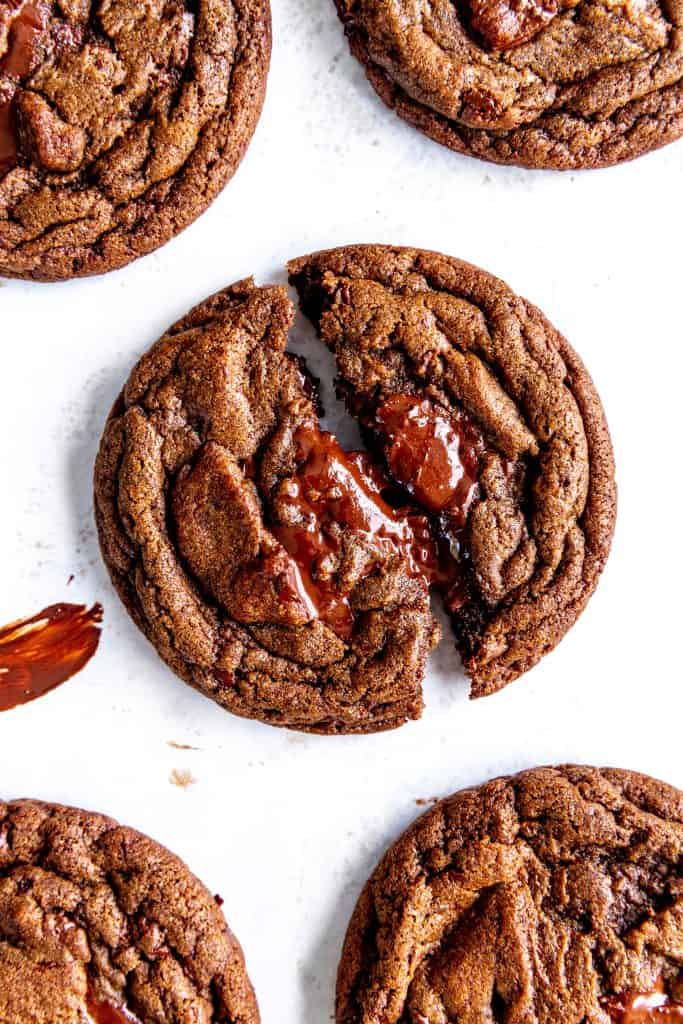
Ingredients to Avoid in Vegan Baking
When purchasing items for your vegan cookies, you must avoid certain ingredients. While avoiding straight up milk and eggs might be easy, the following ingredients may have unfamiliar names and it might not immediately be clear that they are animal-derived.
- Milk solids or milk powder: These are derived from cow's milk and are used to add creaminess and flavor to chocolate and chocolate chips. Look for items labeled as "dairy-free" or "vegan" to avoid this ingredient.
- Whey or whey protein: Whey is a byproduct of cheese production and is not suitable for a vegan diet.
- Casein: Manufacturers often use casein, a milk protein, as a stabilizer in certain chocolate products, including chips.
- Lecithin: While lecithin can be plant-based, it is sometimes derived from animal sources. Look for items with soy lecithin, sunflower lecithin, or other plant-based alternatives.
- Confectioner's glaze (shellac): Confectioner's glaze is sometimes used as a coating on chocolate chips and sprinkles. It is derived from insects and is not vegan-friendly.
- Carmine or cochineal: These red food colorings are natural and made from crushed cochineal insects. They may be used in colored ingredients, so it's essential to check the label for these ingredients. Vegan food coloring, including red vegan food coloring, is available.

How to "Veganize" Cookie Recipes
If you're new to the vegan baking game it's likely you already have cookie recipes on hand that you know and love. Don't worry! You don't have to kiss them goodbye. Here are some tips on removing the animal products and veganizing your favorite cookie recipes:
- Replace Butter: Substitute a high quality vegan butter (listed above) for dairy butter in equal amounts. Look for brands that are specifically labeled as vegan, plant-based or dairy-free.
- Use Plant-based Milk: Instead of dairy milk, use any plant-based milk such as almond, soy, oat, or coconut milk. Use a 1:1 ratio.
- Egg Replacements: Egg replacement can be a bit more complicated as eggs serve several purposes in baking. Some cookie recipes use them for moisture, others for binding, some for texture. When baking vegan cookies, we like to substitute the moisture with a little extra vegan butter and milk and the leavening and binding with baking soda. Amounts will depend on the recipe in question.
- Egg White Replacement: Egg whites should always be replaced with aquafaba - the water reserved from a can of chickpeas. When beaten with sugar, a meringue will form.
Creaming Together Vegan Butter and Sugar
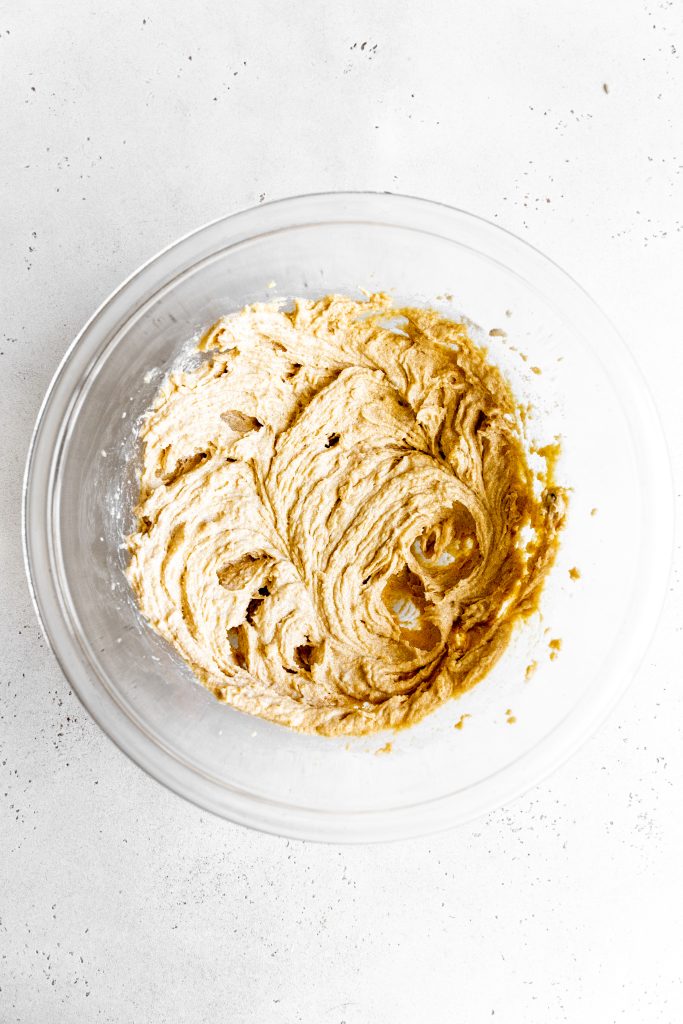
Creaming together butter and sugar is a fundamental first step in vegan cookie making that serves several important purposes:
- Incorporating air: Creaming butter and sugar together creates air pockets in the mixture. The sugar crystals help to aerate the fat (butter), and as you beat the mixture, the butter traps air. This trapped air expands during baking, contributing to a lighter and more tender cookie texture.
- Texture: Creaming creates a smooth and homogeneous mixture that affects the final texture of the cookies. It disperses the fat (butter) evenly throughout the dough, leading to a more uniform and desirable texture.
- Leavening: The creaming process helps to evenly distribute the sugar in the dough, which can aid in the leavening process. When baking the cookies, the sugar helps capture and hold air, contributing to a softer and fluffier texture.
- Structure and stability: The sugar crystals help break down the butter's structure, leading to a more cohesive and stable dough. This contributes to the overall structure and shape of the cookies as they bake.
- Flavor development: Creaming butter and sugar together creates a base that's not only sweet but also rich and flavorful. The process helps develop a creamy, caramelized flavor that adds depth to your cookies.
- Even distribution of ingredients: Creaming ensures that the sugar and butter are well combined, which in turn leads to a better distribution of other ingredients like flour, egg substitutes, leaveners and flavorings.
To cream butter and sugar together, you typically beat them using an electric hand mixer or stand mixer until the mixture is light and fluffy. This usually takes a few minutes of mixing on medium speed. The resulting creamed mixture forms the foundation for many cookie recipes, providing the desired texture and structure that result in delicious, well-balanced cookies.
How to Properly Mix Vegan Cookie Dough
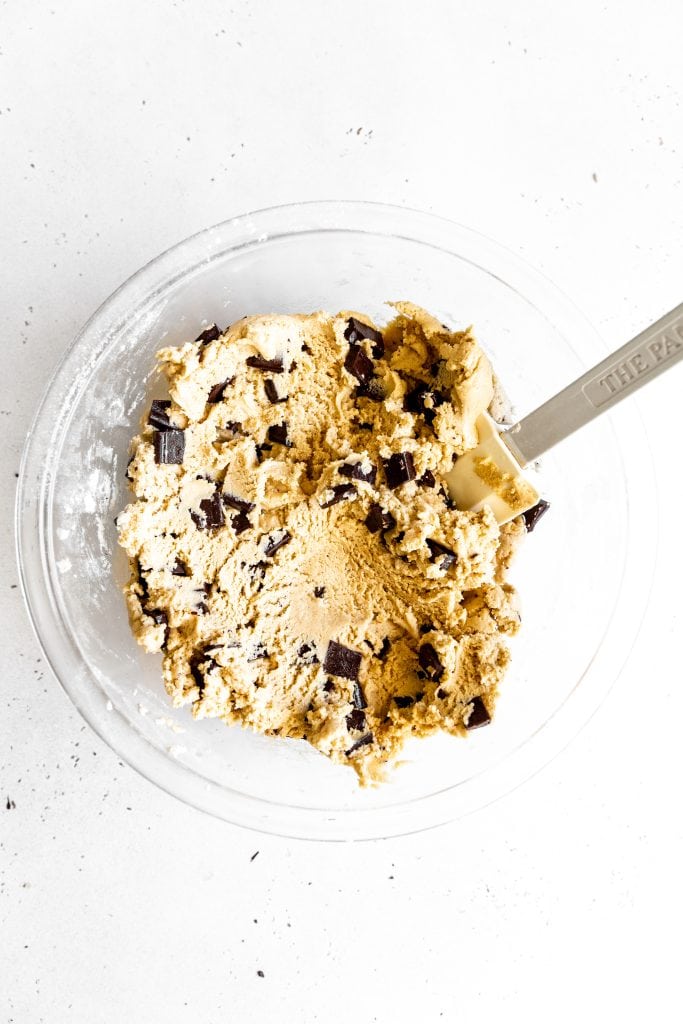
The most important thing to remember when mixing cookie dough is that best results are achieved when the dough is mixed as little as possible. This is, of course, independent of creaming together butter and sugar, which you should do for at least a minute. We generally discourage over-mixing cookie dough for several reasons:
- Tough Texture: Over-mixing can develop the gluten in the flour, resulting in a tougher and chewier texture. While this is desirable in some bread and pastry recipes, it's not ideal for cookies, which are meant to be tender and crumbly.
- Spread and Flatness: Over-mixed dough tends to spread more during baking, leading to flatter and thinner cookies. Properly mixed dough maintains a better shape and thickness.
- Uneven Baking: Over-mixing cookie dough can result in an uneven distribution of ingredients, affecting the taste and texture of the cookies.
- Air Incorporation: When you over-mix dough, you may incorporate more air than necessary. While some recipes may call for a bit of air to create a lighter texture, excessive air can lead to cookies that are too delicate or even cakey.
- Loss of Leavening: If your recipe includes baking powder or baking soda as leavening agents, over-mixing can cause them to activate prematurely, leading to cookies that don't rise properly during baking.
To avoid over-mixing, it's best to mix the ingredients until you have just combined them. You want to see no visible streaks of flour or other ingredients, but it's okay if the dough still looks slightly uneven. Once you have incorporated the ingredients, stop mixing and follow the recipe instructions to shape and bake the cookies.

Why to Chill Vegan Cookie Dough
Chilling cookie dough before baking is a crucial step in many cookie recipes for several reasons:
- Flavor development: Chilling cookie dough allows the flavors to meld and develop, resulting in richer and more complex flavors in the baked cookies. This is especially true for recipes that include ingredients like spices, chocolate, or extracts.
- Texture improvement: Cooling the dough helps to solidify the fats (e.g., butter or vegan butter) present in the dough. Solid fats take longer to melt during baking, which helps the cookies maintain their shape and prevents excessive spreading. As a result, you get cookies with a better texture, with a nice balance of crispness and chewiness.
- Reduced spreading: Some cookie doughs have a higher fat content, making them more prone to spreading during baking. Chilling the dough helps mitigate this issue by giving the fats time to firm up, which means the cookies hold their shape better.
- Easier handling: Chilled dough is easier to work with, especially if you need to shape or roll the dough into balls or cut out shapes. It is less sticky and easier to manage, making the baking process more convenient.
- Prevents over-browning: When you bake cookies with chilled dough, they spend more time in the oven without spreading too much. This can prevent the edges from becoming overly browned while the centers cook through.
However, it's essential to follow the recipe's instructions regarding the chilling time. Some cookie doughs may require a shorter chill time, while others may benefit from an extended period in the refrigerator.
How to Shape Vegan Cookie Dough Before Baking
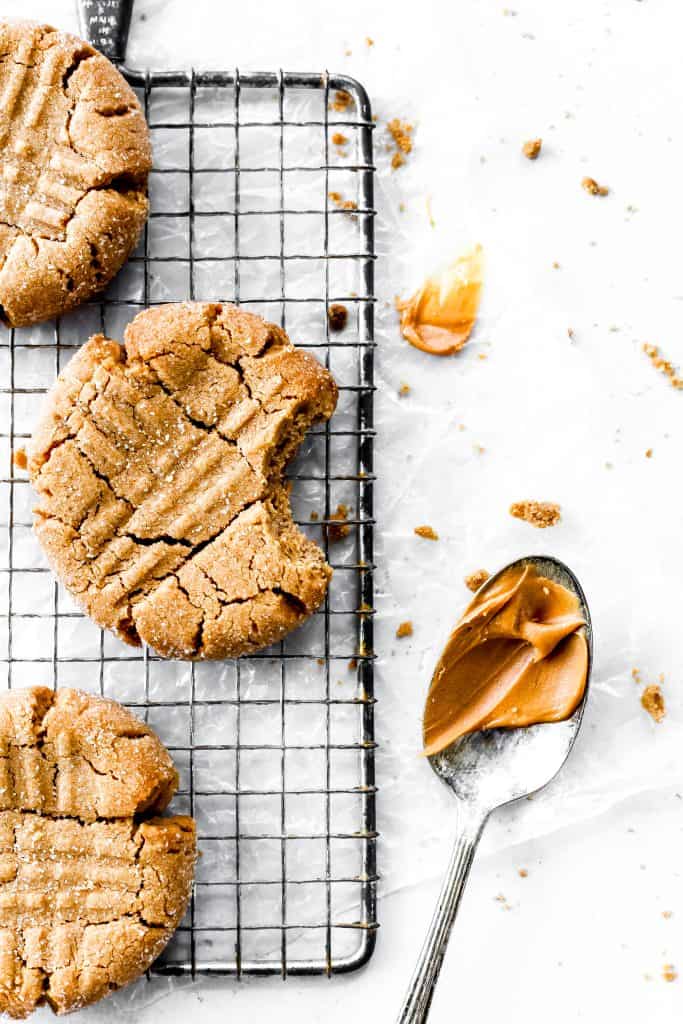
Rolling cookie dough balls tightly serves a few important purposes that can significantly impact the final appearance and texture of your cookies:
- Uniform Size: Rolling the dough into tightly packed balls helps ensure that each cookie is of a consistent size. This uniformity is essential for even baking, as cookies of different sizes may bake at different rates, leading to some being undercooked while others are overcooked.
- Even Shape: Tightly rolled dough balls create cookies with a more consistent and even shape. This is especially important if you prefer your cookies to have a more uniform appearance when served or presented.
- Controlled Spreading: Well-formed, tightly packed dough balls tend to spread more predictably during baking. Loosely forming the dough might cause the cookies to spread too much and become thin and flat, potentially affecting their texture and appearance.
- Better Texture: A tightly rolled dough ball will retain some air pockets, which can contribute to a better texture in the baked cookie. It allows for some spreading while baking, leading to a chewy and soft center with slightly crispy edges.
- Reduced Cracking: Tightly rolling cookies reduces the likelihood of excessive cracking during baking. This can be especially important for cookies that have mix-ins like chocolate chips or nuts.
To roll the cookie dough balls tightly, take a portion of the dough (as specified in the recipe) and roll it between your palms, applying gentle pressure to create a smooth and compact ball. Avoid over-handling the dough, as this can warm it up and lead to excessive spreading during baking.

Tools Needed to Make the Perfect Vegan Cookies
To make perfect, homemade vegan cookies, having the right tools can significantly improve your baking experience and results. Here are some essential tools you'll need:
- Mixing Bowls: Have a set of mixing bowls in different sizes to mix and combine your ingredients.
- Measuring Cups and Spoons: Precise measurements are crucial in baking, so invest in a good set of measuring cups and spoons.
- Electric Hand Mixer or Stand Mixer: While you can mix cookie dough by hand, an electric mixer or stand mixer makes the process faster and more convenient, especially for recipes with firm or stiff dough.
- Rubber Spatula: A rubber spatula is excellent for scraping down the sides of the bowl and ensuring all ingredients are fully incorporated.
- Baking Sheet or Cookie Sheet: A good-quality baking sheet with a non-stick surface or lined with parchment paper ensures even baking and easy removal of cookies.
- Cooling Rack: A cooling rack allows cookies to cool evenly and prevents them from becoming soggy on the bottom.
- Cookie Scoop: A cookie scoop helps you portion the dough evenly, resulting in cookies of the same size, which ensures even baking.
- Rolling Pin: If you plan to make rolled cookies or cookie cutouts, a rolling pin is essential.
- Parchment Paper or Silicone Baking Mats: Using parchment paper or silicone baking mats prevents cookies from sticking to the baking sheet and makes cleanup easier.
- Oven Thermometer: An oven thermometer ensures that your oven's temperature is accurate, as ovens can often have temperature fluctuations.
- Spatula or Cookie Turner: A spatula or cookie turner is useful for gently lifting and transferring cookies from the baking sheet to the cooling rack.
- Wire Whisk: A wire whisk comes in handy for whisking dry ingredients together or mixing wet ingredients.
- Zester or Grater: If you plan to use citrus zest in your cookies, a zester or grater will be useful.

How to Make Perfect Looking Cookies
Getting perfect-looking cookies involves a combination of techniques and attention to detail throughout the baking process. As we have already discussed, creaming the butter and sugar, dough chilling and uniform portioning are all very important. There are however some additional ways you can achieve cookies that look as good as they taste:
- Accurate Measurements: Use accurate measuring cups and spoons to measure your ingredients precisely. Inconsistent measurements can lead to cookies that spread too much or not enough.
- Even Baking: Arrange cookies on the baking sheet with enough space between them for even air circulation. This prevents cookies from merging into each other while baking.
- Quality Baking Sheets: Use good-quality baking sheets or cookie sheets that provide even heat distribution and prevent sticking.
- Parchment Paper or Silicone Baking Mats: Line your baking sheets with parchment paper or silicone baking mats to prevent cookies from sticking and to make cleanup easier.
- Preheated Oven: Ensure that you properly preheat your oven to the temperature specified in the recipe. This helps ensure even baking.
- Timing: Follow the recommended baking time in the recipe. Keep a close eye on the cookies toward the end of the baking time to prevent over-baking.
- Manual Shaping: Right when cookies come out of the oven, take a 4-inch circular cookie cutter or a mug with a similar-sized opening and gently swirl it around each cookie. This will make your cookies perfectly circular before they totally set.
- Cooling: Allow cookies to cool on the baking sheet for a few minutes before transferring them to a wire rack to cool completely. This prevents them from breaking apart while they're still warm.

How to Freeze Vegan Cookie Dough
Freezing cookie dough is a convenient way to have freshly baked cookies at any time. Here's a step-by-step guide on how to freeze cookie dough properly:
- Prepare the dough: Follow your cookie recipe and prepare the cookie dough as usual, mixing all the ingredients together.
- Portion the dough: Divide the cookie dough into individual portions, depending on how many cookies you want to bake at a time. You can shape the dough into balls, drop them onto a baking sheet, or roll the dough into a log shape.
- Wrap the dough: To prevent freezer burn and keep the dough fresh, wrap each portion tightly with plastic wrap or place them in an airtight container. Ensure that you do not trap any air inside the wrapping.
- Label the dough: Use a marker or tape to label each portion with the type of cookie and the date you prepared it. This will help you identify the dough later.
- Freeze the dough: Place the wrapped or containerized dough portions in the freezer. Arrange them in a way that they won't stick together during freezing.
- Store the dough: You can store frozen cookie dough in the freezer for up to a month. If you plan to keep it for an extended period, consider double-wrapping it to prevent freezer burn.
- Bake the cookies: When you're ready to bake the cookies, preheat your oven as per the original recipe instructions. There is no need to thaw the cookie dough; you can bake it directly from the freezer. Simply add a minute or two to the baking time to account for the frozen dough.
By freezing cookie dough, you'll have the convenience of freshly baked cookies whenever you desire. Plus, it's an excellent time-saving option for special occasions or unexpected guests.
How to Store Vegan Cookies
Storing vegan cookies properly is essential to maintain their freshness and flavor. Here's how to store them effectively:
- Cool Completely: Allow the baked vegan cookies to cool completely on a wire rack before storing them. This prevents condensation and moisture buildup inside the storage container.
- Choose the Right Container: Use airtight containers or resealable plastic bags to store your cookies. Make sure the container is clean and dry before placing the cookies inside.
- Separate Flavors: If you're storing different types of cookies in the same container, consider placing flavors that could potentially transfer flavors (like mint or strongly spiced cookies) in separate containers.
- Room Temperature: If you plan to consume the cookies within a few days, you can store them at room temperature. Keep them in a cool, dry place away from direct sunlight and heat sources.
- Refrigeration: If you need to store cookies for a more extended period, you can refrigerate them. Place the airtight container in the refrigerator. Before serving, allow the cookies to come to room temperature for the best texture and flavor.
- Freezing: To store cookies for an even longer period, freeze them. Place the cookies on a baking sheet in a single layer and freeze until firm. Then transfer them to a freezer-safe container or resealable plastic bag. You can enjoy frozen cookies straight from the freezer or allow them to thaw at room temperature.
Remember that different types of vegan cookies might have different storage needs due to variations in moisture content/ingredients. Always consider the specific recipe and ingredients when deciding on the best storage method.
If you use this guide or make any of our recipes please tag @censoredbaker on Instagram!


Leave a Reply