
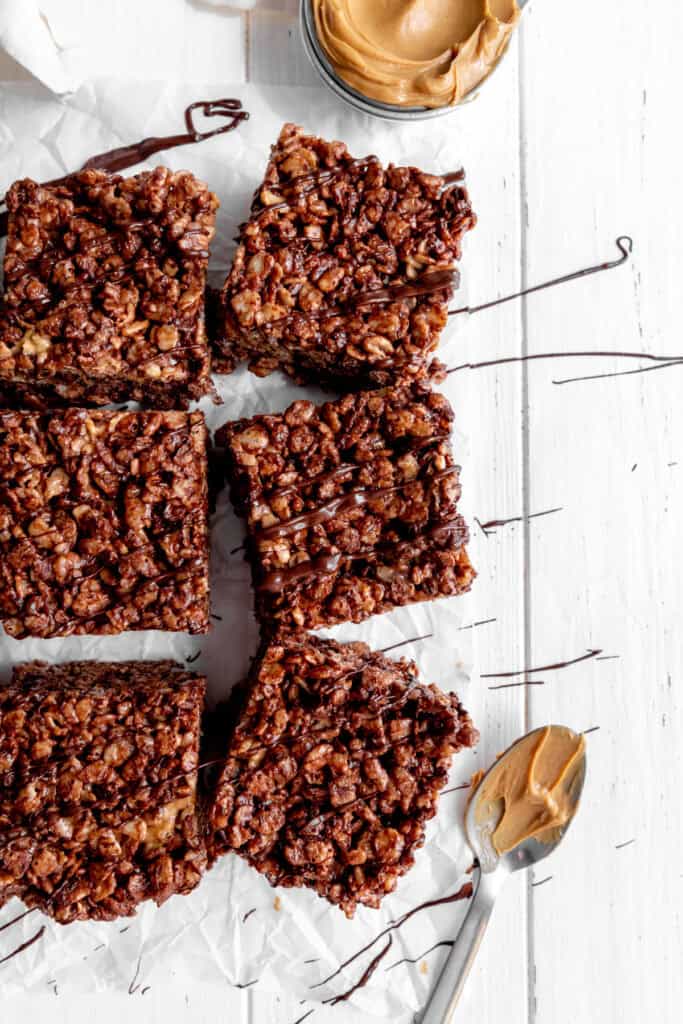
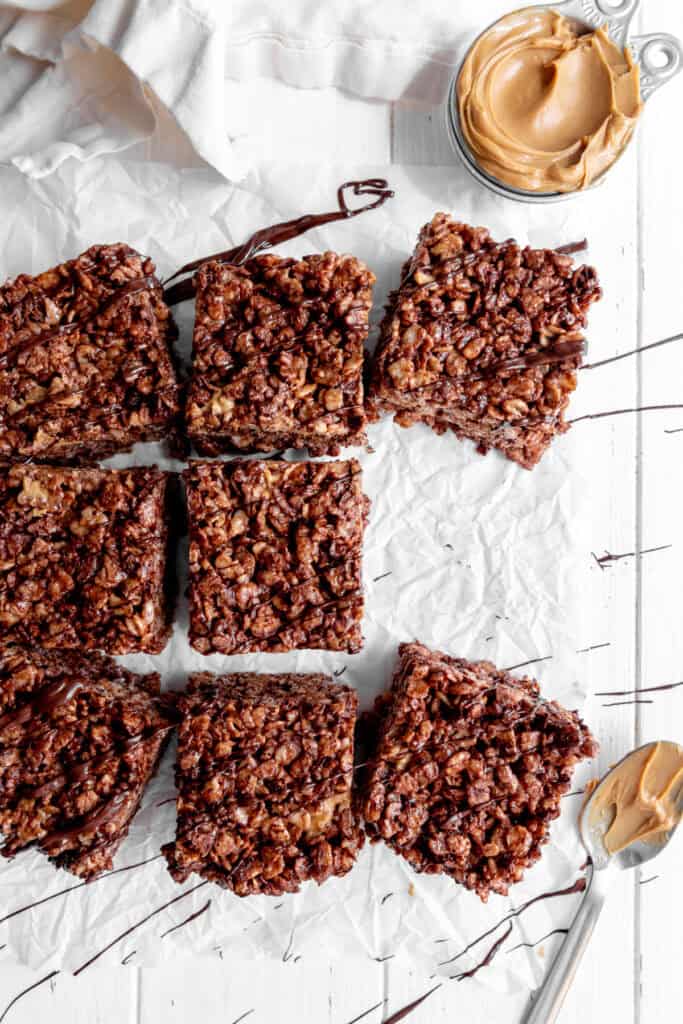
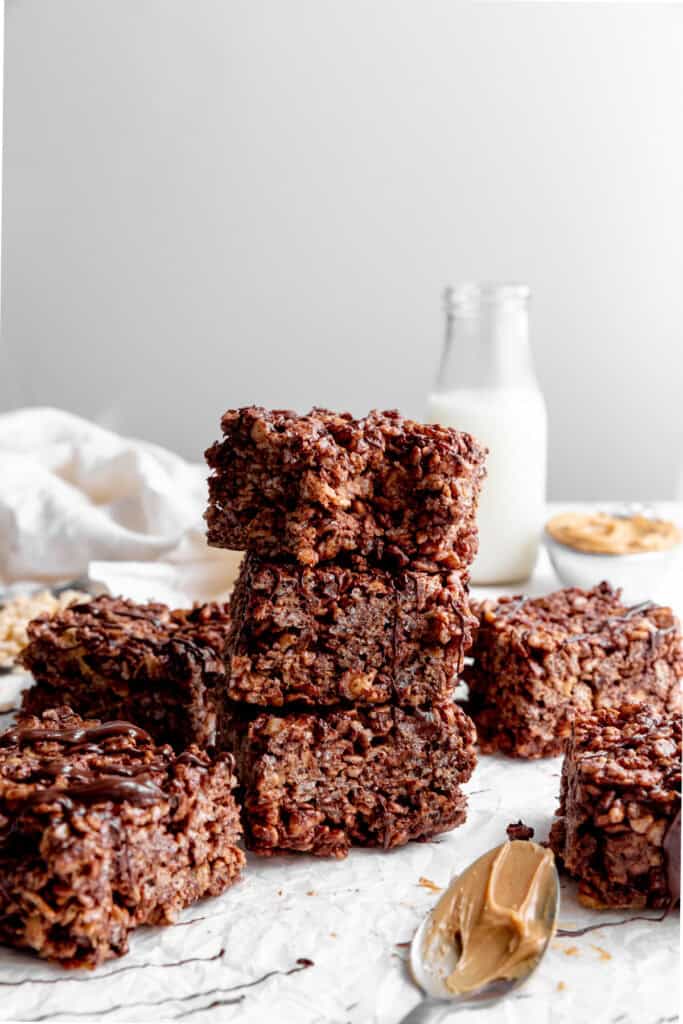
Chocolate, peanut butter and Rice Krispies are basically an unbeatable combination. These vegan chocolate peanut butter Rice Krispie treats are chewy, crispy, rich and packed with nostalgic flavor. They're the perfect no-bake dessert when you want something sweet without turning on the oven.
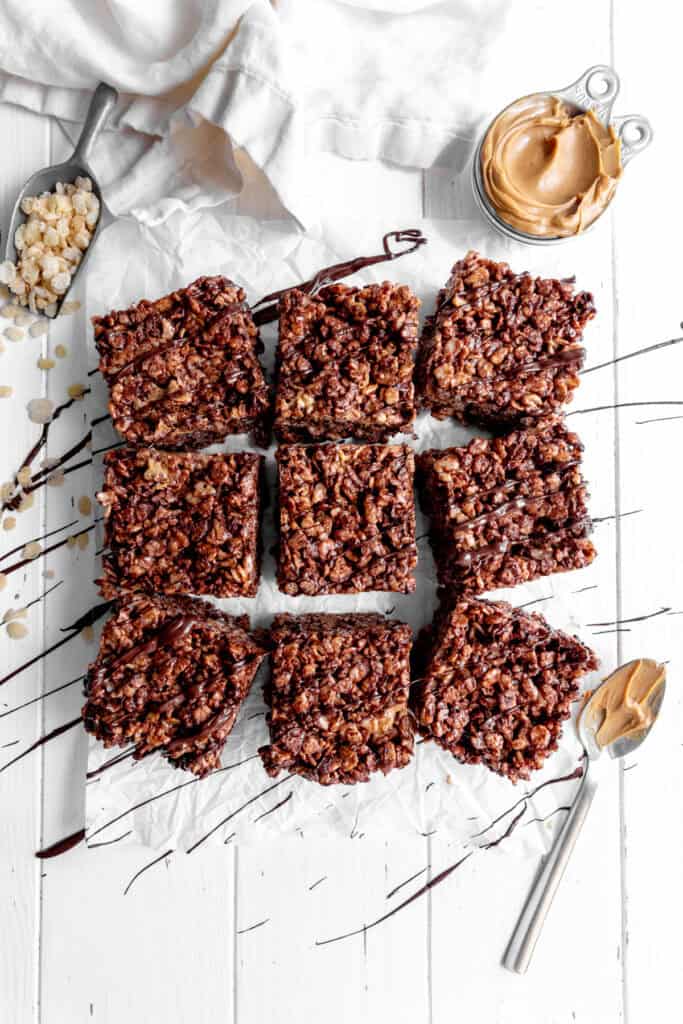
I made these for my kids and their friends and everyone loved them! -Beth
Welcome to the back-to-school world where chocolate and peanut butter unite in a symphony of flavors kids (and everyone else) are sure to enjoy!
These gooey, fudgy treats come together in only 15 minutes and require only six ingredients!
Chocolate-peanut butter not your favorite? No worries! Try out my regular vegan rice krispie treats or vegan oreo rice krispie treats instead!
You can also try these vegan pumpkin spice rice krispie treats from The Veg Life for a seasonal snack!
Jump to:
- ingredients
- why you'll love these treats
- how to make vegan chocolate peanut butter rice krispie treats (with pictures!)
- tips and tricks
- What Makes Rice Krispie Treats Not Vegan?
- frequently asked questions
- optional mix-ins and recipe variations
- storage
- Vegan Chocolate Peanut Butter Rice Krispie Treats
- more chocolate peanut butter desserts:
- more vegan brownies and bars:
ingredients
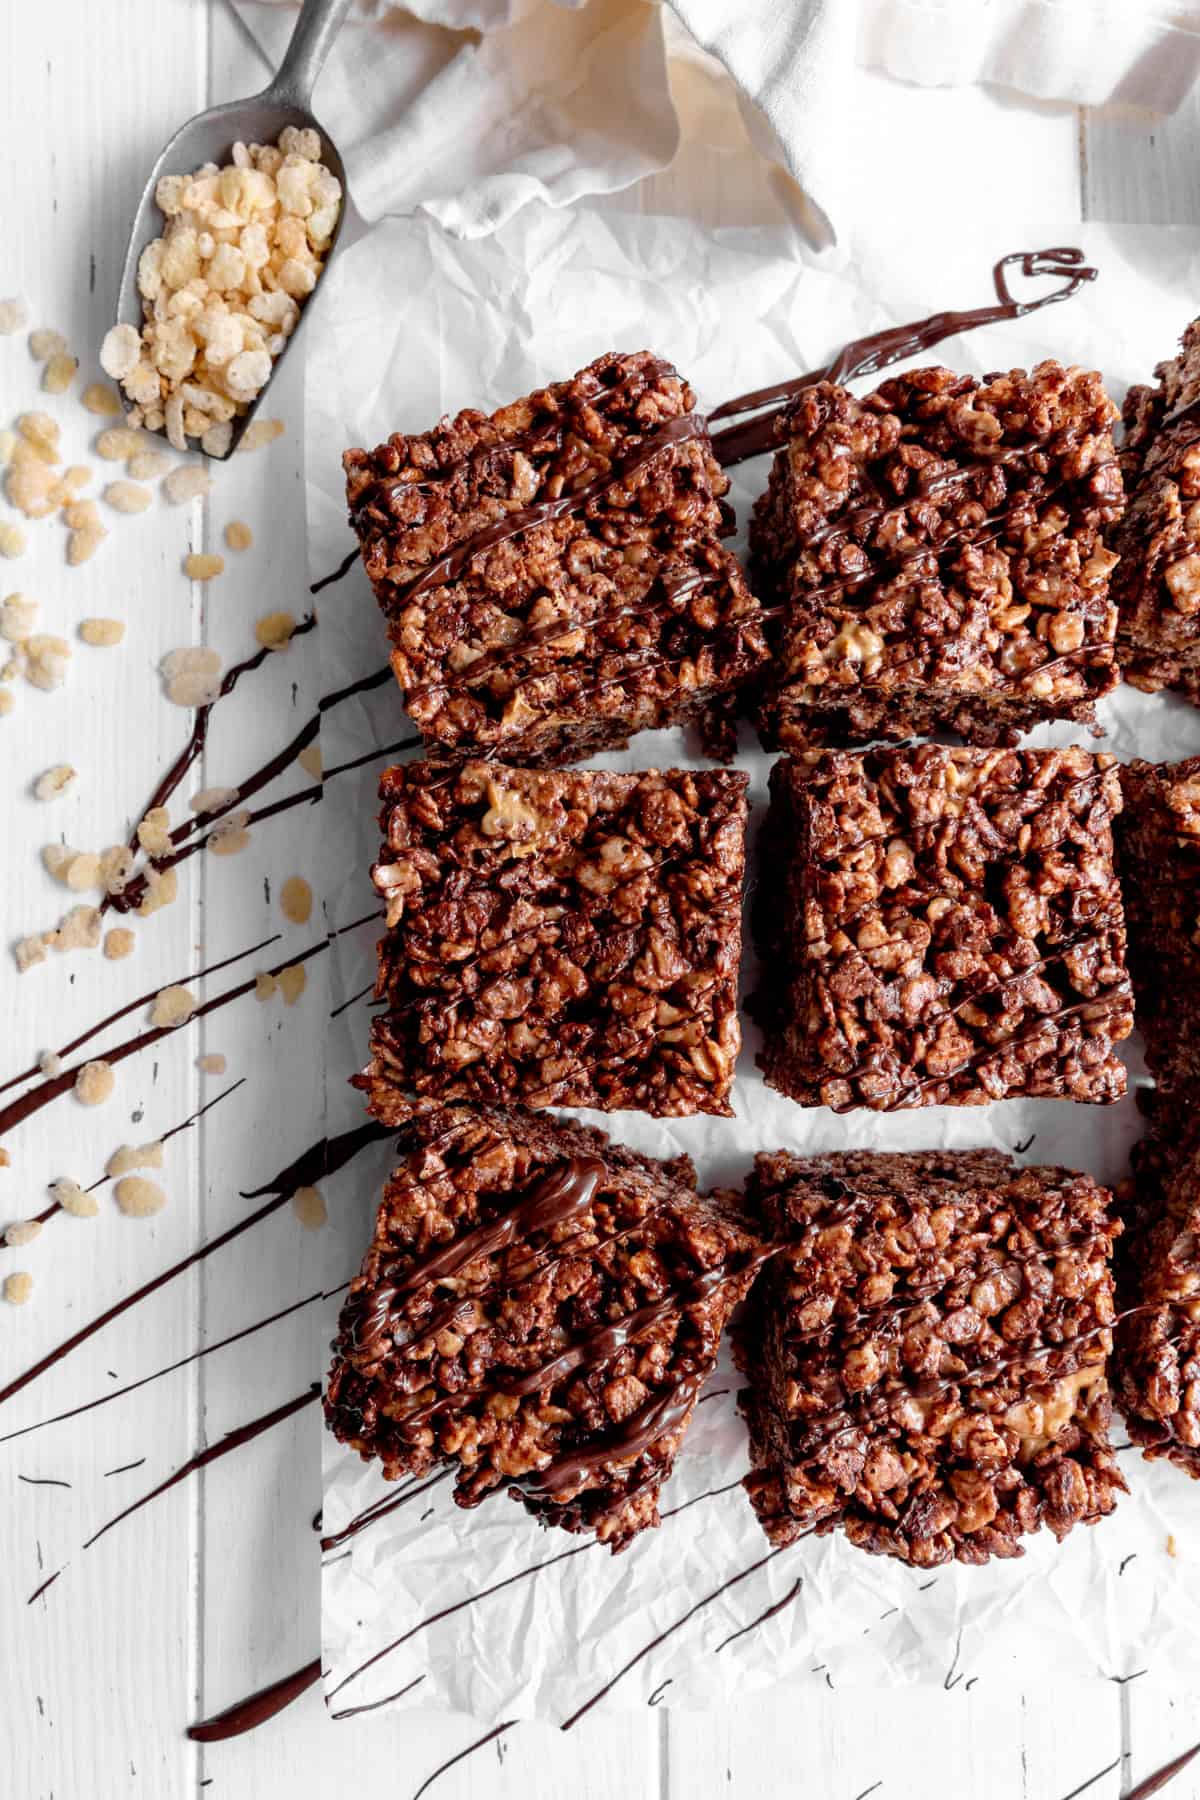
Here is everything you'll need to makes these treats. You might already have everything in your pantry!
- Vegan butter: Provides richness, moisture, and a buttery flavor while helping create the soft, chewy texture of the treats.
- Mini marshmallows: Melt into a sticky, sweet mixture that binds the cereal together and gives Rice Krispie treats their signature chewy texture.
- Salt: Balances the sweetness and enhances the chocolate and peanut butter flavors.
- Vanilla extract: Adds warmth and depth of flavor, making the treats taste more rounded and flavorful.
- Crispy rice cereal: Provides the light, crunchy texture and signature crispiness that makes Rice Krispie treats so irresistible.
- Nondairy chocolate chips: Add rich chocolate flavor and pockets of melty, chocolatey goodness throughout the treats.
- Creamy peanut butter: Adds rich, nutty flavor and pairs beautifully with the chocolate while also contributing to the soft, chewy texture.
have a specific food allergy?
Click the button below to ask ChatGPT to alter it for your diet!
why you'll love these treats
- Chocolate + peanut butter perfection. The combination of rich chocolate and creamy peanut butter makes these treats seriously hard to resist.
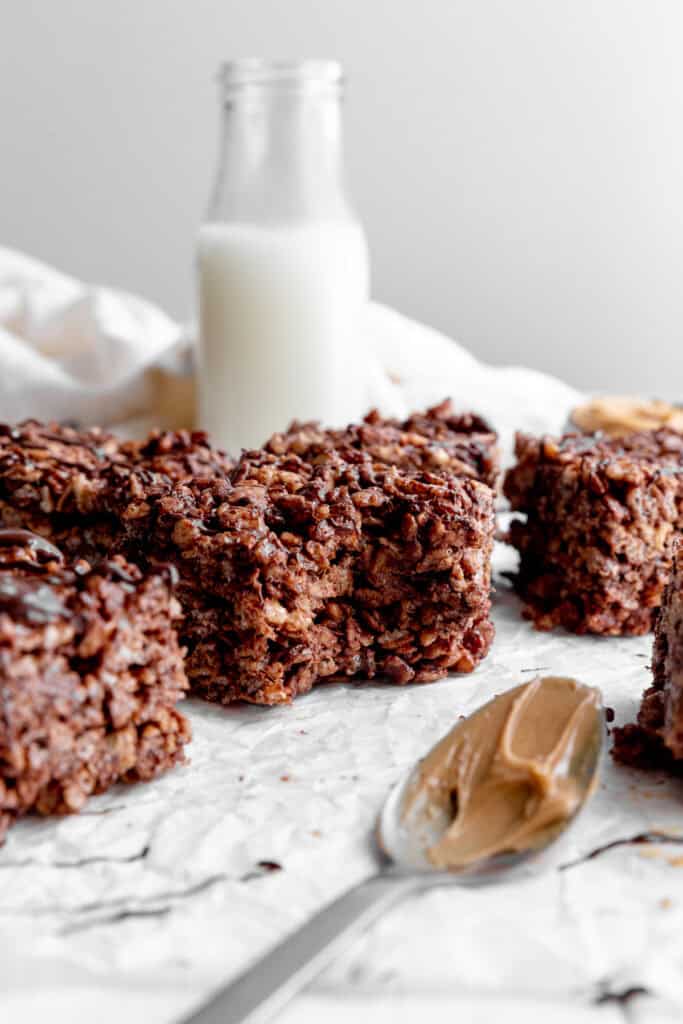
- Crispy and chewy. Every bite has that classic crispy rice cereal crunch with a soft, chewy marshmallow center.
- They're incredibly easy to make. No oven, no complicated techniques, and just a handful of simple ingredients make these a perfect fuss-free dessert.
- A nostalgic favorite with a twist. They have all the familiar goodness of classic Rice Krispie treats, but with an extra layer of chocolate and peanut butter.
- Perfect for any occasion. They're great for parties, bake sales, lunchbox treats, or whenever you need a quick dessert.
- They're completely vegan. You can enjoy these chocolate peanut butter Rice Krispie treats without dairy or eggs. Nobody will miss them!
how to make vegan chocolate peanut butter rice krispie treats (with pictures!)
Please see the recipe card at the bottom of the page for full instructions and ingredient measurements.
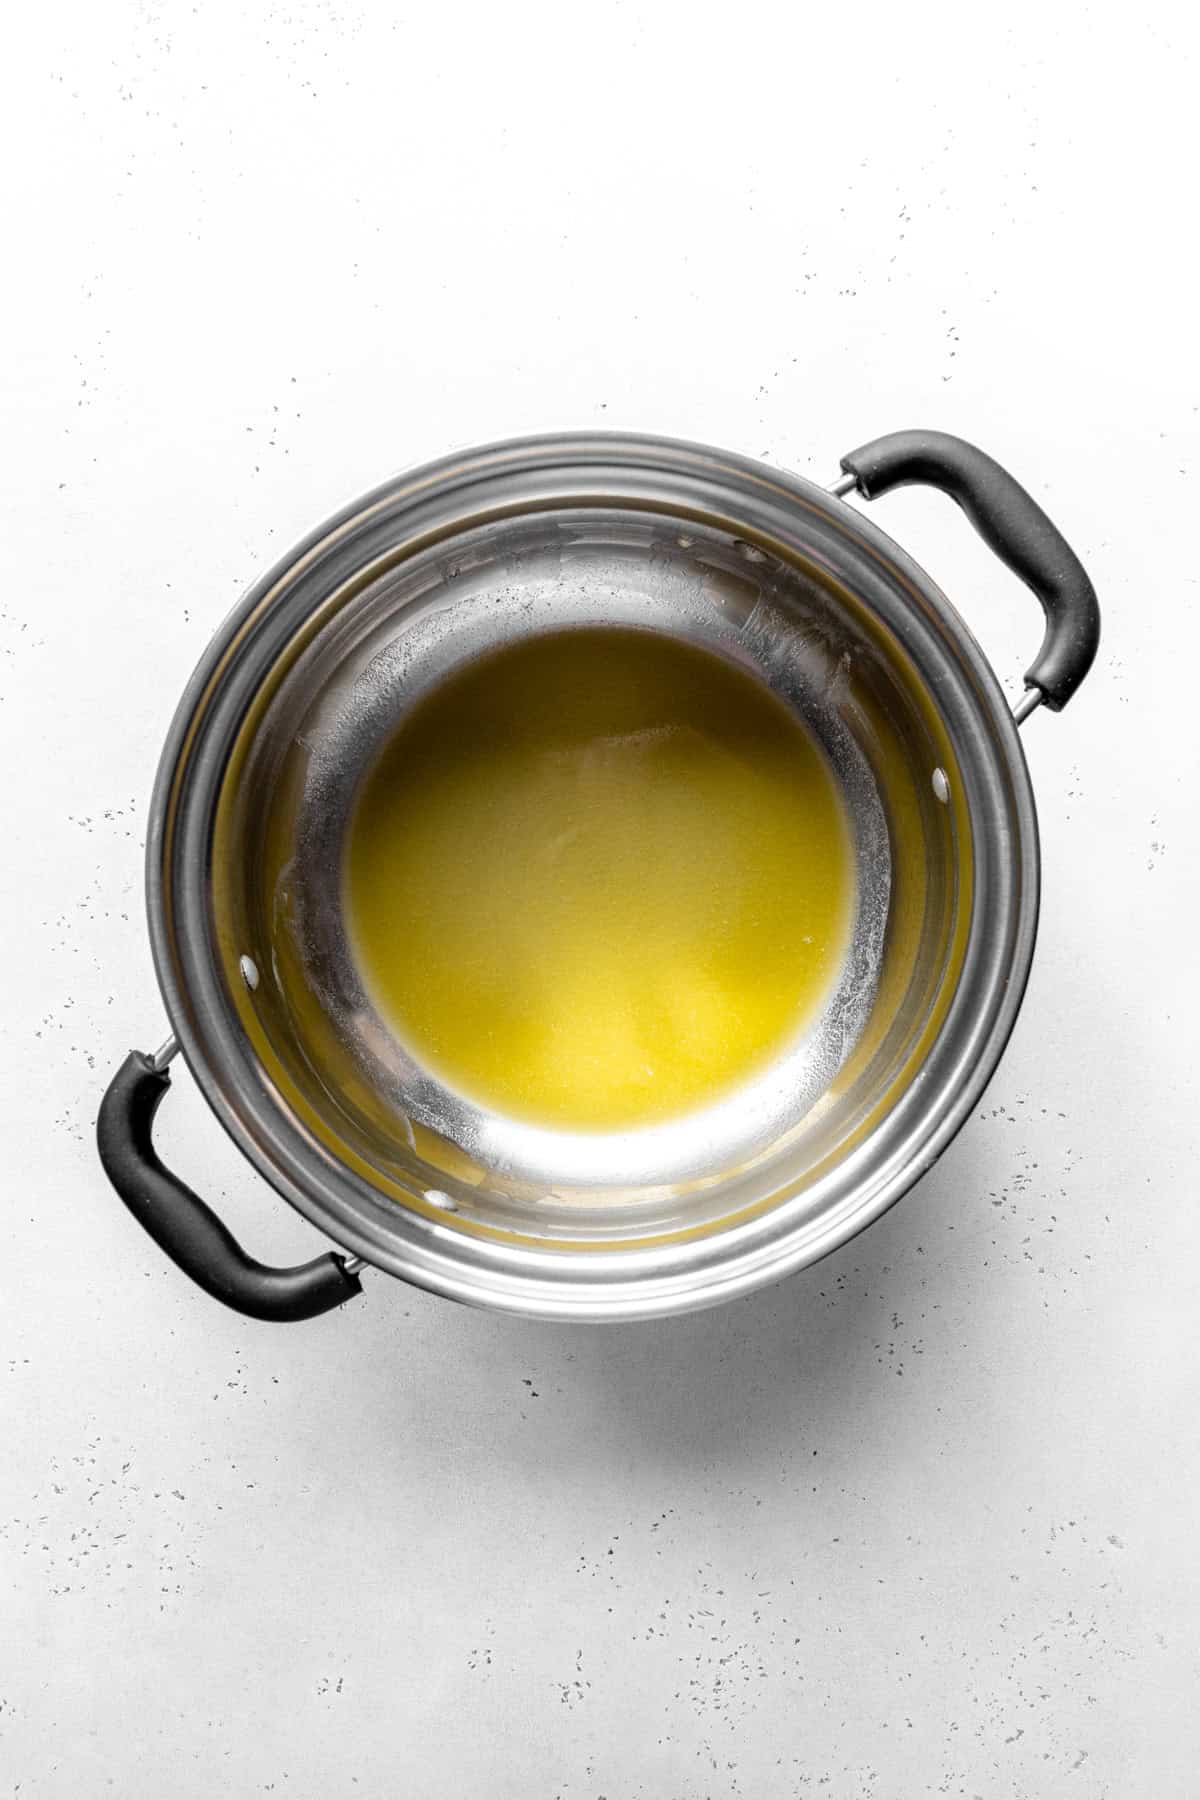
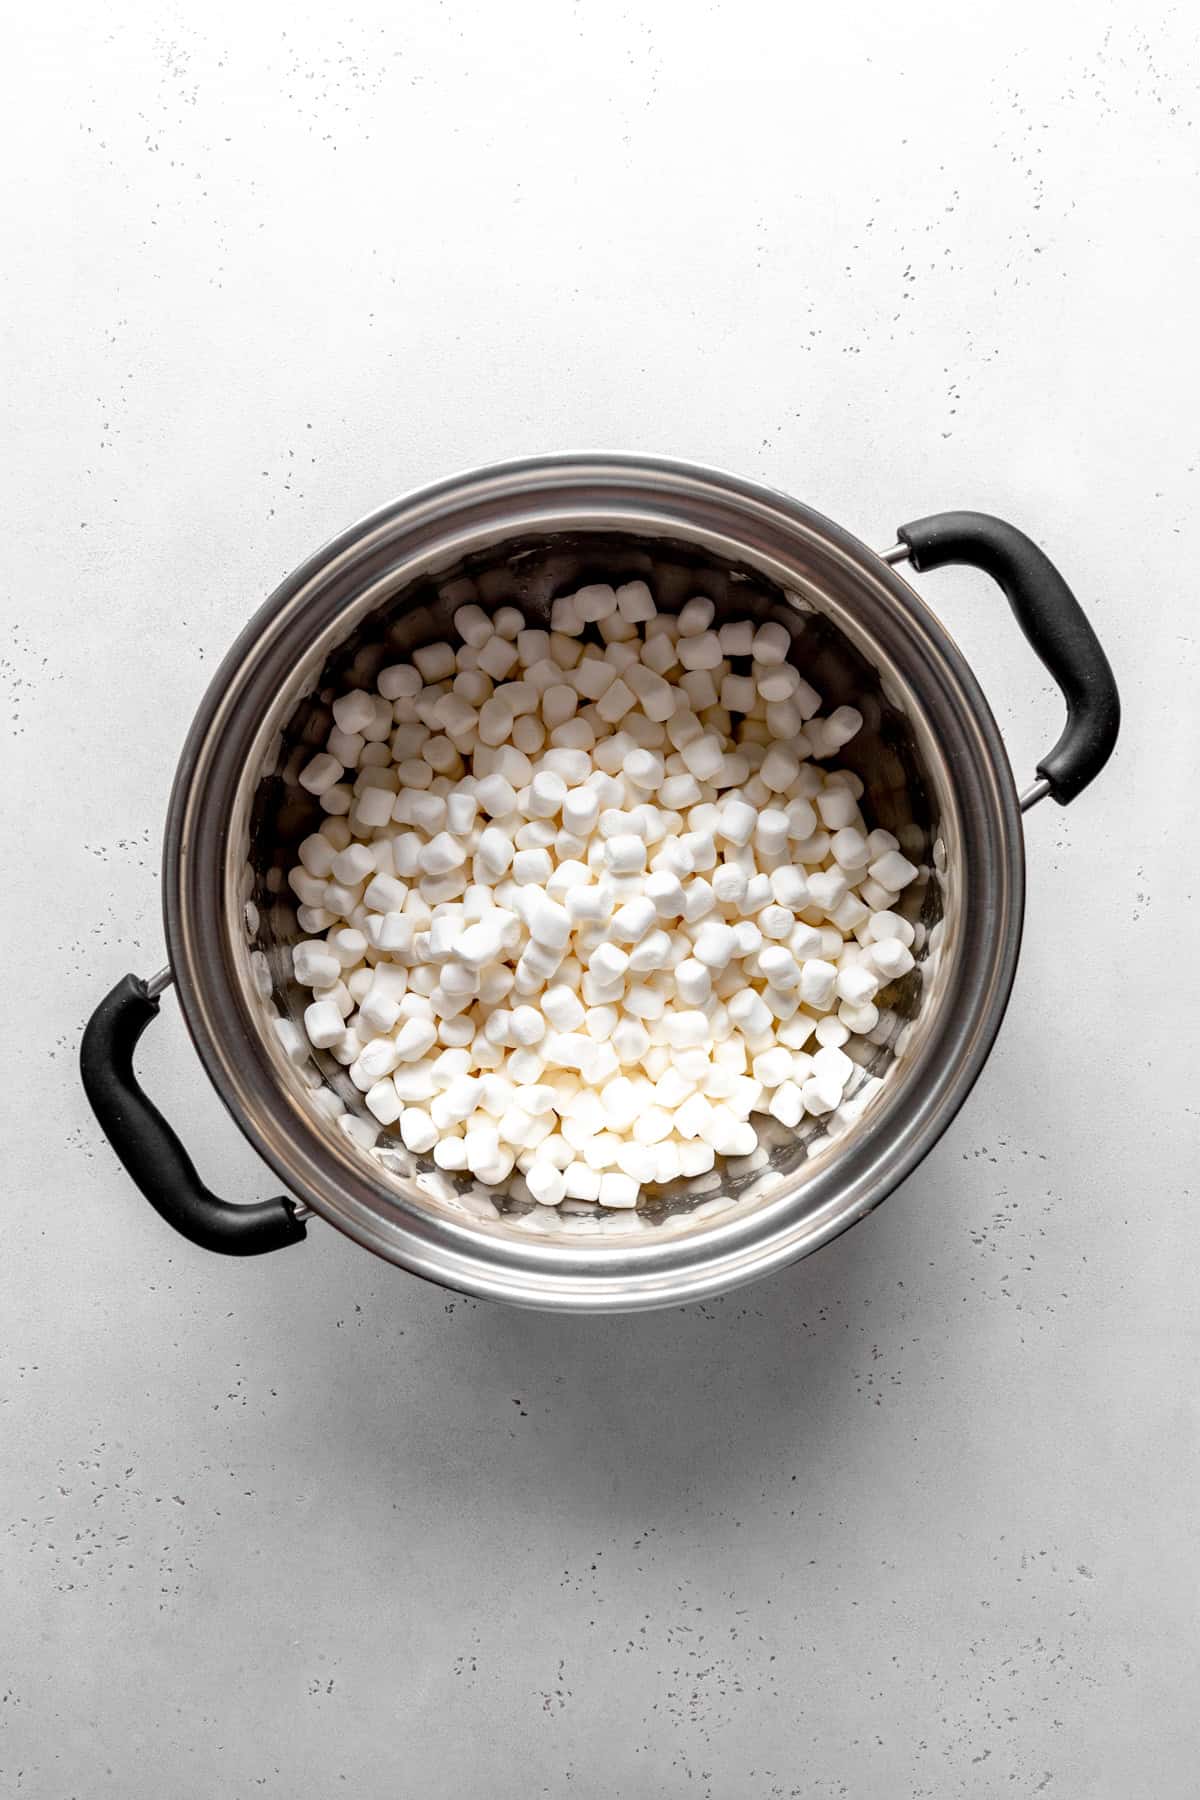
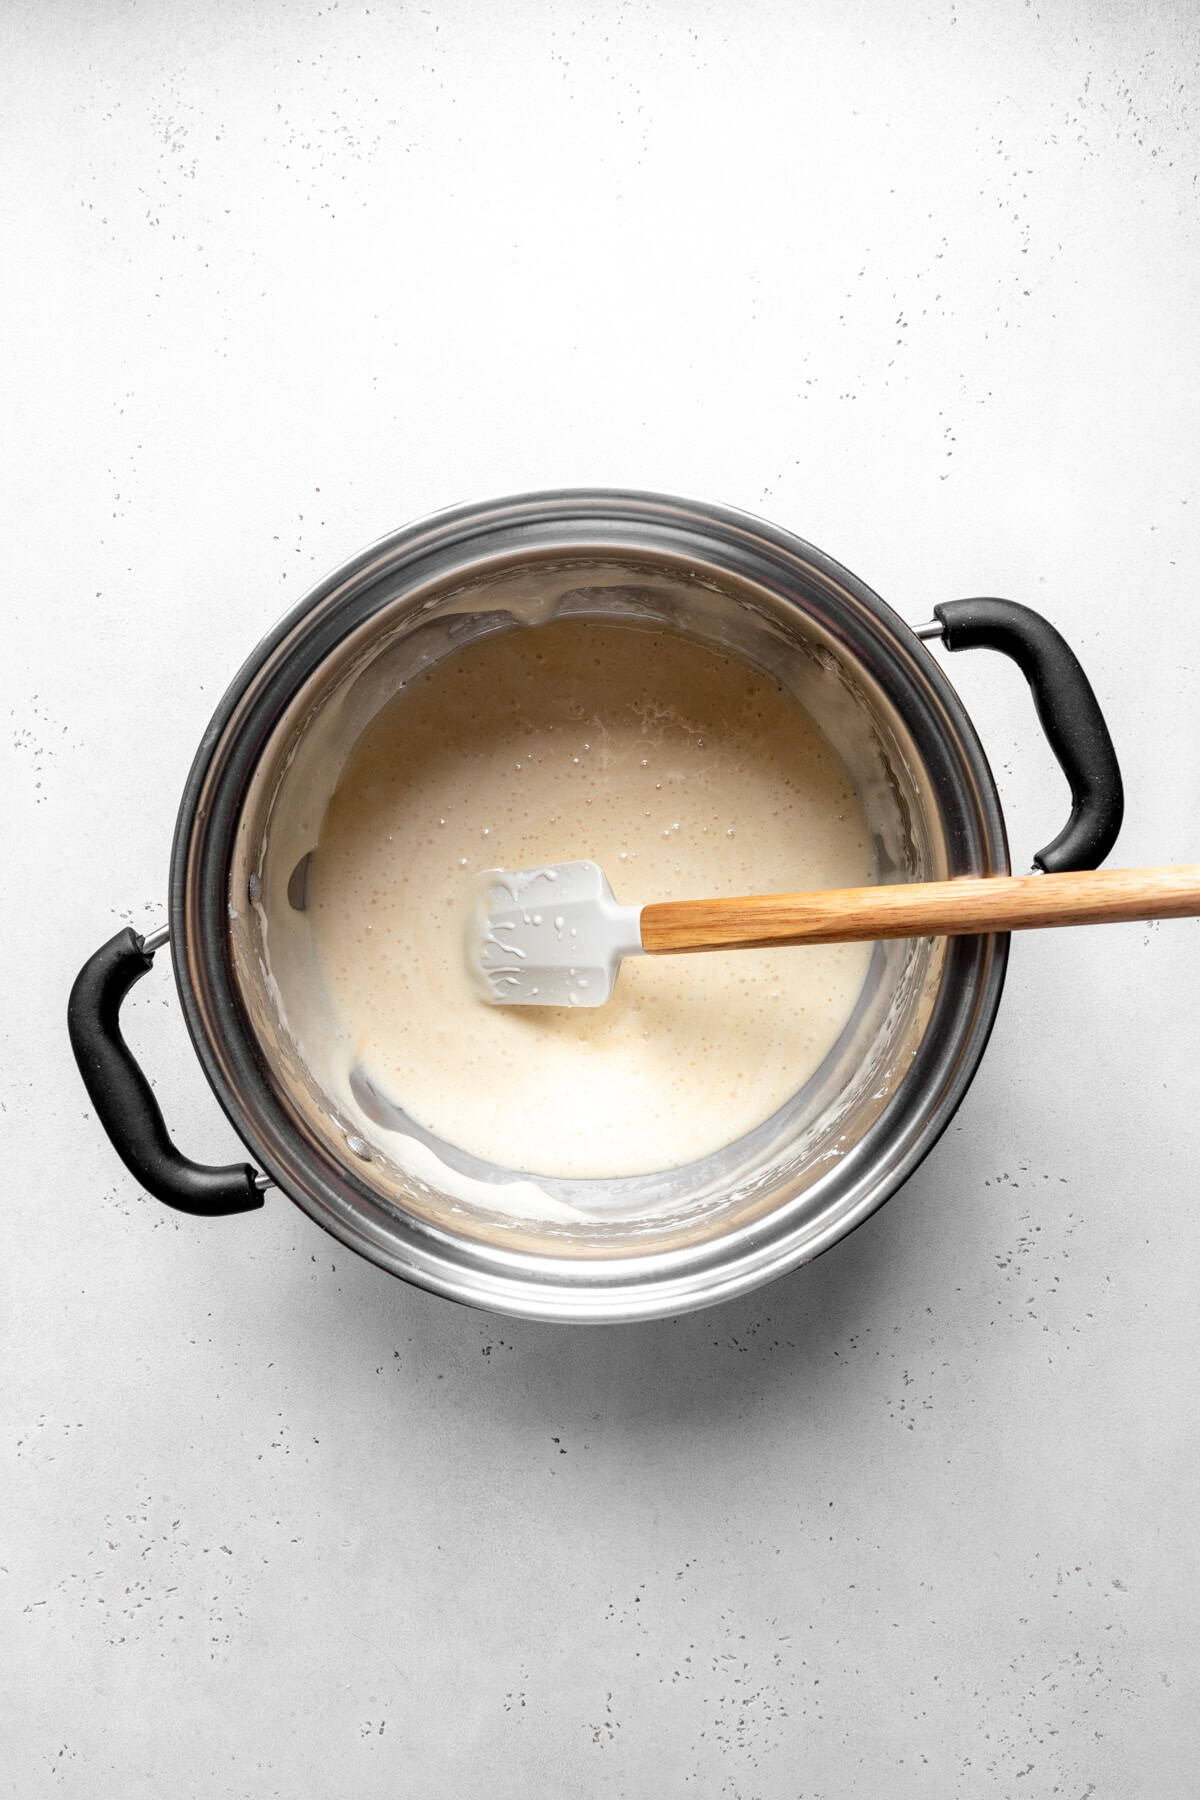
Begin by melted the vegan butter in a large pot. Add the marshmallows to the pot and heat over medium-low, stirring frequently until completely melted. Remove from heat and mix in the vanilla extract and salt.
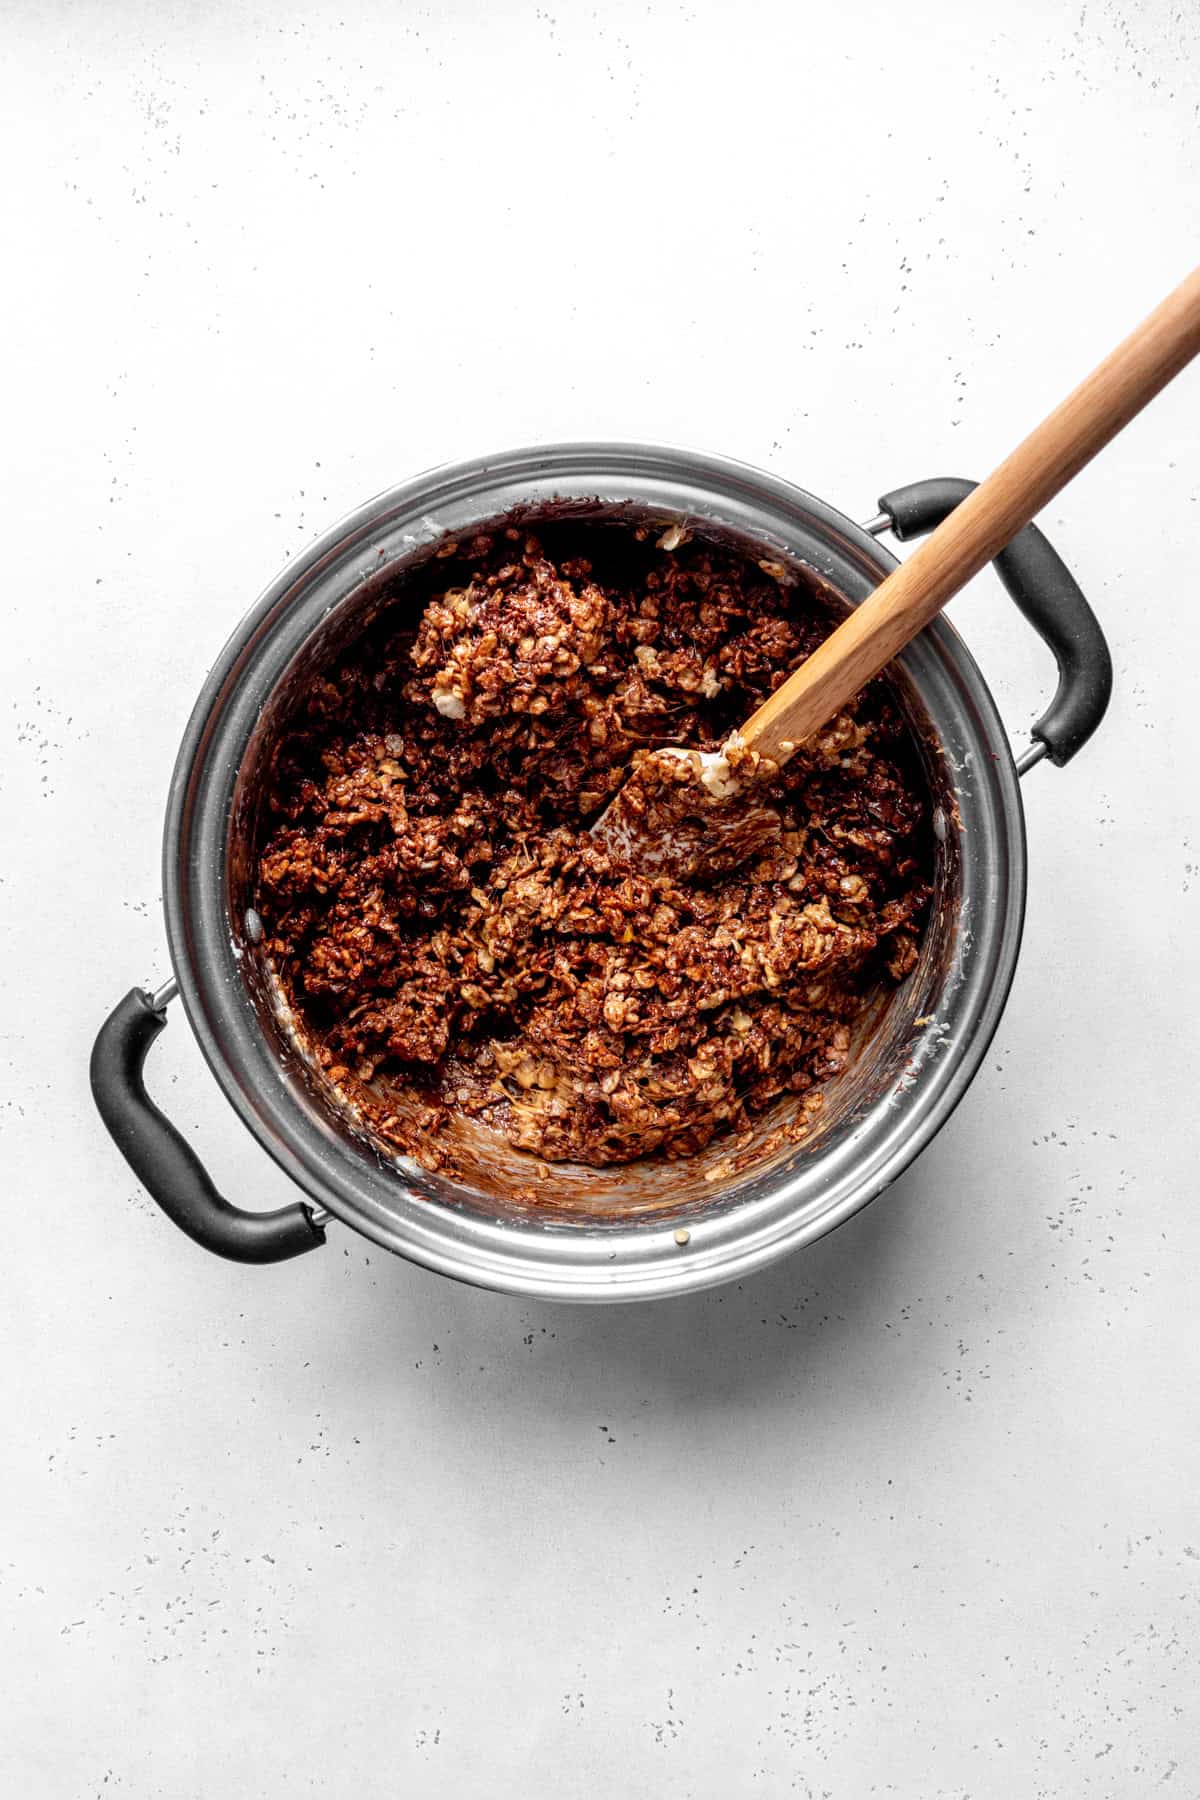
Pour the cereal into the pot and mix together. Add the chocolate chips and peanut butter to the pot and mix to combine.
Press mixture into the bottom of an 8-inch square pan that has been lined with parchment paper. Set aside to cool for at least 1 hour before cutting.
tips and tricks
Here are a few tricks you can use to help ensure your vegan chocolate peanut butter rice krispie treats turn out as perfectly as possible:
- Use fresh marshmallows. Fresh mini marshmallows melt more smoothly and give the treats that soft, chewy texture. Older, dryer marshmallows can be a little harder to melt.
- Melt everything over low heat. Keep the vegan butter and marshmallows over low heat and stir frequently to prevent them from scorching or becoming too sticky.
- Don't over-cook the marshmallows. Once they're mostly melted, remove the mixture from the heat. Overheating can make the finished treats firmer and less chewy.
- Stir in the cereal quickly! Add the crispy rice cereal while the marshmallow mixture is still warm and gently fold until everything is evenly coated.
- Don't pack the mixture too tightly. Press the treats gently into the pan. Compacting them too much can make them dense and hard instead of soft and chewy.
- Use parchment paper for easy removal. Line your pan with parchment paper, leaving some overhang on the sides, so you can easily lift the treats out before cutting.
- For clean slices, use a sharp knife. Once the chocolate has set, a sharp knife will give you neat squares without crushing the crispy cereal.
What Makes Rice Krispie Treats Not Vegan?
Traditional Rice Krispie treats are not vegan due to the inclusion of two main non-vegan ingredients: marshmallows and butter.
- Marshmallows: Traditional marshmallows contain gelatin, which is derived from animal collagen and is used as a gelling agent. Gelatin is obtained from animal bones, skin, and connective tissues, making marshmallows non-vegan. Gelatin provides the signature texture and binding properties that make Rice Krispie treats so chewy and delightful.
- Butter: Traditional Rice Krispie treats recipes call for butter, which is derived from animal milk. While butter provides richness and flavor to the treats, it's not suitable for a vegan diet.
To make Rice Krispie treats vegan, you would need to replace these non-vegan ingredients with suitable alternatives, such as using vegan marshmallows (which are typically made without gelatin) and plant-based butter or oils.
frequently asked questions
Yes. Generic crispy rice cereal works perfectly in this recipe but you can buy whatever you'd like. If you need the treats to be gluten-free, be sure to use a certified gluten-free crispy rice cereal.
A conventional creamy peanut butter works best because it has a consistent texture and mixes easily with the chocolate. Natural peanut butter can also work, but make sure it is thoroughly stirred before using.
Absolutely! Creamy peanut butter gives these treats a smooth texture, but crunchy peanut butter can add an extra layer of texture and peanut-y crunch.
Yes! Large marshmallows will work, but they may take a little longer to melt. Cut them into smaller pieces first so they melt more evenly.
Hard treats are usually caused by overheating the marshmallows or pressing the cereal mixture too firmly into the pan. Melt the marshmallows gently and press the mixture into the pan just enough to hold everything together.
Yes. A smaller pan will give you thicker treats, while a larger pan will make thinner treats. Just keep in mind that the thickness will affect the final texture and number of servings.
didn't find the answer you were looking for?
Ask ChatGPT to answer based on this specific recipe:
optional mix-ins and recipe variations
- Salted chocolate: Finish with a sprinkle of flaky sea salt for a delicious sweet-and-salty combination.
- Peanut butter cup: Add chopped vegan peanut butter cups to the chocolate topping for an extra indulgent treat.
- Fruity: Add dried cranberries or cherries to the rice krispies for a fresh, tangy kick!
- Pretzel crunch: Sprinkle crushed pretzels over the chocolate layer for a salty crunch.
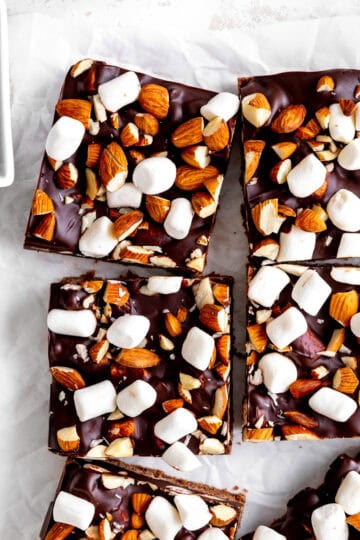
- Rocky road: Add chopped peanuts and vegan mini marshmallows to the chocolate topping for a rocky road-inspired version.
- Nut-free: Swap the peanut butter for sunflower seed butter and use nut-free chocolate and cereal if needed.
- Holiday-inspired: Add festive sprinkles or colored candies to the chocolate layer to turn these into an easy holiday treat.
- S'mores twist: Top with crushed graham crackers, mini vegan marshmallows, and chocolate chips for a s'mores-inspired version.
- Cereal swap: Replace some of the crispy rice cereal with vegan chocolate cereal or another crunchy cereal for a fun flavor and texture variation.
storage
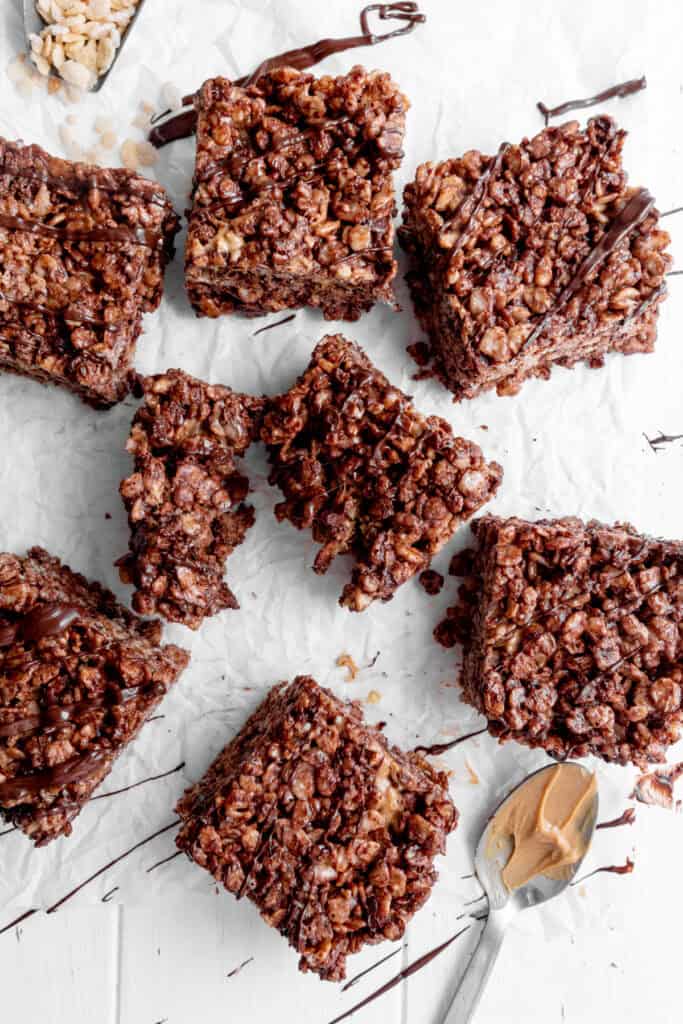
Store leftover chocolate peanut butter Rice Krispie treats in an airtight container at room temperature for up to 3 days. Place parchment paper between layers if stacking them to prevent the chocolate topping from sticking.
I don't recommend storing them in the refrigerator unless necessary, as the cooler temperature can make the marshmallow layer firmer and less chewy.
If you make this recipe be sure to tag @censoredbaker on Instagram!
PrintVegan Chocolate Peanut Butter Rice Krispie Treats

Classic rice krispie treats swirled with peanut butter and melty chocolate.
- Prep Time: 15 minutes
- Total Time: 15 minutes
- Yield: 9 3-inch Bars 1x
- Category: Brownies and Bars
- Method: Stovetop
- Cuisine: American
- Diet: Vegan
Ingredients
⅓ cup vegan butter
10 ounce bag vegan mini marshmallows
¼ teaspoon salt
1 teaspoon vanilla extract
5 cups crispy rice cereal
1 cup nondairy chocolate chips
⅓ cup creamy peanut butter
Instructions
- Prep: Line an 8 inch square pan with parchment paper. Set aside.
- Melt: Add vegan butter to a large pot and melt over medium-low heat. Add in the marshmallows and stir continuously until completely melted. Remove pot from heat and stir in the salt and vanilla extract.
- Stir: Add the crispy rice cereal to the pot and stir into the melted marshmallows. You'll need to work quickly as the mixture will begin to firm up as it cools. Once the cereal is well-incorporated, stir in the chocolate chips. They will melt as you stir. Plop in spoonfuls of the peanut butter and give the mix only one or two big stirs. This will leave you with some nice peanut butter swirls.
- Cool: Lightly press the mixture into your prepared pan. You don't want to pack it too firmly. Allow rice krispies to cool for 1 hour before cutting in.
Notes
*Prepared rice krispie treats will keep at room temperature for 2-3 days. This is not a freezer-friendly recipe.
*If you'd like, you can lightly grease your hands with cooking spray to keep the mixture from sticking when handling.

I made these for my kids and their friends and everyone loved them!
This makes me so happy!