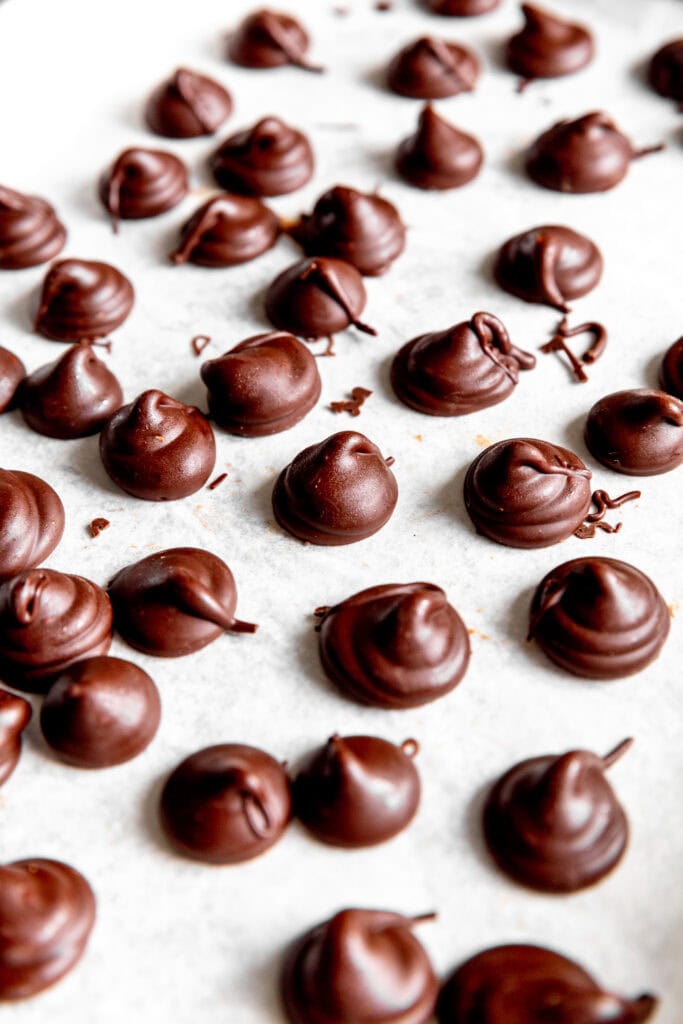
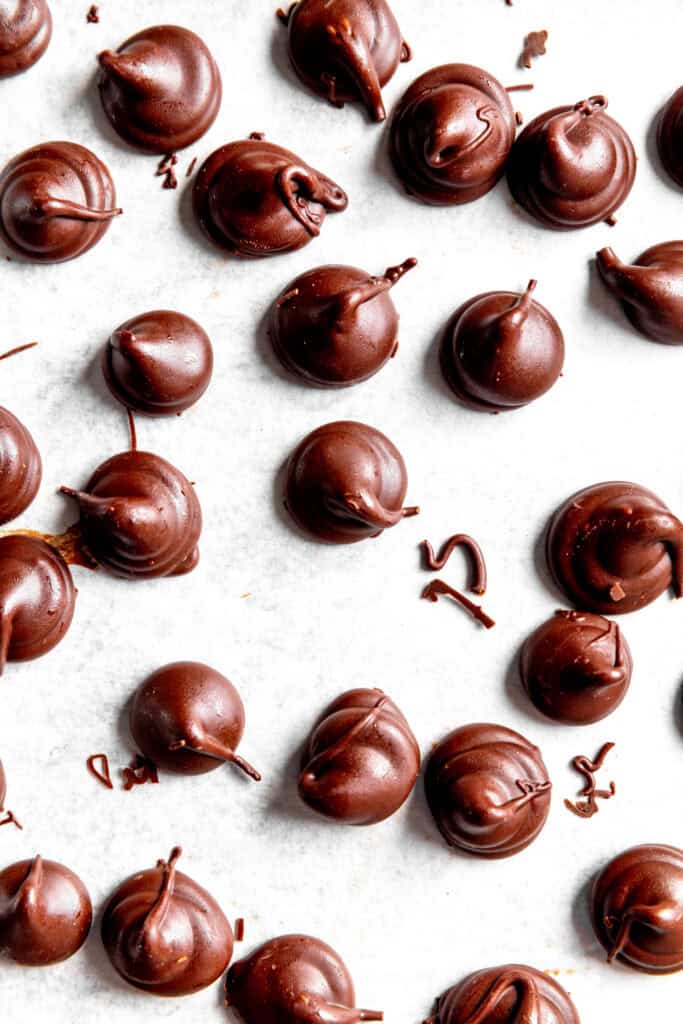
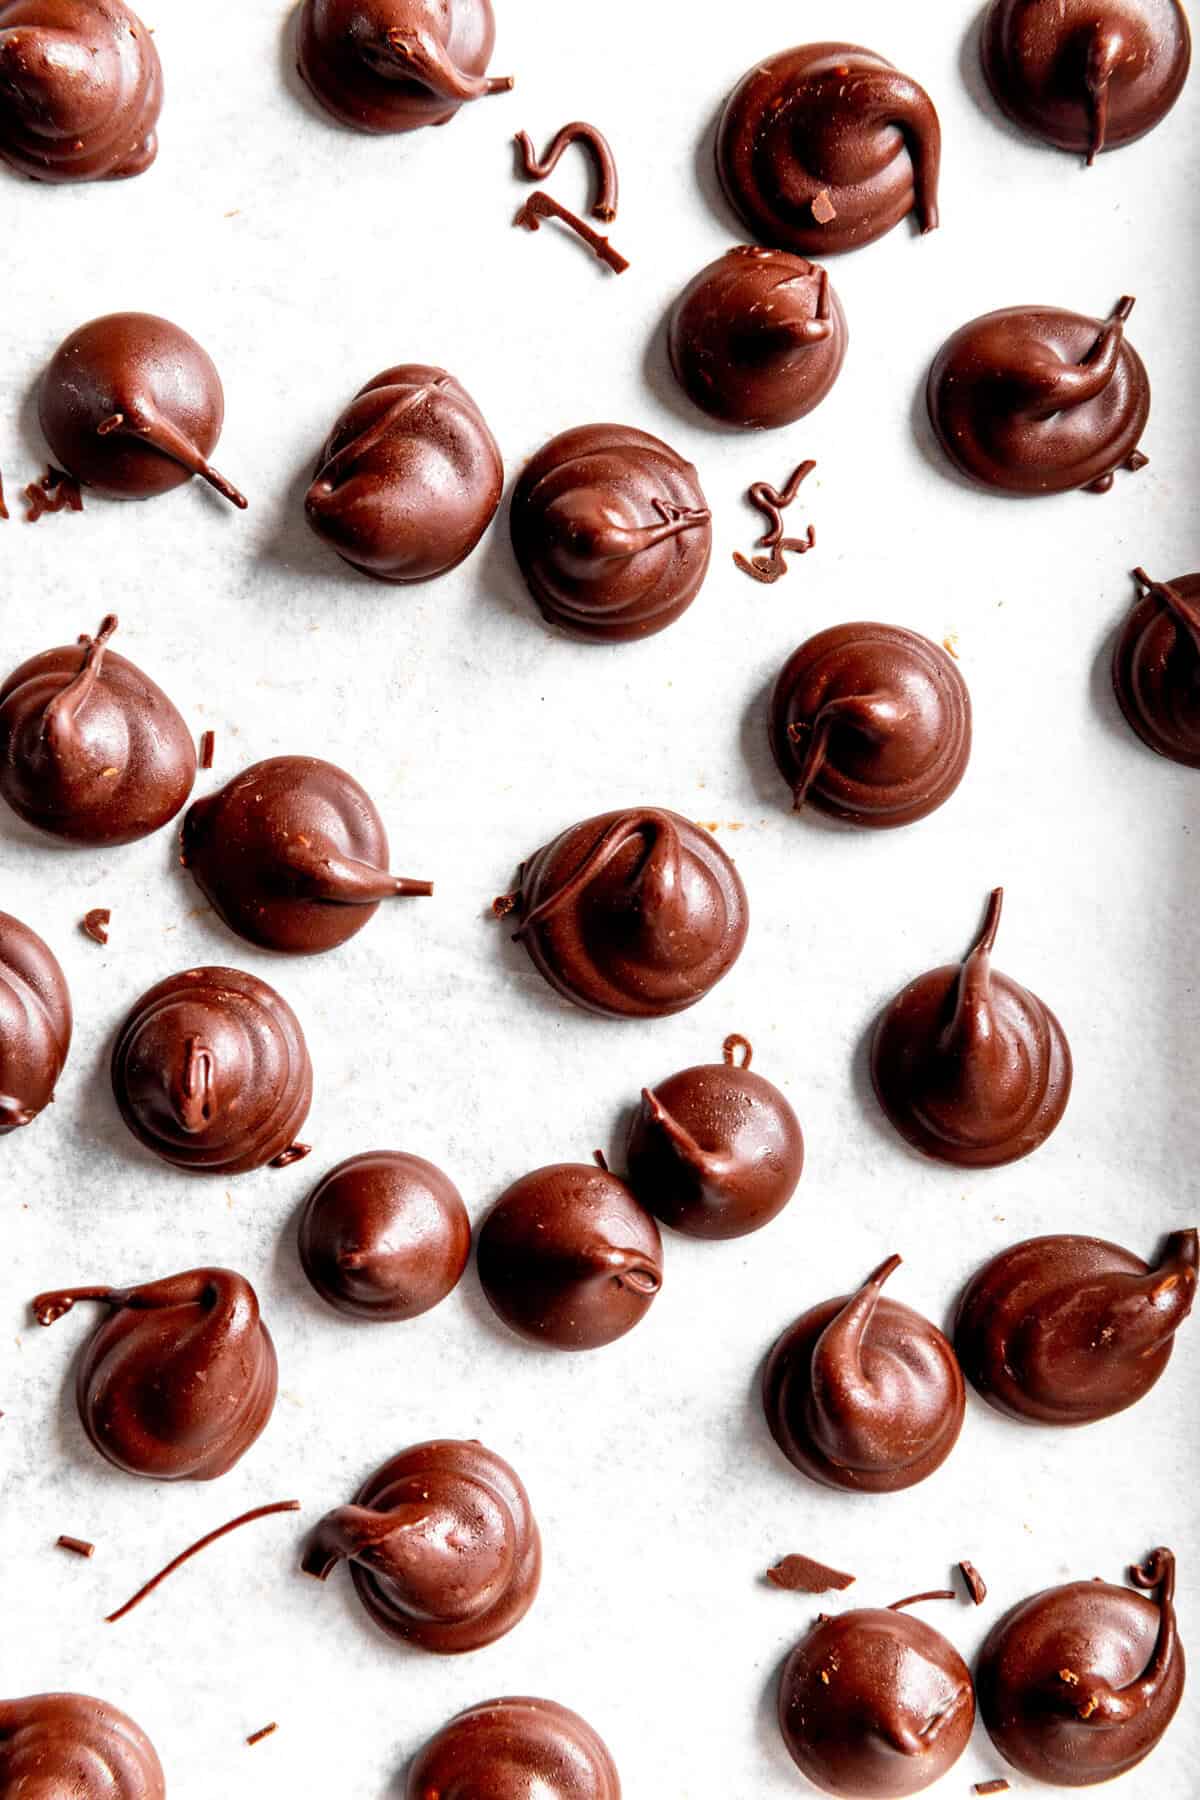
These Vegan Hershey Kisses are rich, indulgent and taste just like the original candies. This recipe is incredibly simple and requires only 2 ingredients! Let's learn how to make kisses!
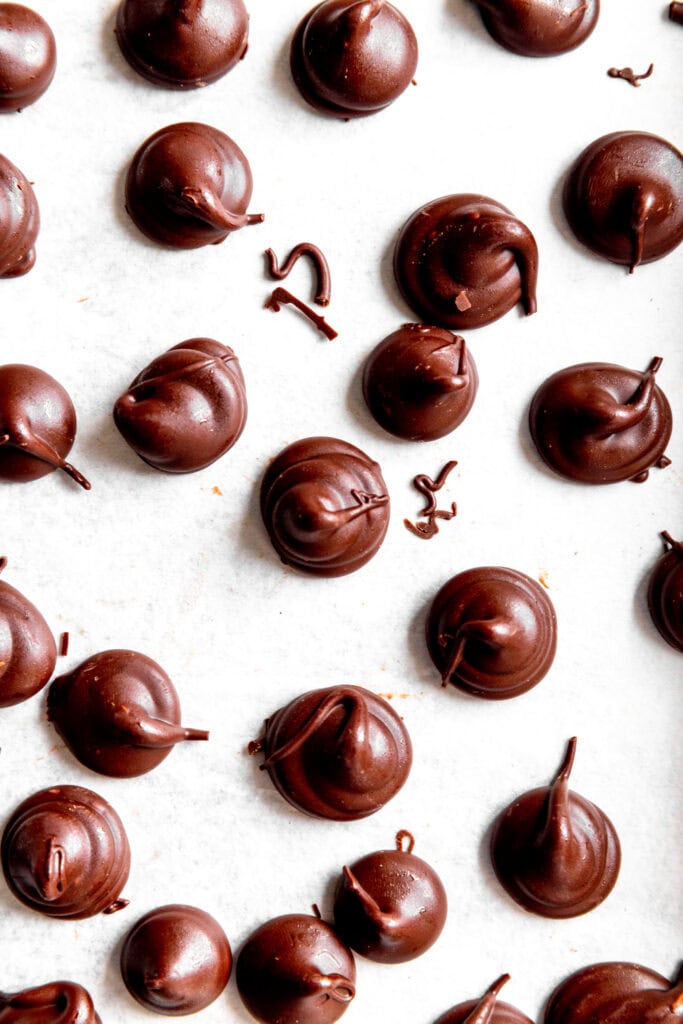
It's a true tragedy that Hershey's doesn't make dairy-free chocolate kisses! While this recipe may seem like rage-bait to some (melting chocolate chips to make bigger chocolate chips!?), it is a truly necessary practice in my household.
If you want to make vegan peanut butter blossoms, you need these Vegan Hershey Kisses in your life.
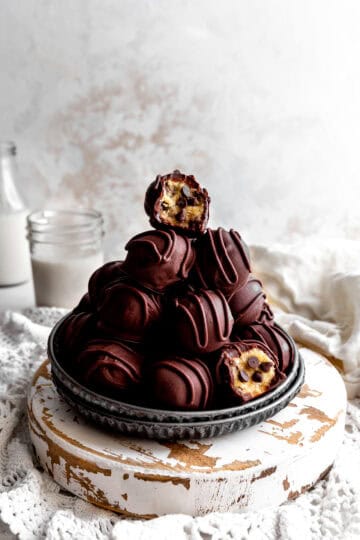
Looking to make more vegan candy? Be sure to check out my vegan cookie dough bites and vegan peppermint patties.
Ingredients
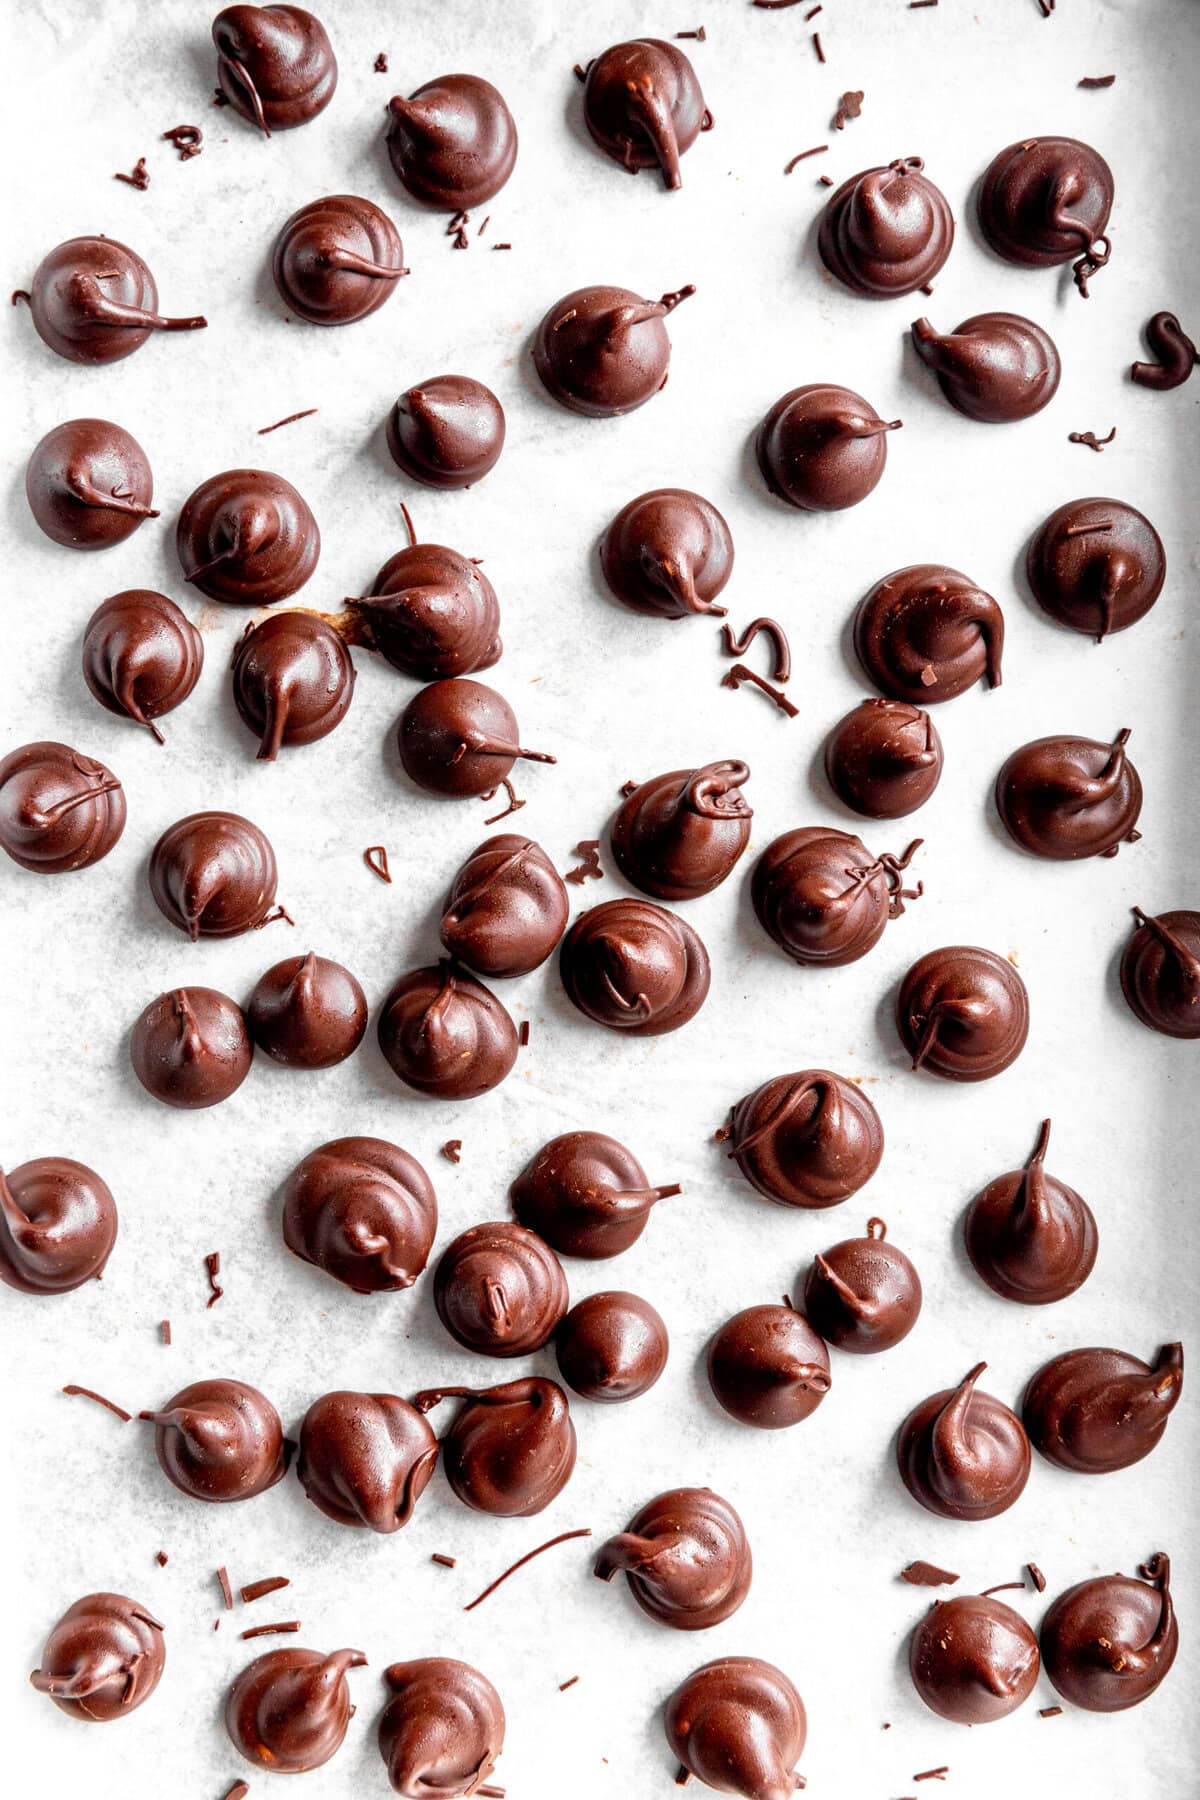
You'll only need two ingredients to make these little candies!
- Nondairy Chocolate Chips: These form the rich, chocolatey base of the vegan kisses. They melt smoothly and solidify with a glossy finish, mimicking the classic Hershey's texture and flavor without any dairy.
- Vegan Butter: A small amount of vegan butter adds richness and a velvety texture to the melted chocolate. It helps create a smoother consistency for piping and prevents the chocolate from becoming too hard or brittle once set.
Why You'll Love These Kisses
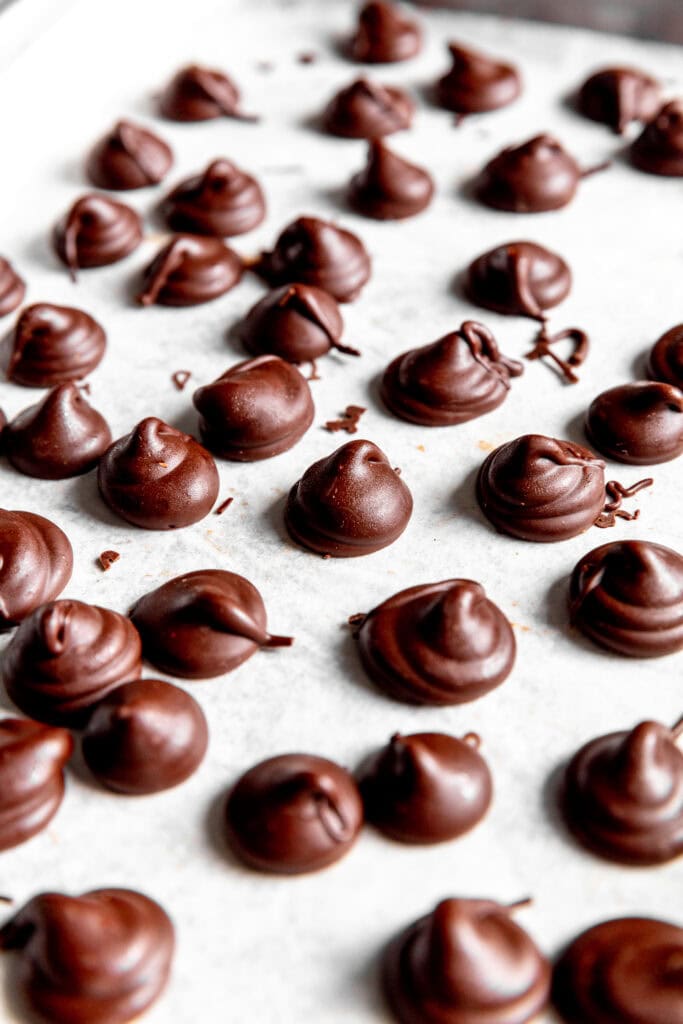
- Two ingredients, zero fuss - You only need vegan chocolate chips and a touch of vegan butter to make these sweet little treats. Simple, fast, and delicious!
- Rich and creamy flavor - The chocolate melts beautifully with the butter, creating a silky-smooth texture that tastes just like the classic Hershey's kiss - without the dairy.
- Perfect for gifting or sharing - Wrap them in foil or pack them in jars for an adorable homemade gift that everyone will love.
- Customizable and fun - Add a drop of peppermint oil, espresso powder, or sprinkle of sea salt to give your kisses a unique twist.
- Kid- and freezer-friendly - Great for little helpers to make, and they store beautifully for whenever your chocolate cravings hit.
How to Make Vegan Hershey Kisses (with pictures!)
Please see the recipe card at the bottom of the page for full instructions and ingredient measurements.
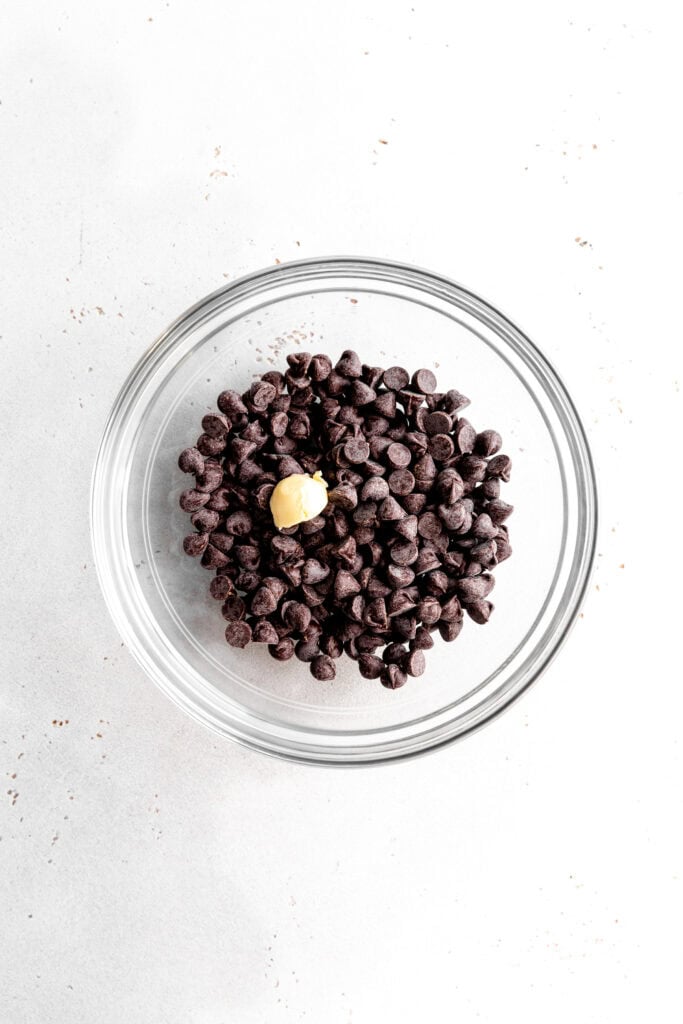
Add the chocolate and vegan butter to a microwave-safe bowl. Heat in 30-second increments in the microwave, stirring after each. Continue until completely smooth.
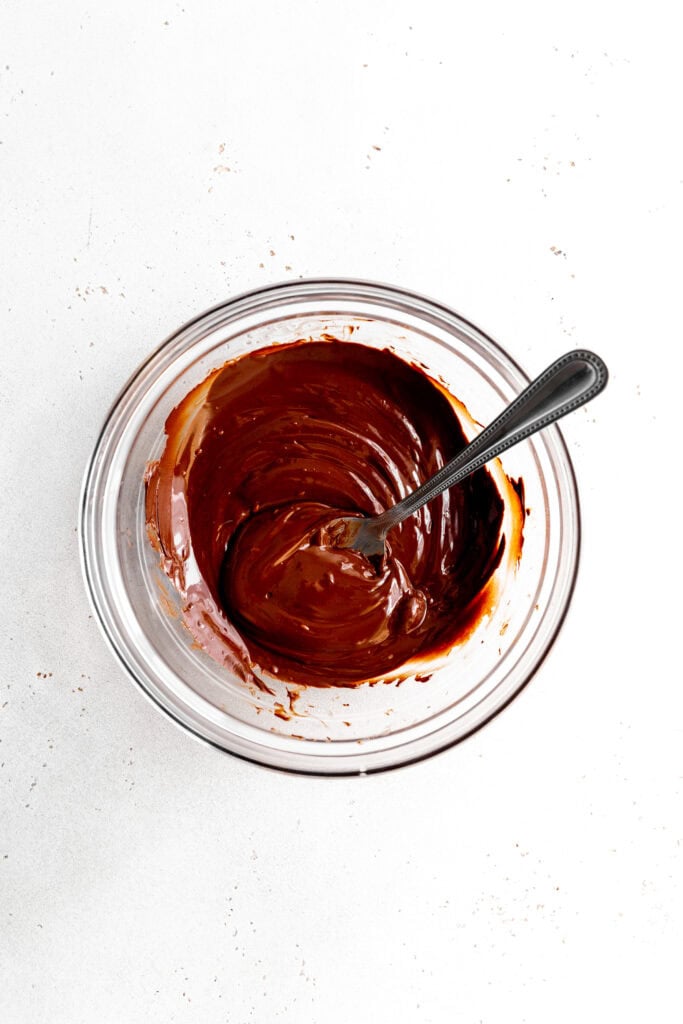
Transfer the melted chocolate to a piping bag fit with a small piping tip. Chill in the refrigerator for 10-15 minutes.
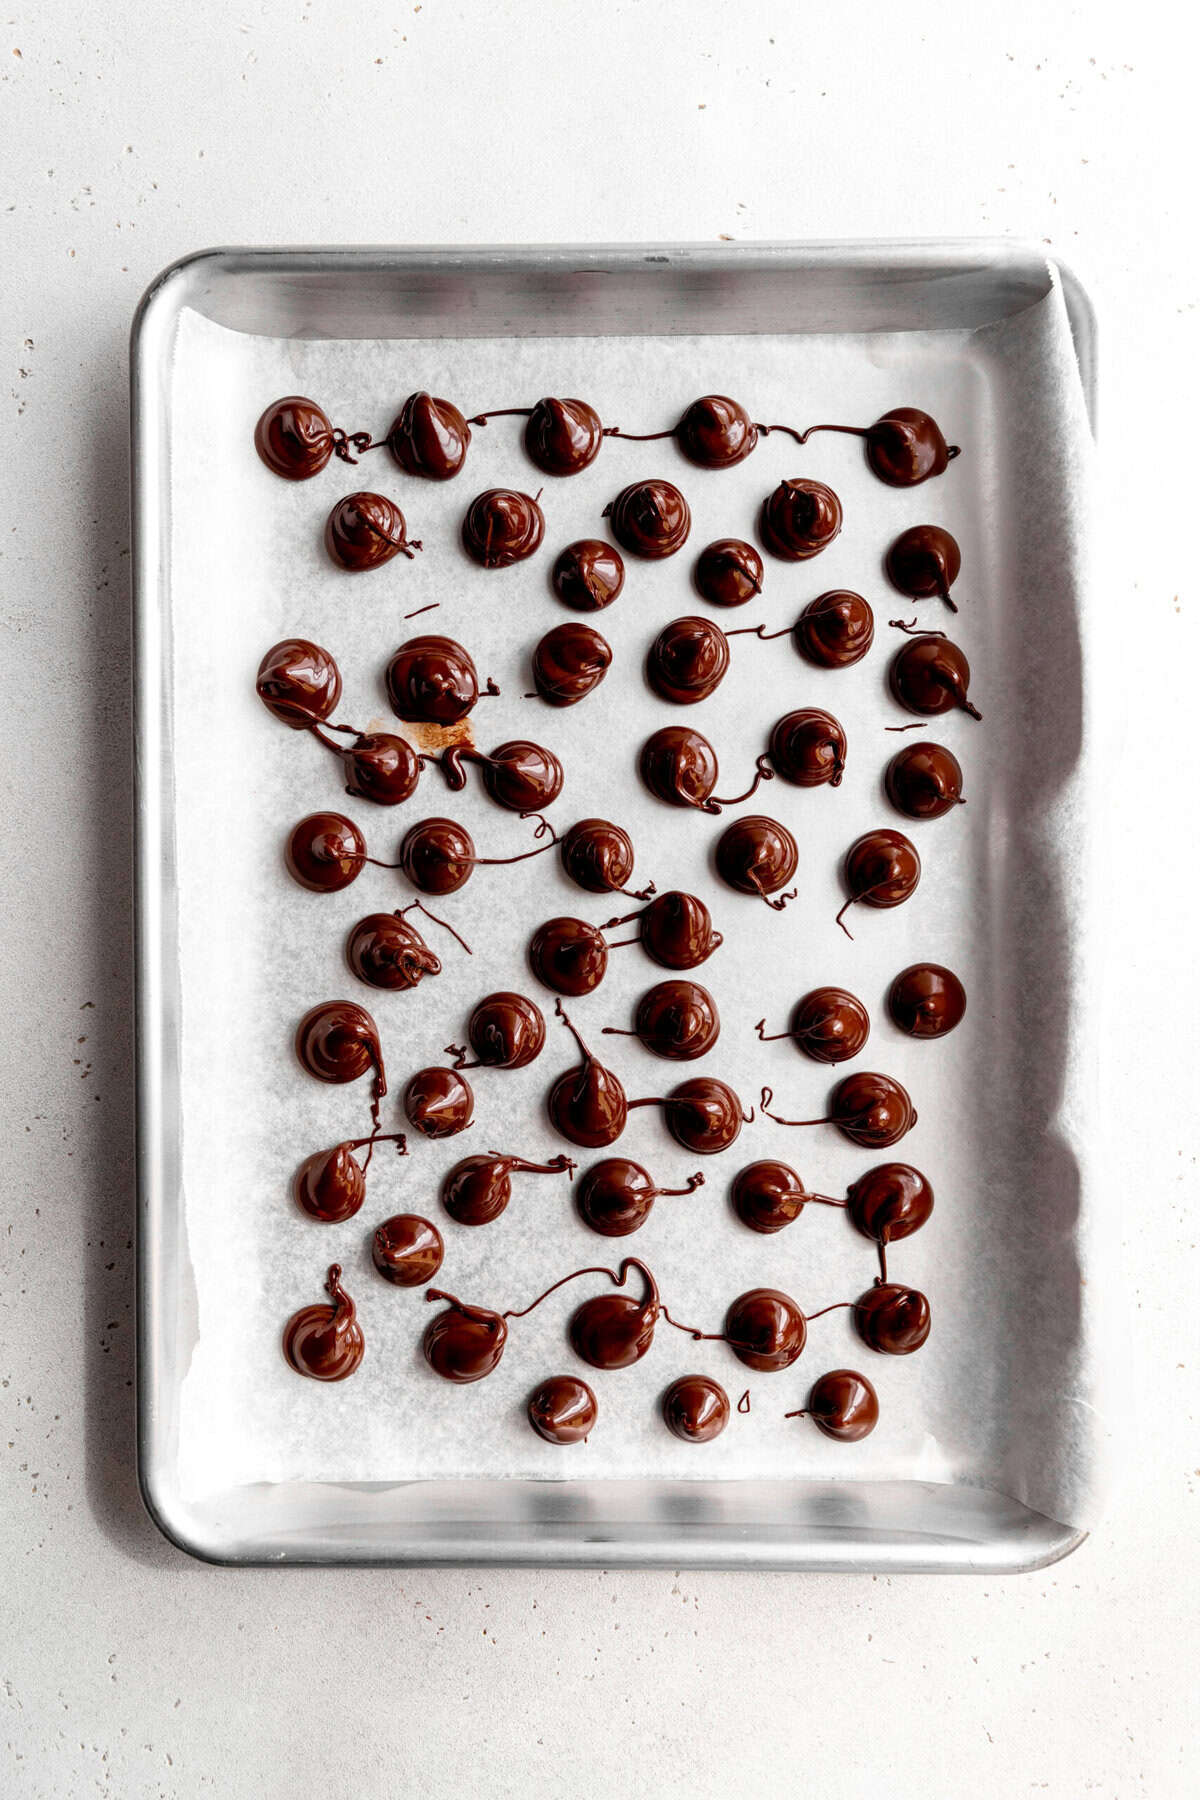
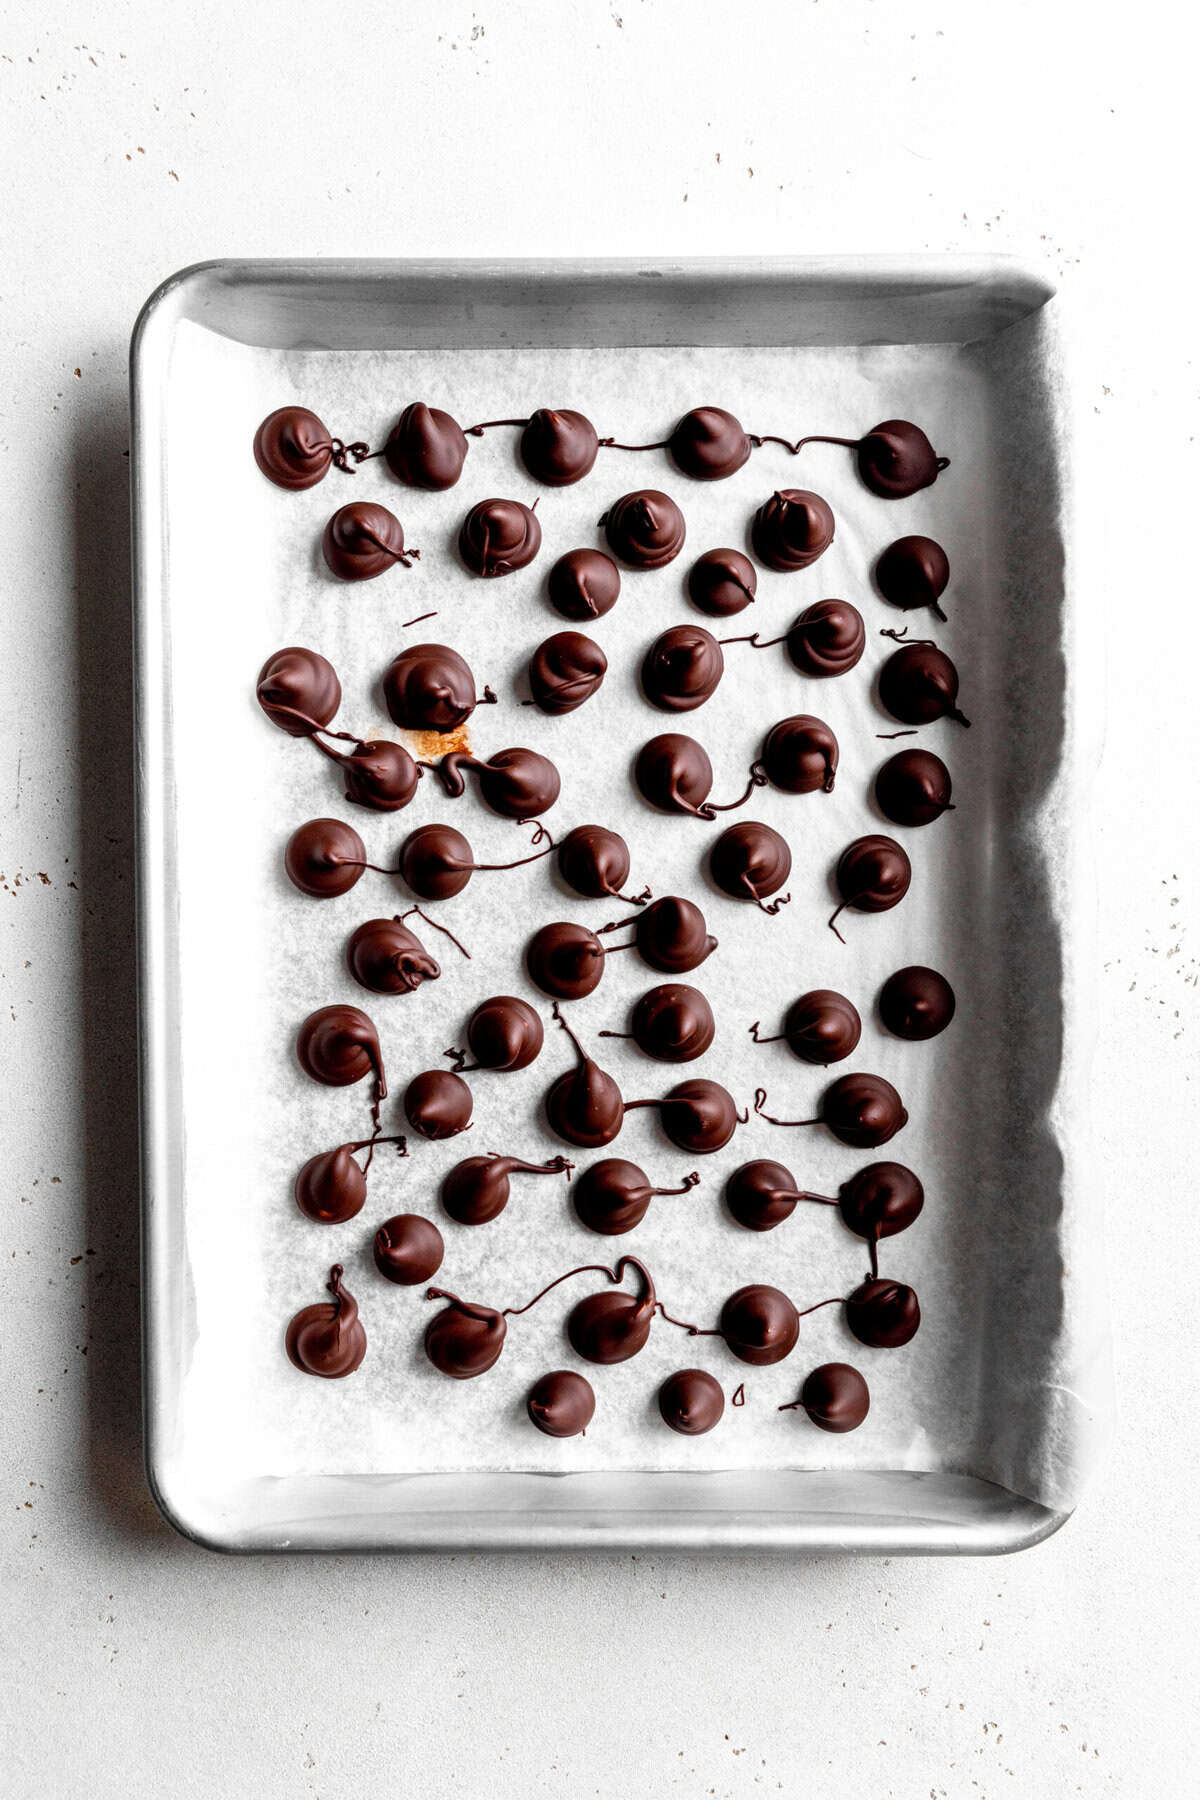
Pipe kisses onto a baking sheet lined with wax paper. Transfer to the freezer to set for 15 minutes. Transfer to a sealable plastic bag and store in the refrigerator.
Tips
Here are some tips to help you achieve the best results:
- Use high-quality chocolate: Choose vegan chocolate chips or bars made with cocoa butter, not palm oil or wax, for the smoothest texture and best flavor.
- Melt chocolate gently: Use a double boiler or short microwave bursts (15-30 seconds at a time), stirring between each, to prevent the chocolate from burning or seizing.
- Set slightly before piping: Transfer the chocolate mixture to a piping bag (or a plastic bag with the tip snipped off) while it's still warm and fluid. Chill for only 10-15 minutes to set just slightly. This will help chocolate from running out of the bag too quickly.
- Use wax paper: Pipe the kisses onto wax paper-lined trays so they lift off easily once cooled.
- Store properly: Keep your kisses in an airtight container at a cool room temperature or in the fridge to maintain their shape and shine.
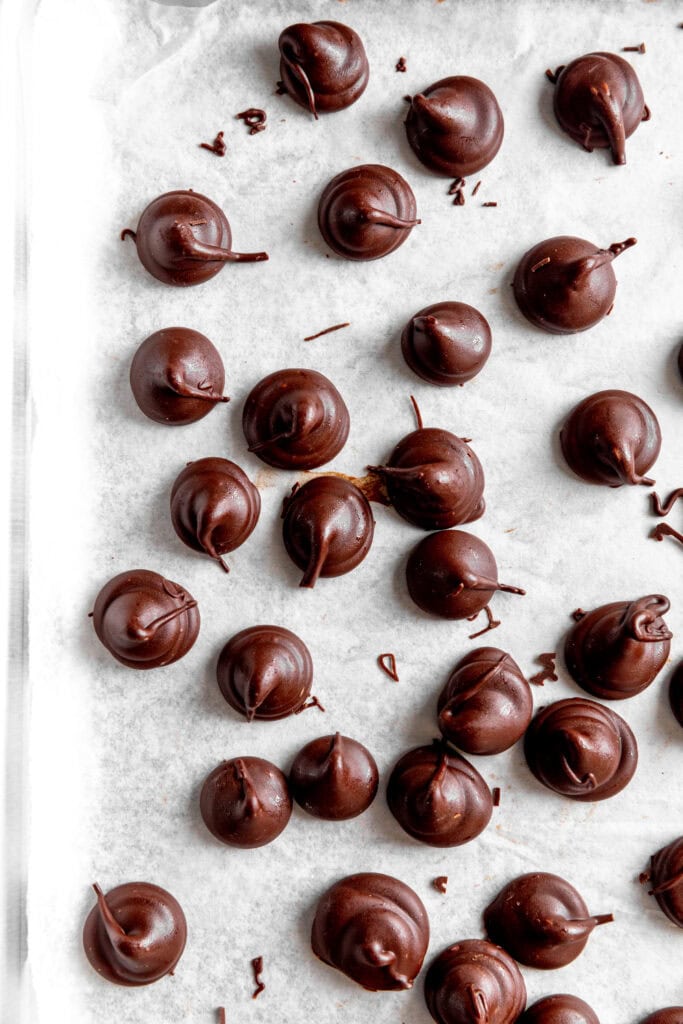
How to Use Your Vegan Hershey Kisses
- Snack Straight From the Jar: Enjoy them as a quick, indulgent treat - perfect for a sweet tooth fix or portion-controlled snack.
- Dessert Toppings: Sprinkle over vegan ice cream, puddings, or mousse for a pop of chocolate and texture.
- Baking Add-In: Fold into cookie, brownie, or muffin batter for a melty, chocolatey surprise.
- Holiday & Gift Treats: Wrap in foil or place in small gift bags for homemade party favors or holiday gifts.
- Dessert Boards & Charcuterie: Use them as part of a vegan dessert platter with fruits, nuts, and other chocolates for entertaining.
- Hot Chocolate or Coffee Enhancer: Drop a kiss into hot vegan milk, coffee, or cocoa to melt into a creamy, chocolatey swirl.
Frequently Asked Questions
Choose high-quality dairy-free or vegan chocolate chips - brands like Enjoy Life, Hu, or Trader Joe's semisweet chocolate chips work great. The better the chocolate, the richer your kisses will taste.
The vegan butter helps create a softer, creamier texture and gives the kisses a beautiful glossy finish. It also helps prevent the chocolate from hardening too much once cooled.
Yes! Refined coconut oil works well as a substitute, though it will make the kisses a bit firmer and give a subtle coconut flavor.
Absolutely! Stir in a drop of peppermint extract, espresso powder, or sea salt flakes before piping. You can also drizzle them with white chocolate for a pretty contrast.
Store the kisses in a cool, dry place or the refrigerator. If it's warm in your kitchen, refrigerate them before serving to prevent softening.
Customizations
- Peppermint Kisses: Add ¼ teaspoon peppermint extract to the melted chocolate for a holiday-inspired treat.
- Mocha Kisses: Stir in ½ teaspoon espresso powder for a rich, coffee-chocolate combo.
- Sea Salt Kisses: Sprinkle flaky sea salt on top before chilling for a sweet-salty contrast.
- Orange Chocolate Kisses: Mix in ½ teaspoon orange zest for a citrusy lift.
- Spiced Kisses: Add a pinch of cinnamon or chili powder for a warm, unexpected kick.
Storage
Refrigeration
Place in an airtight container and refrigerate for 2-3 weeks.
Bring them to room temperature before serving to avoid condensation and preserve the glossy finish.
Freezing
Arrange kisses in a single layer on a parchment-lined tray and freeze for 15 minutes until firm.
Transfer to a freezer-safe airtight container or zip-top bag.
Can be stored in the freezer for up to 1 month. Thaw in the fridge or at room temperature to prevent condensation from forming on the chocolate.
Tips for Maintaining Shape and Shine
- Avoid stacking kisses while they are still soft.
- Keep away from moisture to prevent chocolate bloom (white streaks or spots).
- Store separately from strong-smelling foods, as chocolate can absorb odors.
If you make this recipe please tag @censoredbaker on Instagram!
Vegan Hershey Kisses
Homemade, dairy-free Hershey Kisses. Only two ingredients!
- Prep Time: 15 minutes
- Chill Time: 15 minutes
- Total Time: 30 minutes
- Yield: 60-75 Kisses 1x
- Category: Candy
- Method: Chill
- Cuisine: American
- Diet: Vegan
Ingredients
8oz bag nondairy chocolate chips
1 teaspoon vegan butter
Instructions
- Melt: Add nondairy chocolate chips and vegan butter to a large, microwave-safe bowl. Place in the microwave and heat in 30 second increments, stirring after each. Continue until chocolate is completely melted and smooth.
- Chill: Fit a plastic piping bag with a small to medium, round piping tip. Place a piece of strong tape over the tip to avoid leakage. Fill the bag with the chocolate mixture using a rubber spatula. You can turn down the top of the bag when doing this to ensure less of a mess. Once full, twist the top of the bag closed and seal with a rubber band. Place piping bag in the refrigerator to chill for 10-15 minutes.
- Pipe: Line a baking sheet with wax paper. Remove the piping bag from the fridge and remove the tape from the tip. Be careful as chocolate may start to spill out. If you find that the chocolate has hardened slightly in the tip use a toothpick to carve out the hardened portion. Begin piping the kisses by gently squeezing the bag of chocolate. You will want to squeeze harder when piping the bottom of the kiss and then squeeze lightly as you pull the bag up to get the signature "kiss" look.
- Set: Once you have used up all of the chocolate and the kisses have been piped, place the baking sheet into the freezer to set for at least 15 minutes. Once kisses have set they can be transferred to an airtight container or bag that can be stored in the refrigerator.
Notes
*Prepared Kisses will keep in an airtight container in the refrigerator for up to 2 weeks or can be frozen for up to 1 month.
*If piping isn't your style, you can purchase a large chocolate chip mold to use instead. I had trouble fining one that truly resembled Hershey Kisses but you might have more luck!


Leave a Reply