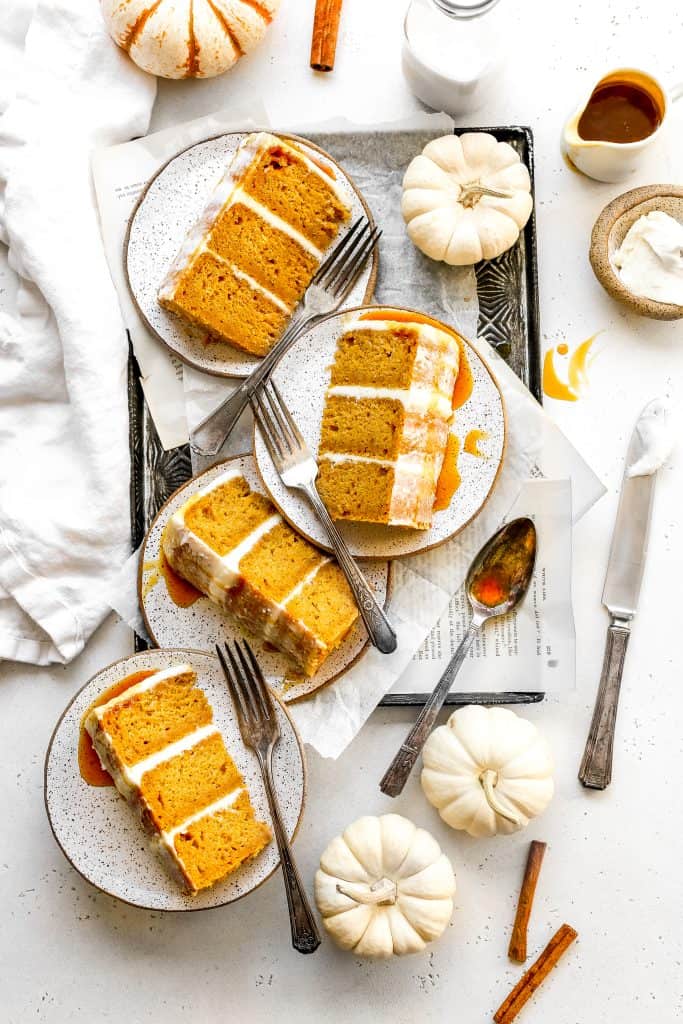
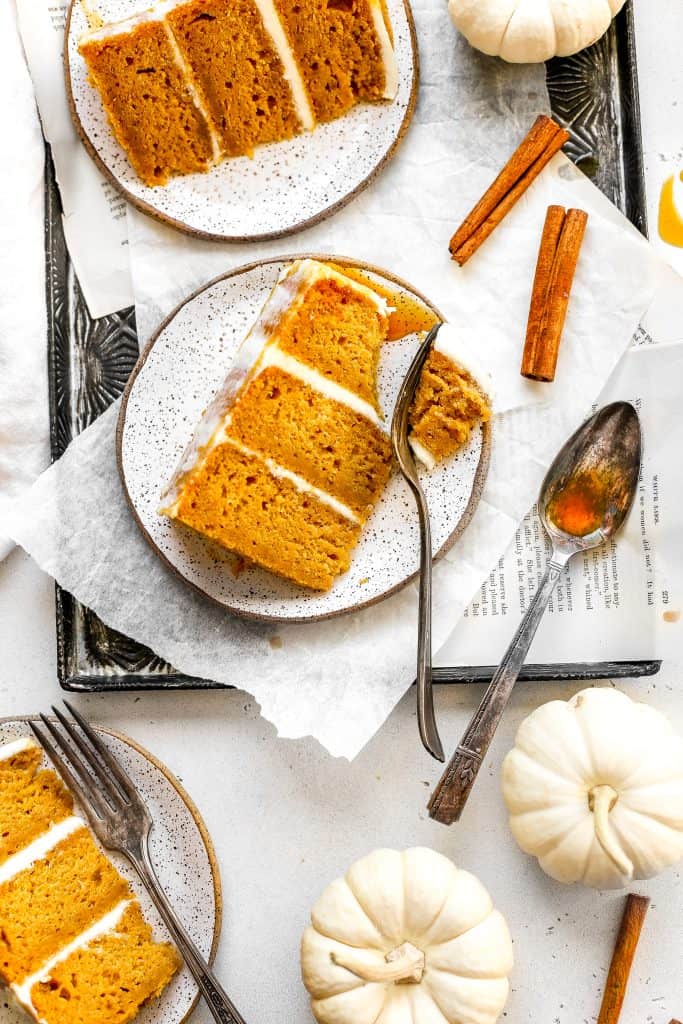
I don't mean to toot my own horn, but this is the ultimate fall cake. Beautifully tangy dairy-free cream cheese frosting sandwiched together between moist, spiced pumpkin cake layers all drizzled in salted caramel sauce is what makes up this Vegan Pumpkin Cake. It is so classic autumn that I guarantee anyone who tastes it will have absolutely no idea it's vegan. I promise it's totally worth the effort. Let's learn how to make it!
This post may contain affiliate links. Read my full disclosure here.

Vegan Pumpkin Cake Ingredients
Together, these ingredients create a delicious vegan pumpkin cake that is moist, flavorful, and perfect for celebrating the fall season.
Dry Ingredients
- All-Purpose Flour (3 cups): All-purpose flour serves as the main dry ingredient in this cake recipe. It provides the structure and texture to the cake. It contains gluten, which helps the cake rise and hold its shape.
- Sugar (1 ⅓ cups): Sugar not only sweetens the cake but also helps to tenderize and moisten it. It contributes to the cake's flavor and texture.
- Baking Powder (1 ½ tsp) and Baking Soda (¾ tsp): Baking powder and baking soda are leavening agents used in baking to make the cake rise. Baking powder and baking soda create bubbles in the batter, causing the cake to rise and become fluffy. They react with the acid in other ingredients like vinegar and pumpkin puree to help the cake rise without the need for eggs.
- Salt (1 tsp): Salt enhances the overall flavor of the cake and balances the sweetness. It also helps with gluten formation and the leavening process.
- Spices (Ground Cinnamon, Ground Ginger, Ground Nutmeg, Ground Cloves): These spices are aromatic and add warm, autumnal flavors to the cake. This combination complements the pumpkin flavor, creating a delightful blend of seasonal spices that are characteristic of pumpkin desserts.
Wet Ingredients
- Pumpkin Puree (1 ⅓ cups): Pumpkin puree is made from cooked and pureed pumpkin, typically canned for convenience. It provides natural sweetness, moisture, and a rich pumpkin flavor that defines a pumpkin cake.
- Non-Dairy Milk (1 ⅓ cups): Non-dairy milk is plant-based milk such as almond, soy, or oat milk. Here it is used to make the cake moist and to replace traditional dairy milk. It also contributes to the overall flavor and texture.
- Canola Oil (¾ cup): Canola oil is a vegetable oil extracted from rapeseed. It adds moisture to the cake, making it tender. It also provides a source of fat, ensuring a moist and delicious vegan cake.
- Vinegar (White or Apple Cider, 1 tbsp): Vinegar reacts with the baking soda to create carbon dioxide, which helps the cake rise. It also contributes to the overall structure and texture.
- Vanilla Extract (1 tbsp): Vanilla extract is made from vanilla beans and adds a pleasant, aromatic vanilla flavor. It enhances the overall flavor of the cake and complements the warm spices and pumpkin, giving the cake a well-rounded taste.

Vegan Cream Cheese Frosting Ingredients
These ingredients work together to create a creamy, slightly tangy, and sweet frosting that is perfect for spreading on cakes, cupcakes or cookies.
- Vegan Cream Cheese (4 oz): Vegan cream cheese is a dairy-free alternative to traditional cream cheese, typically made from ingredients like cashews or soy. It provides a creamy, tangy, and slightly savory flavor that mimics traditional cream cheese frosting without the use of animal products.
- Non-Hydrogenated Shortening (½ cup): Non-hydrogenated shortening is a plant-based fat typically made from palm oil or other vegetable oils. Shortening adds stability and structure to the frosting. It helps the frosting hold its shape and provides a smooth, creamy texture.
- Powdered Sugar (3 cups): Powdered sugar sweetens the frosting and thickens it. The fine texture of powdered sugar ensures a smooth and lump-free frosting. It also helps achieve the desired sweetness in the frosting.
- Vanilla Extract (½ tsp): Vanilla extract enhances the overall flavor of the frosting, giving it a delightful vanilla undertone. It balances the tanginess of the cream cheese and adds depth to the sweetness.
- Pinch of Salt: A pinch of salt is added to balance the sweetness of the powdered sugar and enhance the overall flavor profile of the frosting. It also helps to highlight the other flavors in the frosting.
Vegan Salted Caramel Ingredients
- Sugar (½ cup): Sugar is the primary sweetening agent in caramel. It undergoes a chemical transformation when heated, turning golden brown and developing rich caramelized flavors and color.
- Vegan Butter (3 tablespoons): Vegan butter is a plant-based alternative to dairy butter, typically made from oils like coconut, soy, or sunflower. It adds a rich and creamy texture to the caramel. It also provides a buttery flavor that is characteristic of caramel.
- Nondairy Milk (2 tablespoons): Nondairy milk contributes to the creaminess of the caramel sauce, making it smooth and pourable. It also helps to thin the caramel and control its consistency.
- Sea Salt (¼ teaspoon): Sea salt is a type of salt obtained by evaporating seawater. It has a distinct, slightly briny flavor. The sea salt in salted caramel provides a wonderful contrast to the sweetness of the sugar. It enhances the complexity of flavors by adding a savory, salty note that complements the caramel's richness.


Steps to Make Vegan Pumpkin Cake (with pictures!)
- Make the Batter: In a large bowl, whisk together the dry ingredients. In a smaller, separate bowl vigorously whisk together the wet ingredients until completely smooth. Pour wet ingredients into dry ingredients and mix until just-combined. Do not over-mix.
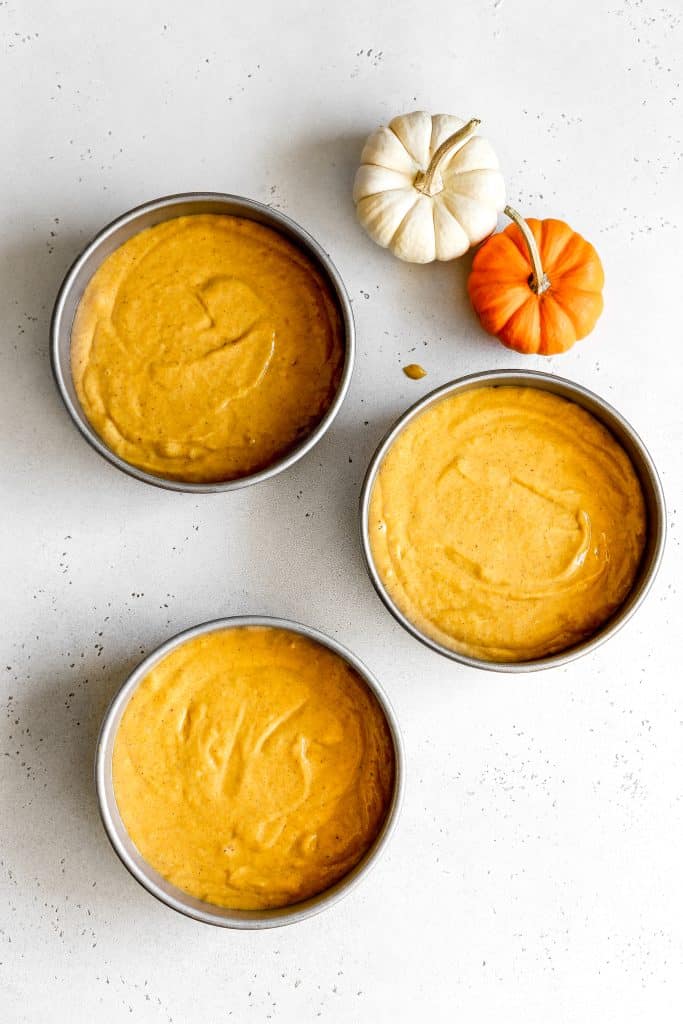
- Bake: Divide cake batter evenly between prepared pans. Place pans on center rack of preheated oven and bake for 30-35 minutes.
- Make the Frosting: Add all ingredients to a large bowl and beat with an electric hand mixer or stand mixer until completely smooth.
- Level Cake Layers: Take a sharp serrated knife and carefully slice the dome top off of each of your cake layers. This will make your cake much sturdier.
- Assemble: Spread an even layer of frosting over the top of a cake layer. Carefully stack another cake layer and top with frosting. Use the remainder of your frosting to cover the top and sides of the cake. Place the finished cake in the refrigerator to chill for about an hour before serving.
- Make Caramel Drizzle (optional): Add sugar to a small saucepan and heat on stove over medium-low until completely melted. Do not stir! Just swirl the pan every 15-30 seconds to prevent burning. Once melted, remove pan from heat. Immediately add vegan butter to the pan and whisk vigorously. Mixture will bubble violently. Once bubbling stops, whisk in nondairy milk and salt. Transfer to a sealable jar and allow caramel to cool slightly before placing in the refrigerator to chill for at least 1 hour.
- Serve: When you are ready to serve, remove the cake and caramel sauce from the fridge. Drizzle the caramel sauce over the top of the cake. Cut the cake into slices using a very sharp knife, wiping it thoroughly between cuts. Plate and serve.

How to Level Cake Layers
Leveling cake layers is an important step in cake decorating, as it ensures that your cake will be stable, even, and have a professional appearance when assembled and frosted. Here's how to level cake layers:
Tools Needed:
- Chilled cake layers (after baking and cooling)
- A long, serrated knife (preferably a cake leveler)
- A turntable (optional, but helpful)
- A ruler (optional)
Steps:
- Prepare Your Cake Layers: Bake your cake layers as usual and allow them to cool completely. You can even chill them in the refrigerator for a while, as cold cakes are easier to work with.
- Set Up Your Workstation: Place your chilled or room temperature cake on a flat and stable surface. If you have a cake turntable, use it; it makes the process smoother.
- Select the Appropriate Knife: You can use a long serrated knife or, for more precision, a cake leveler designed for this purpose. A cake leveler has an adjustable wire that can be set to the desired height.
- Mark the Desired Height (Optional): If you want your layers to be a specific height, you can use a ruler to measure and mark the desired height on the side of the cake.
- Start Leveling:
- Hold the knife or cake leveler parallel to the countertop and gently press it into the side of the cake, aligning it with the mark (if you made one) or with the level you want.
- Slowly and steadily cut through the cake, moving around the entire circumference of the layer.
- If you're using a knife, try to keep the blade level, and use a gentle sawing motion. If you're using a cake leveler, simply turn the handle, and the wire will cut through the cake.
- Remove the Top Portion: Carefully lift off the top portion of the cake layer that you just cut. This is the uneven part that you're removing.
- Save Cake Scraps: Don't discard the trimmed cake scraps; you can use them to make cake pops, trifles, or simply enjoy them as a snack.
Leveling cake layers may take a bit of practice to achieve perfectly even results. This video is great if you need extra instruction.

Tips for Making an Awesome Vegan Pumpkin Cake
- Use High-Quality Ingredients: Start with fresh and high-quality ingredients, especially when it comes to the pumpkin puree, spices, and non-dairy milk. Fresh ingredients will enhance the flavor of your cake.
- Combine Wet and Dry Ingredients Carefully: Mix the wet and dry ingredients separately before combining them. This prevents over-mixing, which can make your cake tough.
- Don't Over-mix: When combining wet and dry ingredients, mix until just combined. Over-mixing can result in a dense cake.
- Grease and Line Cake Pans: Grease your cake pans with vegan butter or oil and line the bottoms with parchment paper. This ensures the cakes come out easily and without sticking.
- Get Ahead: If you want to get ahead when making this recipe, bake your cake layers a day in advance. Bake and allow your cake layers to cool completely. Wrap them tightly in plastic wrap and store in the fridge overnight. This will make for sturdier cake layers that are easier to level and frost.

How to Keep Your Vegan Pumpkin Cake from Getting too Wet
If your pumpkin cake is turning out too moist or overly wet, it could be due to several factors. Here are some common reasons why your pumpkin cake might be too moist and how to address them:
- Excess Liquid: Using too much pumpkin puree or non-dairy milk in the recipe can lead to excessive moisture. Ensure you are using the precise measurements specified in your recipe.
- Over-mixing: Over-mixing the batter can lead to the development of excess gluten, which can trap moisture. Mix the batter only until the ingredients are combined to avoid over-mixing.
- Pumpkin Puree Consistency: The consistency of the pumpkin puree can vary among brands and homemade preparations. If your puree is very watery, it can contribute to a moist cake. Try using a thicker puree or straining it to remove excess liquid.
- Temperature and Baking Time: Under-baking the cake can leave it too moist. Ensure you're following the recommended baking time and checking for doneness with a toothpick or cake tester.
- Altitude and Humidity: High-altitude and humid environments can affect baking. If you live in such conditions, you might need to make adjustments to your recipe, such as reducing the liquid or increasing the baking time.
- Pan Size: Using a pan that is too small can result in a cake that doesn't cook evenly. Ensure you're using the recommended pan size in your recipe.
- Cooling Time: Let the cake cool in the pan for a few minutes, then transfer it to a wire rack to cool completely. Allowing it to cool in the pan for too long can lead to excess moisture buildup.
By addressing these factors and paying attention to the details of your recipe and baking process, you can achieve a perfectly moist but not overly wet pumpkin cake.

Frequently Asked Questions
Can I use any type of pumpkin puree in my vegan pumpkin cake?
Yes, you can use canned or homemade pumpkin puree in your vegan pumpkin cake. Just ensure that it's 100% pure pumpkin without any added sugar or spices.
Can I replace all-purpose flour with a gluten-free flour in my vegan pumpkin cake?
Yes, you can use a gluten-free flour blend as a substitute for all-purpose flour in your vegan pumpkin cake. Ensure that the blend is suitable for baking and contains a binder like xanthan gum to help with texture.
How can I prevent my vegan pumpkin cake from becoming too dense or heavy?
To prevent a dense texture, avoid over-mixing the batter and use leavening agents like baking powder and baking soda as recommended in the recipe. Also, be sure to use fresh leavening agents, as older ones may not work as effectively.
Can I make my vegan pumpkin cake ahead of time?
Yes, you can make your vegan pumpkin cake in advance. Store it in the refrigerator, and if possible, frost it just before serving to maintain freshness.

FAQ's Continued
What should I do if my vegan pumpkin cake is too crumbly?
If your cake is too crumbly, it might be due to overmixing or not having enough moisture. You can try adding a bit more liquid (e.g., non-dairy milk or applesauce) to the batter to improve its texture.
Can I add mix-ins like chocolate chips or nuts to my vegan pumpkin cake?
Yes, you can add mix-ins like chocolate chips, chopped nuts, or dried fruits to your vegan pumpkin cake batter for added flavor and texture. Just fold them into the batter gently before pouring it into the pans.
Can I make my vegan pumpkin cake with a different type of squash or sweet potato puree?
Yes, you can use other squashes like butternut squash or sweet potato puree as substitutes for pumpkin puree in your vegan cake recipe. The flavor may vary slightly, but it can still be delicious.
Can I omit the spices in my vegan pumpkin cake if I prefer a plainer flavor?
Yes, you can omit the spices like cinnamon, ginger, nutmeg, and cloves if you prefer a milder pumpkin flavor. However, keep in mind that these spices are what give the cake its classic pumpkin spice taste.

How to Serve and Store Vegan Pumpkin Cake
Serving
Here are a few ideas on how to serve and enjoy your vegan pumpkin cake:
- Pair with Non-Dairy Whipped Cream: Consider serving each slice with a dollop of non-dairy whipped cream or a scoop of vegan ice cream on the side. This adds a creamy and cool contrast to the warm and spiced cake.
- Serve Warm or Chilled: Depending on your preference and the time of year, you can serve your vegan pumpkin cake either at room temperature or chilled. Chilled cake can be refreshing, especially on warmer days.
- Add Sauces or Syrups: Elevate the dessert experience by drizzling additional sauces or syrups over the cake slices. Vegan salted caramel sauce, chocolate ganache, or a fruit compote can be wonderful choices.
- Pair with Hot Beverages: Vegan pumpkin cake pairs wonderfully with hot beverages such as vegan chai latte, spiced tea, or a cup of coffee. The warm and cozy flavors complement each other.
- Serve on Festive Plates: To enhance the presentation, use festive or decorative plates and dessert forks or spoons. This adds a special touch to the serving experience, especially if you're serving the cake at a special occasion or gathering.
- Enjoy the Seasonal Atmosphere: Since pumpkin-flavored desserts are often associated with the fall season, consider serving your vegan pumpkin cake in a cozy setting with autumn decorations, candles, or rustic tableware to enhance the seasonal ambiance.
Storing
Storing vegan pumpkin cake with cream cheese frosting is essential to maintain its freshness and prevent spoilage. Vegan cream cheese frosting can be sensitive to heat, so it's best to store the cake in the refrigerator. To this end, ensure the cake is on a sturdy, flat plate or cake stand with a cover or a large airtight container. This will help prevent it from absorbing any unwanted odors from the fridge.
If you have a cake carrier with a lid, that's ideal for storing the cake. Alternatively, use plastic wrap or aluminum foil to tightly cover the entire cake. Ensure that the frosting is well protected, and the cake is sealed from air exposure.
If you have leftover cake slices, you can store them in airtight containers or wrap them individually with plastic wrap. This also makes it easy to grab a single serving without affecting the rest of the cake. Place the covered cake or cake slices in the refrigerator. The cold temperature will help preserve the freshness of both the cake and the frosting.
For the best taste and texture, try to consume the cake within 3-5 days when stored in the refrigerator. Vegan cakes tend to have a shorter shelf life compared to those containing dairy and eggs.
If you make this recipe please tag @censoredbaker on Instagram!
PrintVegan Pumpkin Cake with Cream Cheese Frosting and Salted Caramel Drizzle
Tangy, dairy-free cream cheese frosting sandwiched between moist pumpkin spice cake layers drizzled in salted caramel sauce. All 100% vegan.
- Prep Time: 30 minutes
- Bake Time: 30 minutes
- Total Time: 1 hour
- Yield: 1 6 or 8-inch Cake 1x
- Category: Cakes and Cupcakes
- Method: Bake
- Cuisine: American
- Diet: Vegan
Ingredients
For the Cake
3 c all purpose flour
1 ⅓ c sugar
1 ½ tsp baking powder
¾ tsp baking soda
1 tsp salt
1 ½ tsp ground cinnamon
½ tsp ground ginger
½ tsp ground nutmeg
½ tsp ground cloves
1 ⅓ c pumpkin puree
1 ⅓ c nondairy milk
¾ c canola oil
1 tbsp white or apple cider vinegar
1 tbsp vanilla extract
For the Frosting
4 oz vegan cream cheese
½ c non-hydrogenated shortening
3 c powdered sugar
½ tsp vanilla extract
pinch of salt
For the Caramel Drizzle (optional)
½ c sugar
3 tbsp vegan butter
2 tbsp nondairy milk
¼ tsp sea salt
Instructions
- Prep: Preheat oven to 350 degrees F and line the bottom of 3 6-inch or 2 8-inch cake pans with parchment paper. Set aside.
- Make the Batter: In a large bowl, whisk together the all purpose flour, sugar, baking powder, baking soda, salt and spices. In a smaller, separate bowl vigorously whisk together the pumpkin puree, nondairy milk, canola oil, vinegar and vanilla until completely smooth. Pour wet ingredients into dry ingredients and mix until just-combined. Do not over-mix.
- Bake: Divide cake batter evenly between prepared pans. Place pans on center rack of preheated oven and bake for 30-35 minutes or until toothpick inserted into center of cake comes out clean with only a few crumbs clinging to it. Allow cakes to cool in pans for 20-30 minutes before inverting onto a wire rack to cool completely.
- Make the Frosting: Prepare the frosting while the cake layers are cooling. Add vegan cream cheese and non-hydrogenated shortening to a large bowl and beat with an electric hand mixer or stand mixer until completely smooth. This can take a minute or two. Add powdered sugar, vanilla and salt to the bowl and continue to beat until frosting is nice and smooth.
- Level Cake Layers: While this step is totally optional, it is recommended. Take a sharp serrated knife and carefully slice the dome top off of each of your cake layers. This will make your cake much sturdier. This video is very informative if you’d like help.
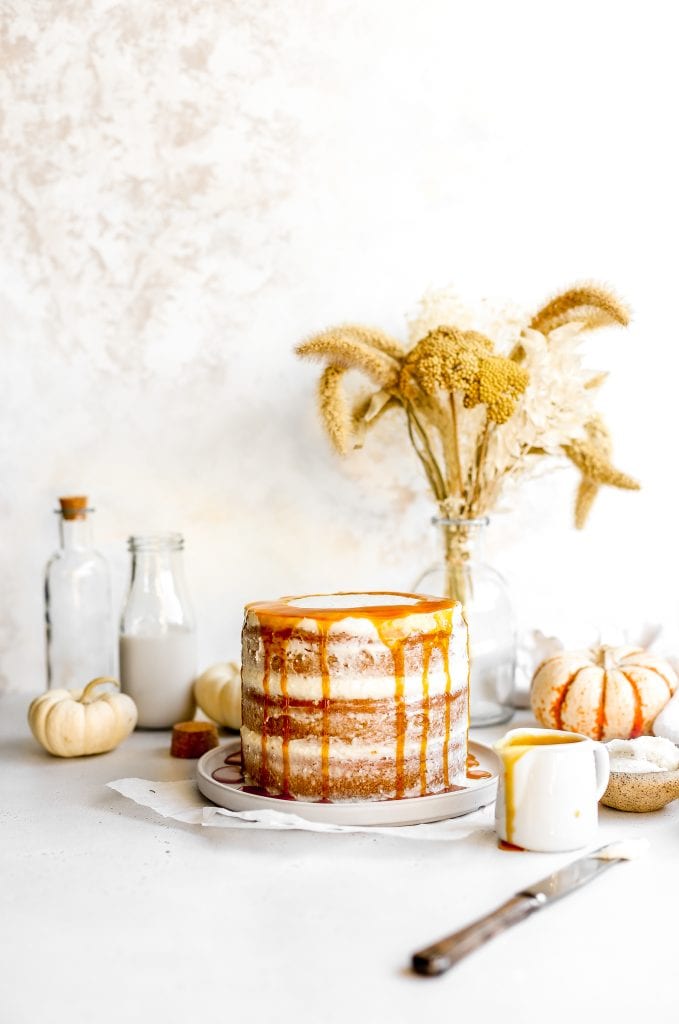
- Assemble: Set one of your cake layers on a serving plate. Spread an even layer of frosting over the top. Carefully stack another cake layer and top with frosting. Repeat this step once more if making a 3-layer cake. Use the remainder of your frosting to cover the top and sides of the cake. Depending on your style, you can either completely cover the cake so it appears white or you can spread the icing on very thinly so the orange of the cake peaks through. This gives a nice, rustic look. Place the finished cake in the refrigerator to chill for about an hour before serving. This will firm everything up a bit.
- Make Caramel Drizzle (optional): Add sugar to a small saucepan and heat on stove over medium-low until completely melted. Do not stir! Just swirl the pan every 15-30 seconds to prevent burning. Once melted, remove pan from heat. Immediately add vegan butter to the pan and whisk vigorously. Mixture will bubble violently. Once bubbling stops, whisk in nondairy milk and salt. Transfer to a sealable jar and allow caramel to cool slightly before placing in the refrigerator to chill for at least 1 hour.
- Serve: When you are ready to serve, remove the cake and caramel sauce from the fridge. Drizzle the caramel sauce in a circular motion over the top of the cake. This will allow the caramel to drip down the sides. Cut the cake into slices using a very sharp knife, wiping it thoroughly between cuts. Plate and serve.
Notes
*Prepared cake will keep in an airtight container in the refrigerator for 3-4 days. Unfrosted cake layers can be frozen for up to 1 month.
*When making layer cakes, I prefer to bake my cake layers a day prior to serving. Once the layers are completely cool, I wrap them in plastic wrap and place them in my refrigerator to chill overnight. I find that this makes the cake layers easier to level and frost as they are more solid and less crumbly.


Leave a Reply