This Vegan Chocolate Fudge Pie has a light, rich chocolate fudge filling all encased in a flaky piecrust. Top with homemade dairy-free whipped cream and shaved dark chocolate. Let's learn how to make it!
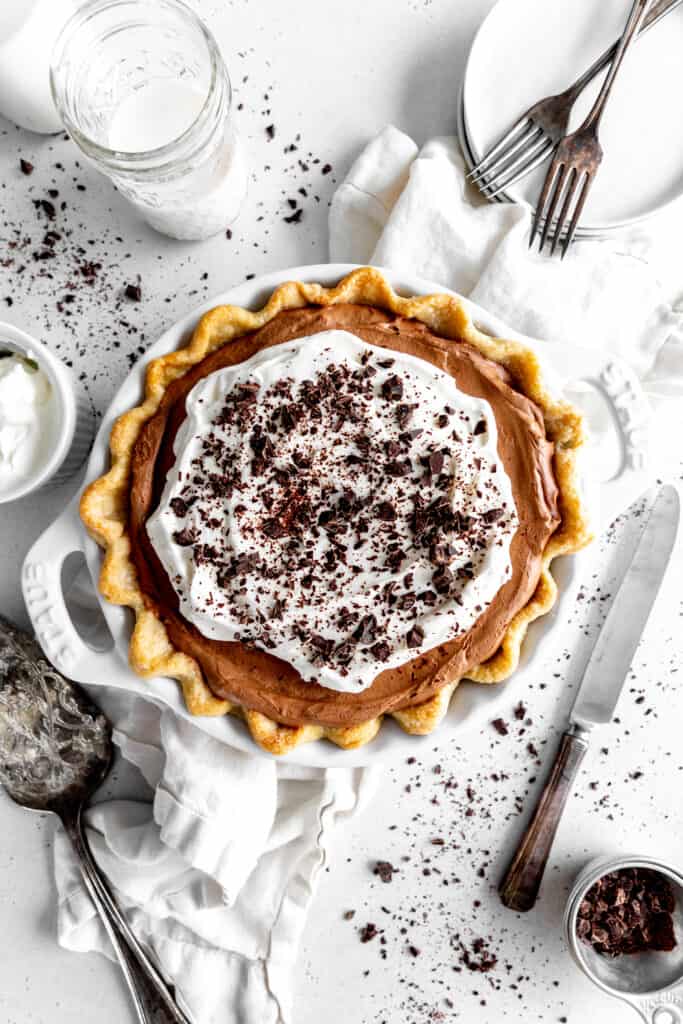
While this amazing vegan chocolate fudge pie is incredibly decadent, it is made using fairly simple methods - par-baking a pie crust, melting chocolate and whipping cream. Easy!
Check out our post on vegan pie crust to ensure you have the butteriest, flakiest pie crust possible.
If you like cream pies, be sure to check try our banana cream pie as well! Want more pies and pastries? We have something for every craving!
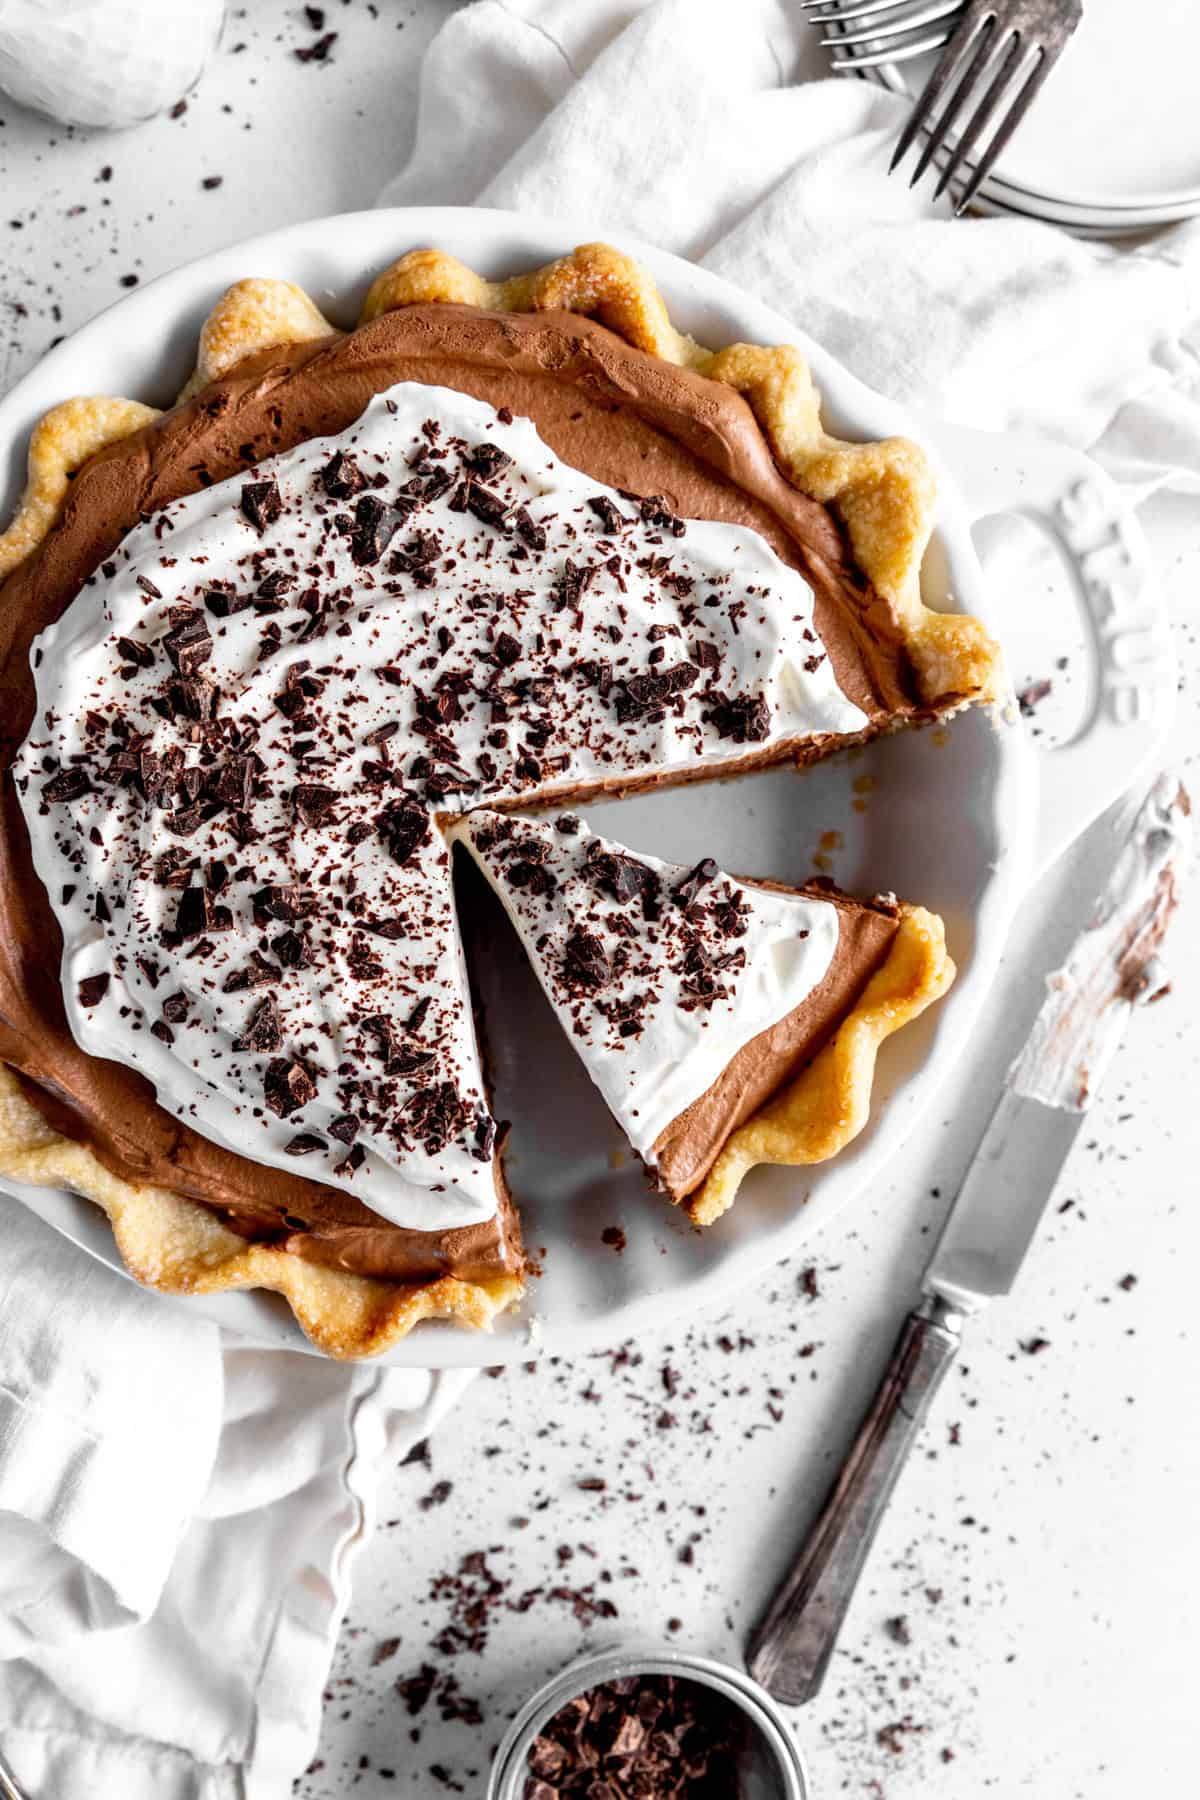
Vegan chocolate fudge pie ingredients:
This combination of ingredients creates a rich, creamy, and decadent vegan chocolate fudge pie with a perfect balance of flavors and textures:
- single pie crust: The crust serves as the foundation of the pie, providing structure and a buttery, flaky texture to complement the rich, creamy filling. Use a store-bought or homemade vegan pie crust.
- nondairy heavy cream: Nondairy heavy cream provides the richness and creamy texture needed for a silky, luscious filling. Part of it is whipped to create lightness, while the other part is heated to melt the chocolate and create a smooth ganache-like base.
- nondairy chocolate chips: The chocolate chips give the pie its decadent, chocolatey flavor. When melted, they blend with the cream to create a smooth, fudgy consistency.
- vanilla extract: Vanilla enhances the overall flavor, balancing the deep chocolate taste with a hint of sweetness and warmth.
- powdered sugar: Powdered sugar sweetens the filling and helps maintain a smooth texture, as it dissolves easily without leaving a grainy consistency.
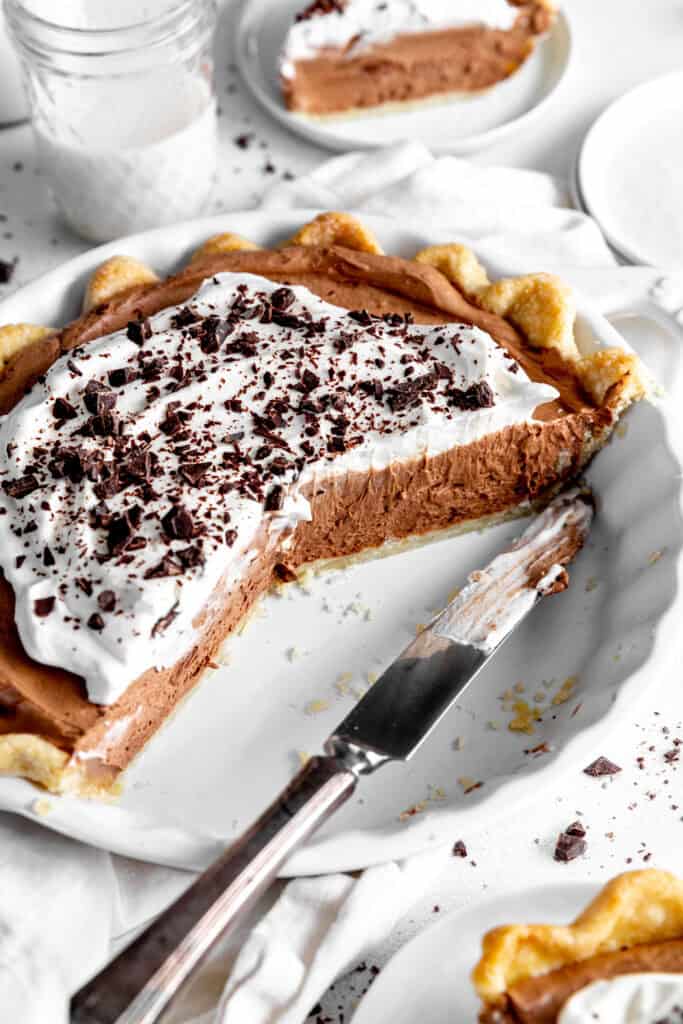
Why you'll love this pie:
- Decadent and Rich: The smooth, creamy chocolate filling is the star of this pie- rich and fudgy. Has a luxurious, melt-in-your-mouth texture.
- Easy to Make: With simple, easy-to-find ingredients and minimal preparation, this pie is a breeze to make, even for those new to vegan baking.
- Vegan-Friendly: Made without dairy or eggs, this pie is perfect for anyone following a vegan diet or those with dietary restrictions.
- Impressive Appearance: Its smooth, glossy top and perfectly set filling make it an impressive dessert to serve at gatherings, making it look as good as it tastes.
How to make vegan chocolate fudge pie (with pictures!):
Please see the recipe card at the bottom of the page for full instructions and ingredient measurements.
Begin by preparing a single piecrust. Roll the dough into a 11-12 inch circle and transfer to a 9 inch pie pan. Poke holes in bottom and sides with a fork and brush crust with nondairy milk. Sprinkle with sugar.
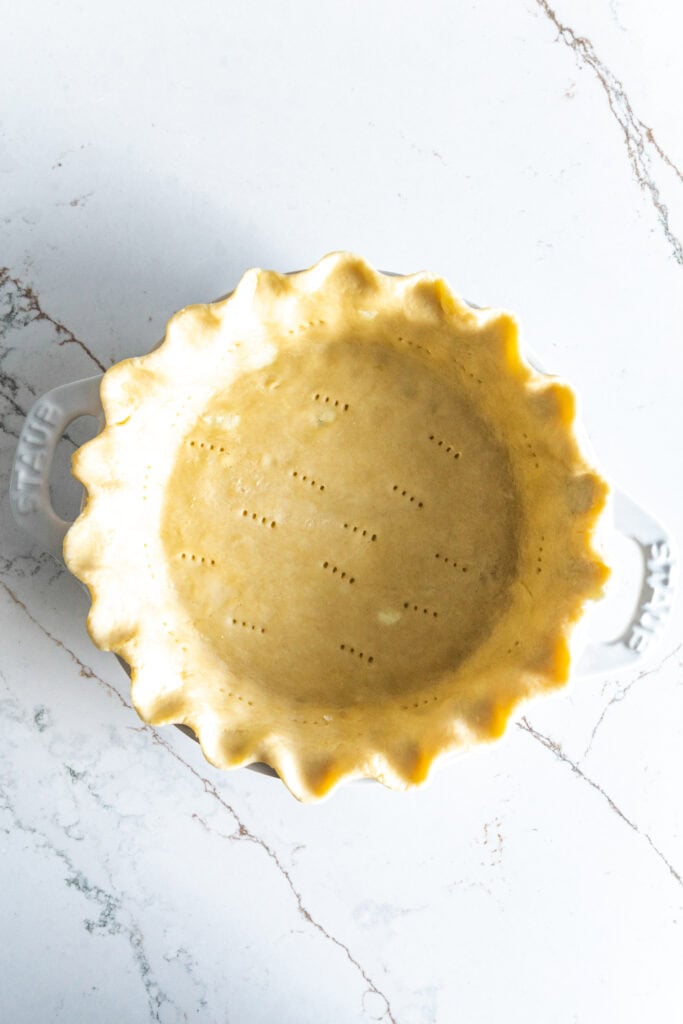
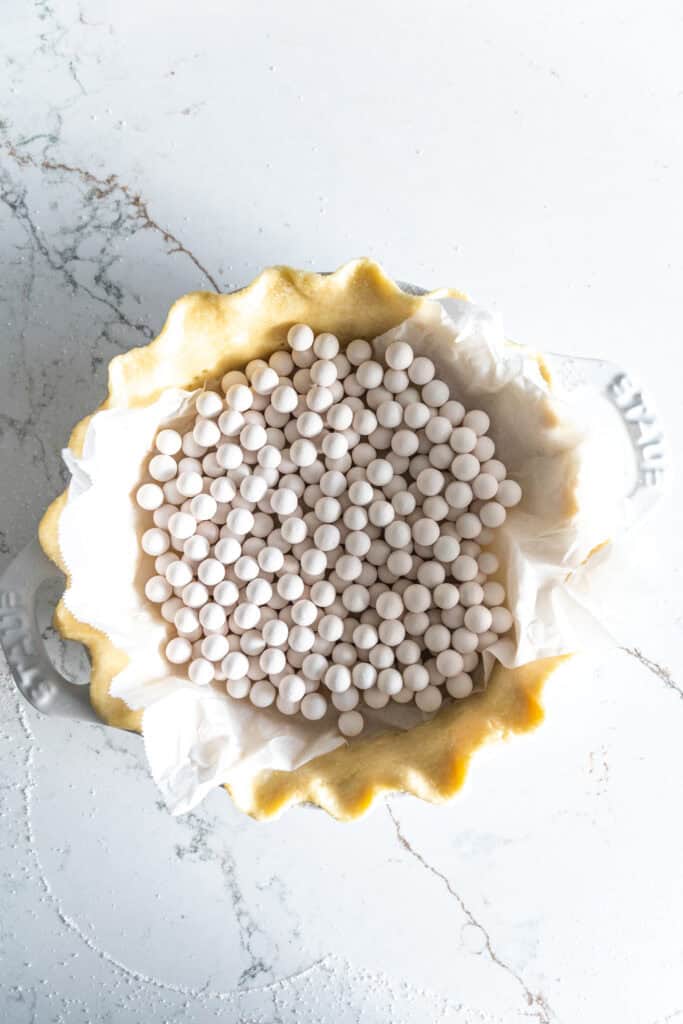
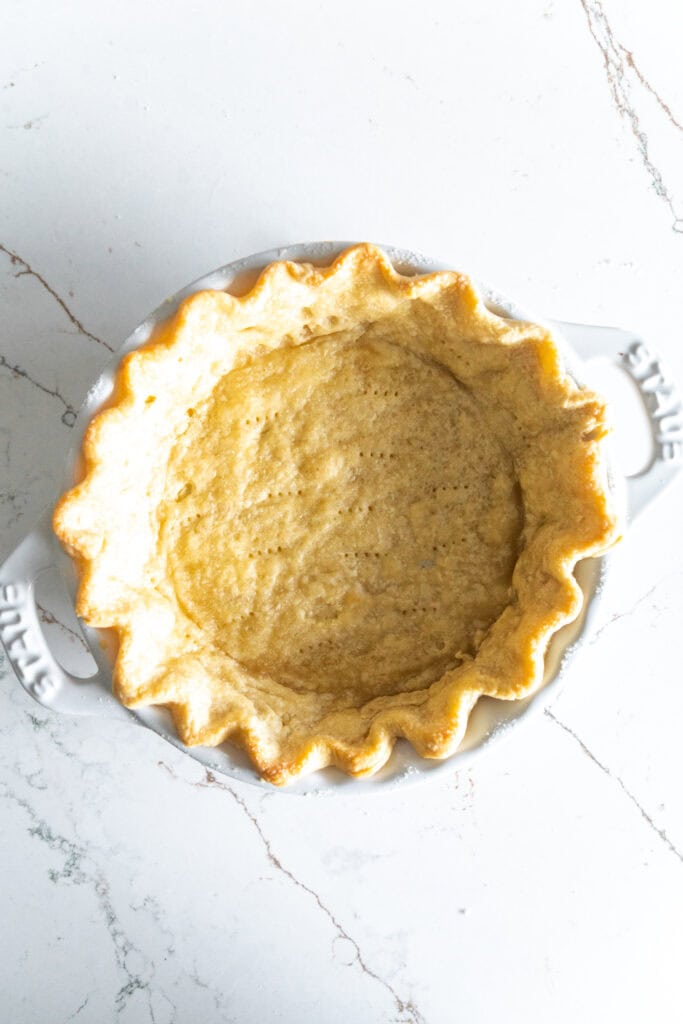
Lay a sheet of parchment paper in the crust and fill with ceramic pie weights. Bake crust at 350 degrees F (175 C) for 15 minutes.
Remove pie weights and parchment and return pie to the oven. Bake for an additional 15-20 minutes or until crust is deeply golden. Set aside to cool completely.
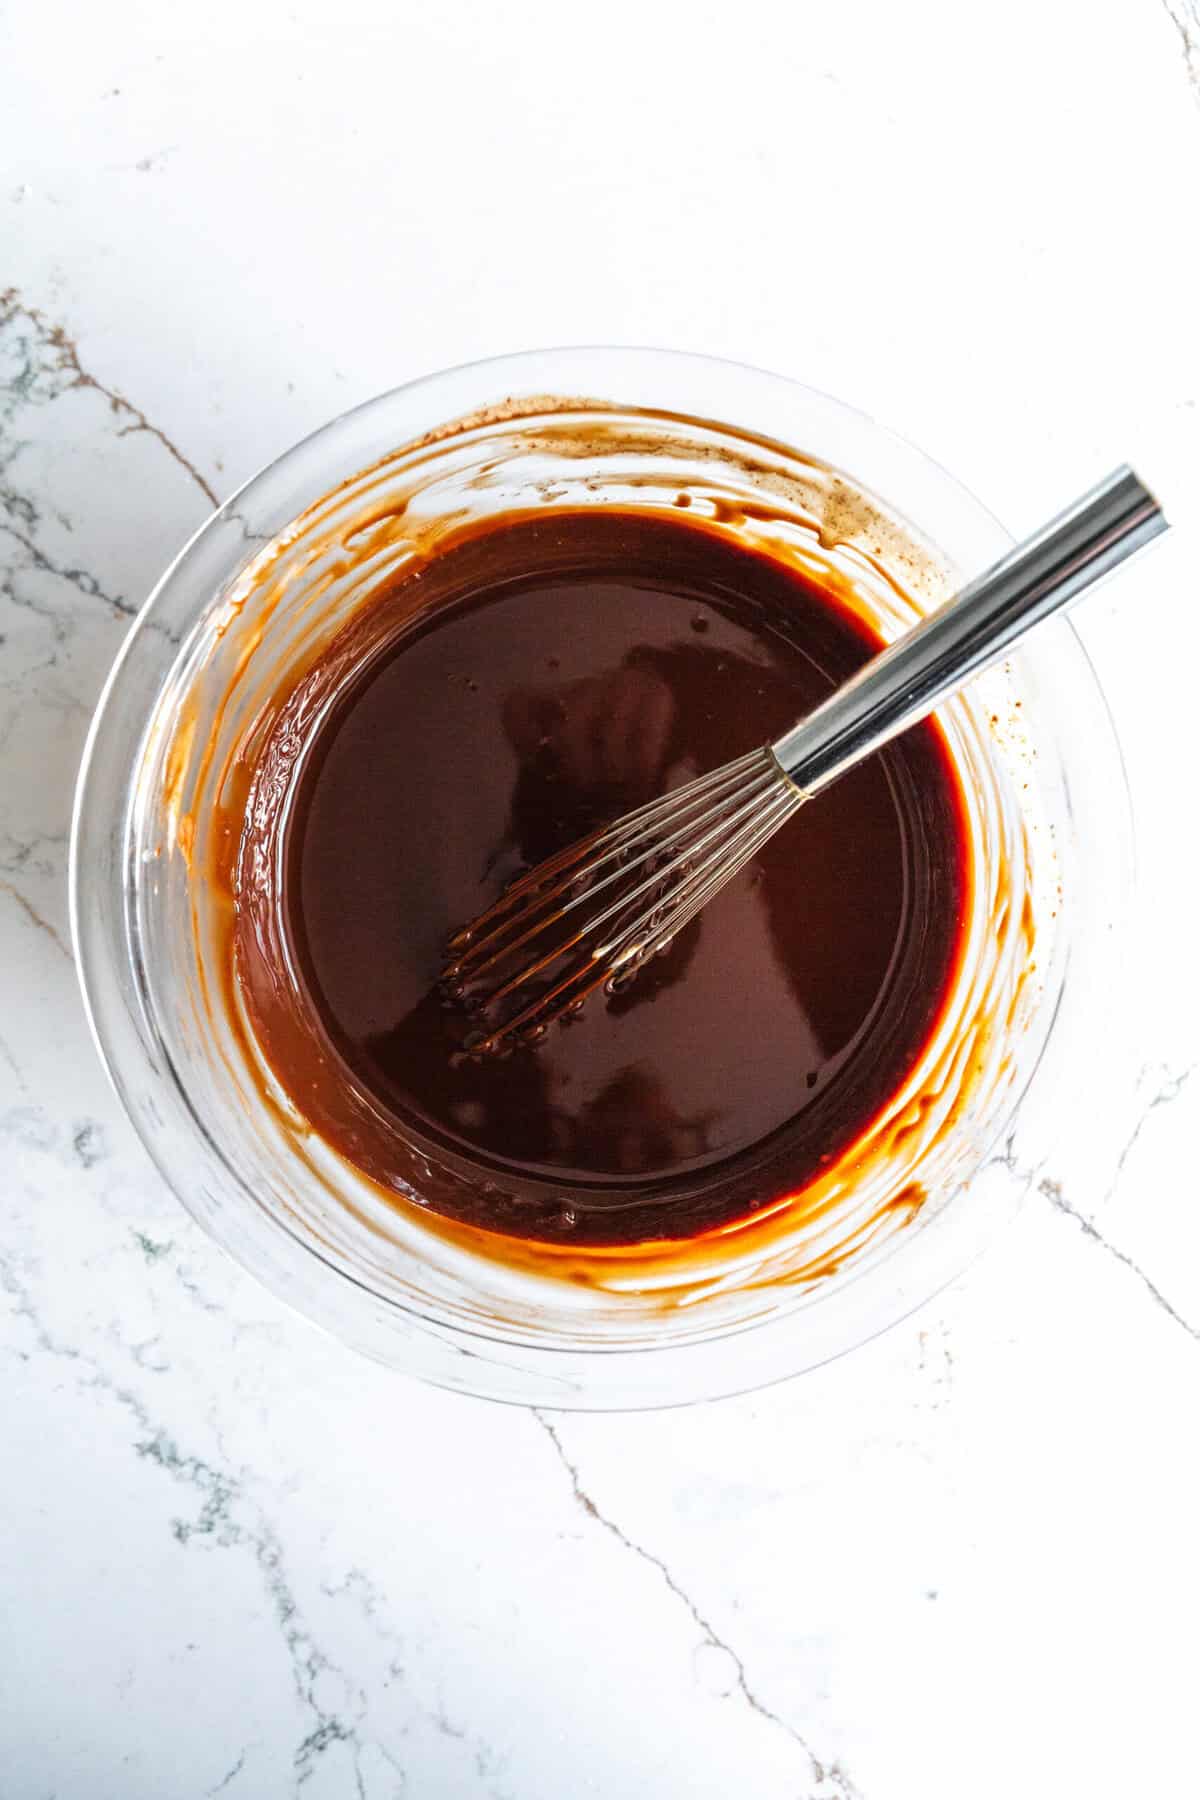
Simmer one cup of the cream in a saucepan and pour it over the chocolate chips. Whisk until smooth. Set aside to cool.
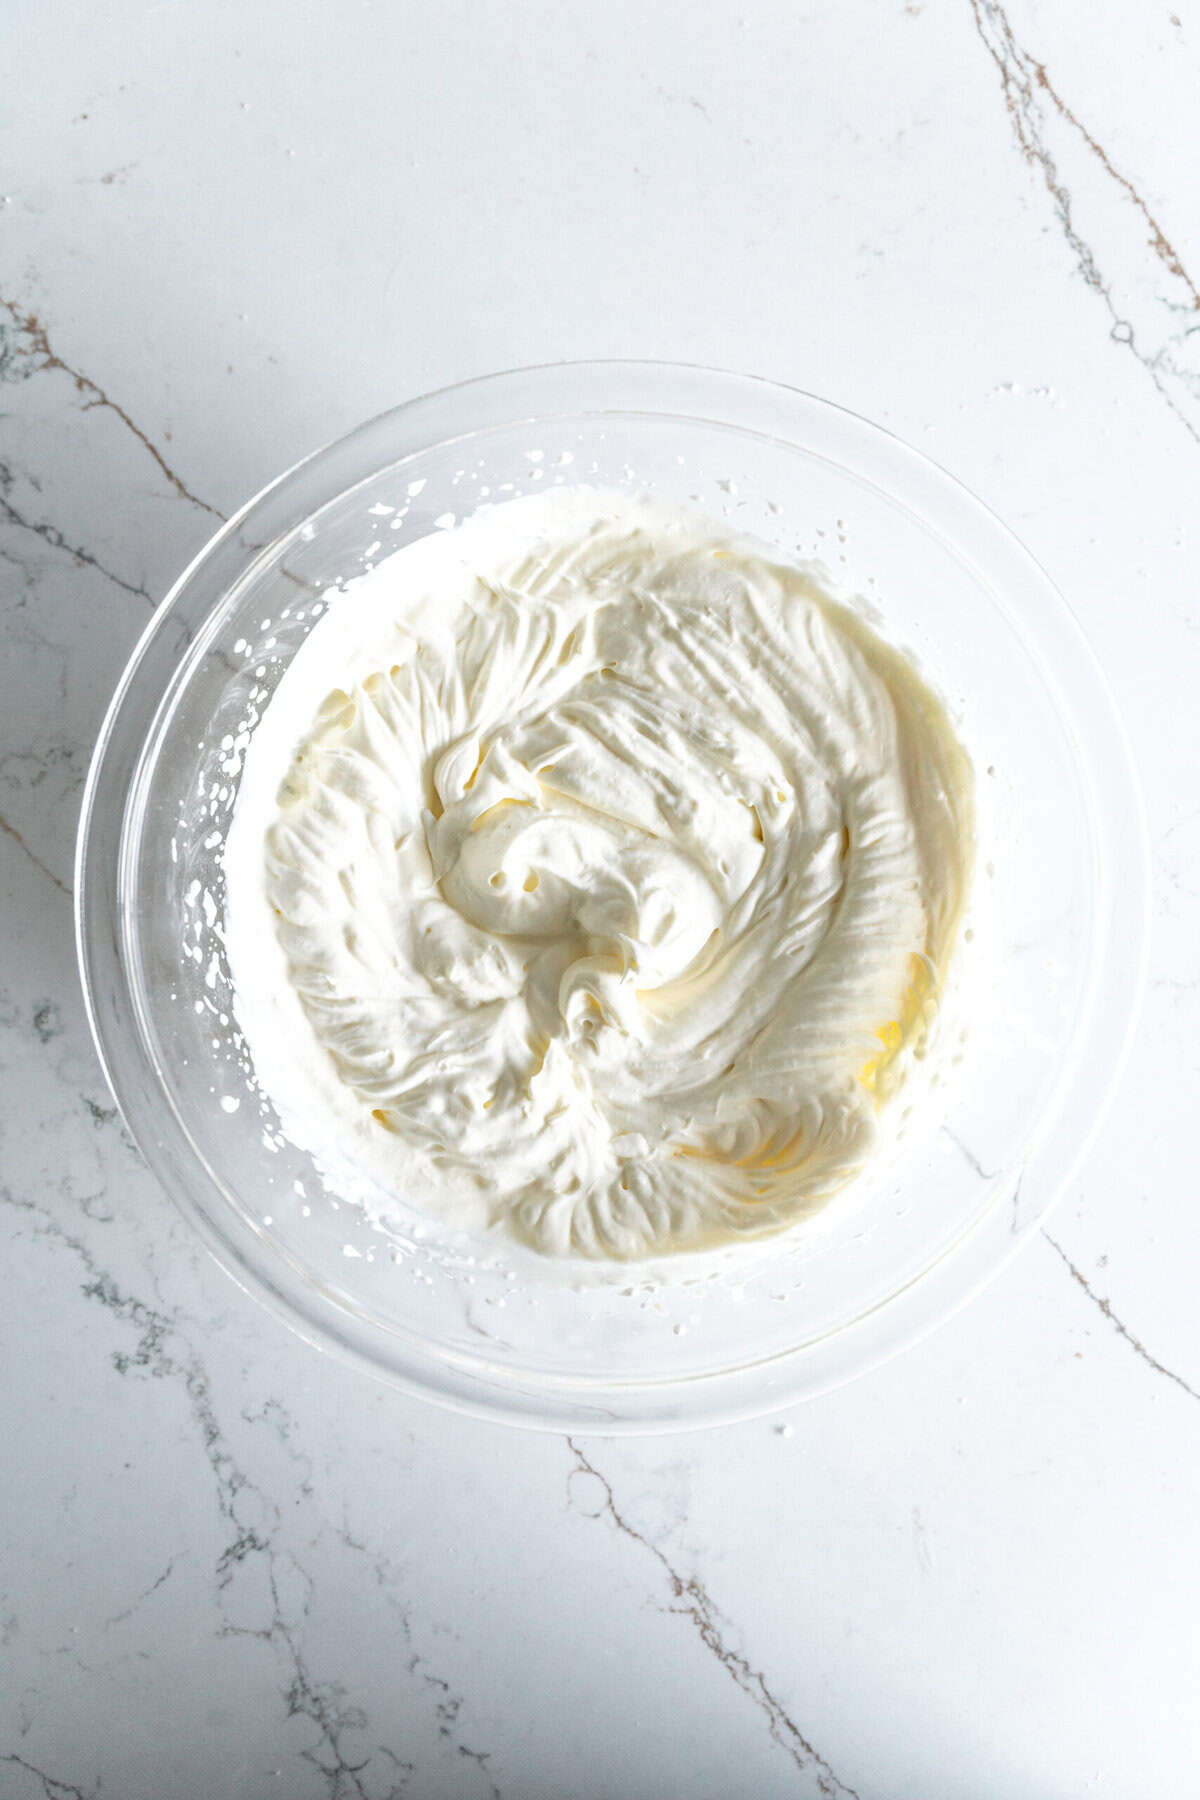
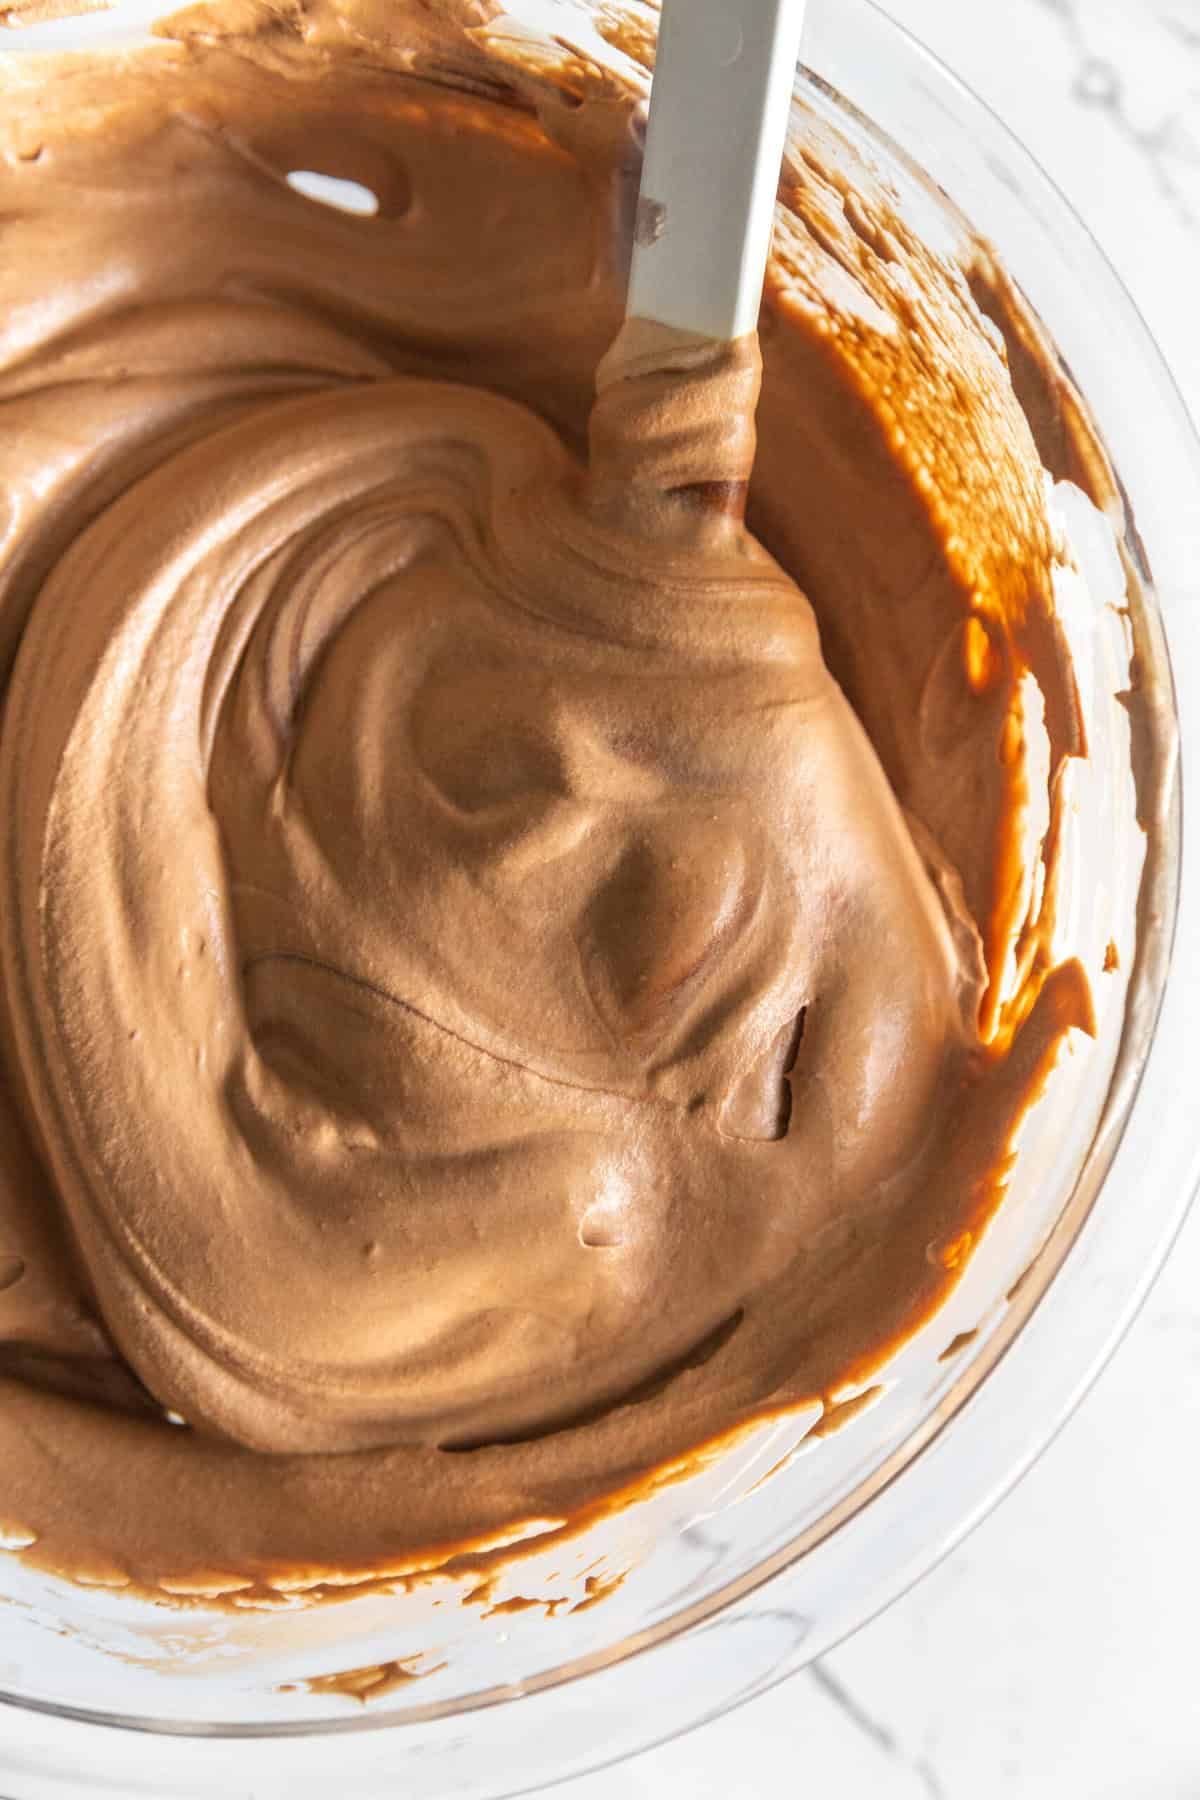
Whip together remaining cream and the powdered sugar using an electric hand mixer until stiff peaks form. Fold cooled melted chocolate and whipped cream together gently.
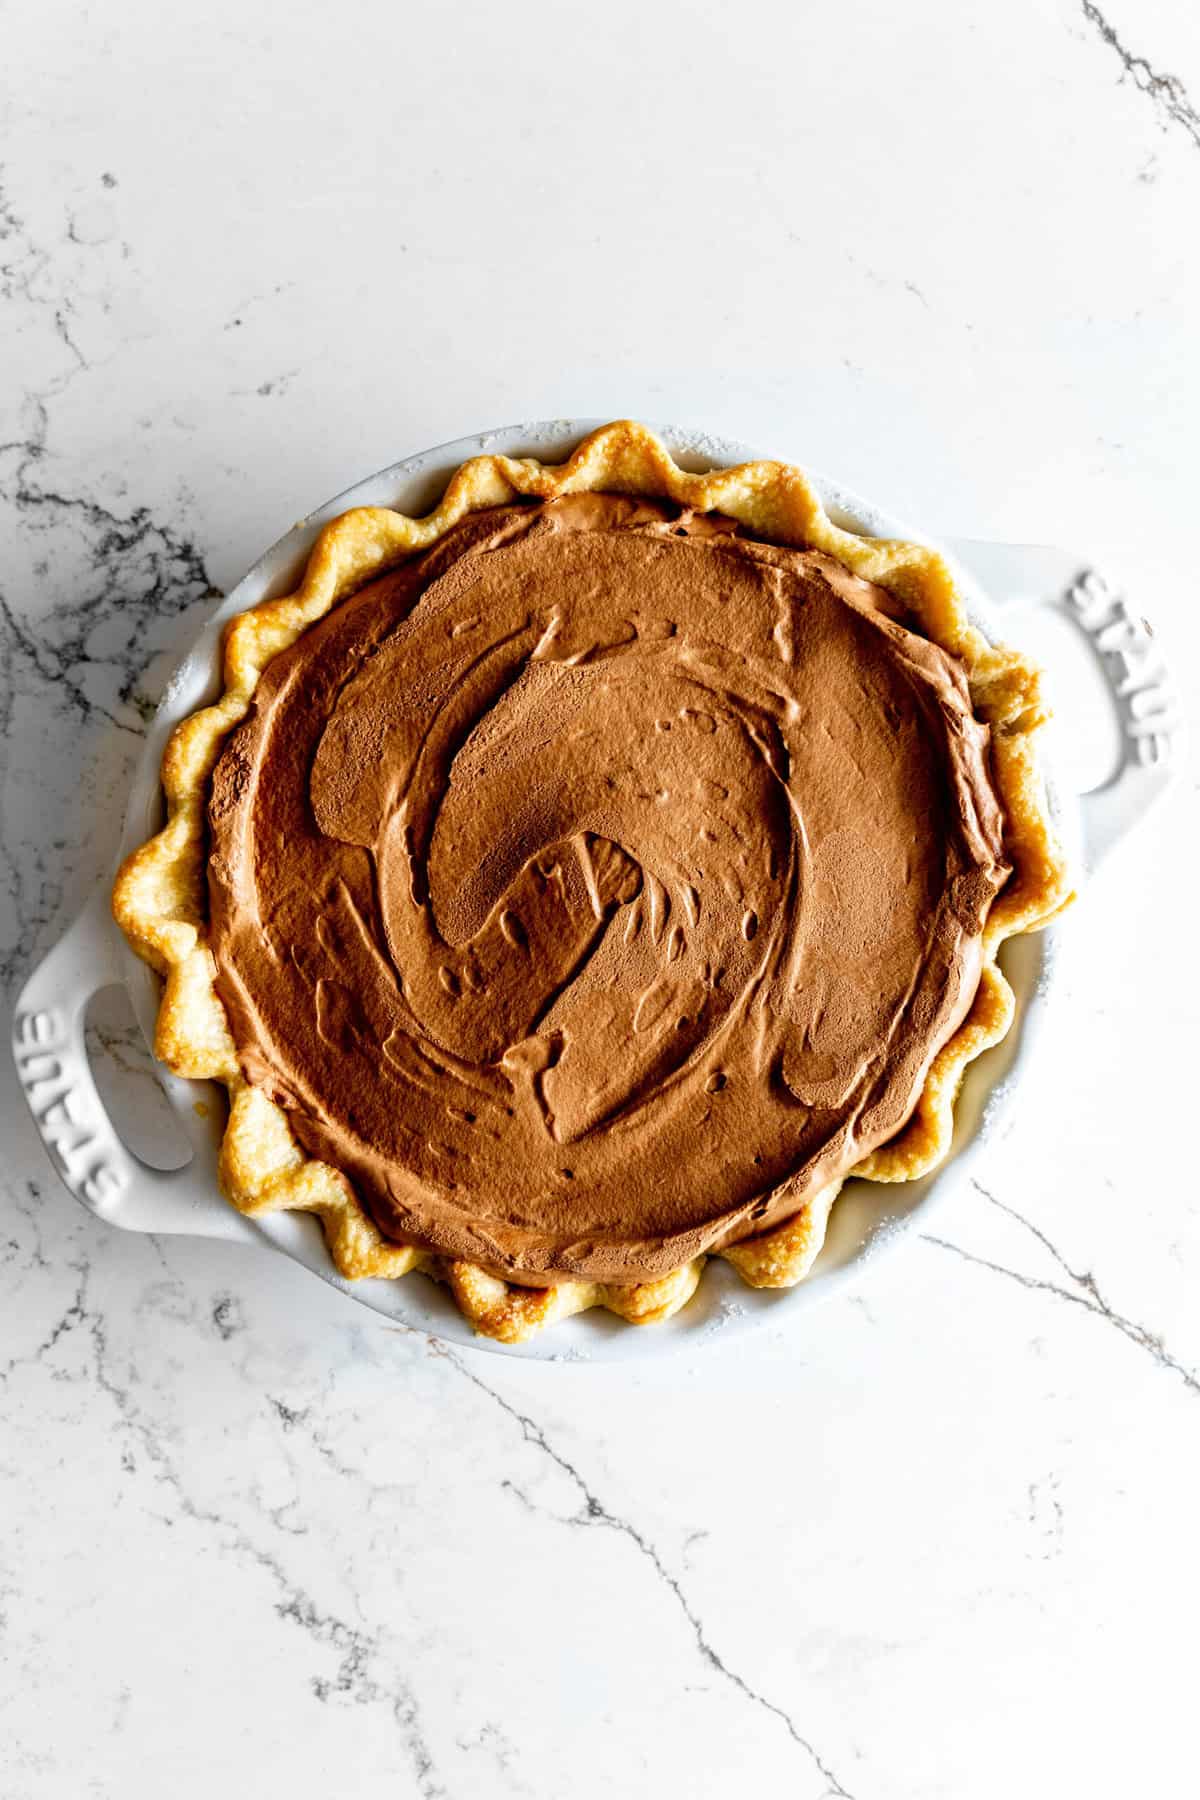
Fill the pie shell with the chocolate cream and smooth the top with a rubber spatula. Place pie in the refrigerator to chill for at least 4 hours.
Tips for making a vegan chocolate fudge pie:
By following these tips, you'll ensure that your vegan chocolate fudge pie turns out rich, smooth, and absolutely delicious every time:
- Use High-Quality Chocolate: Since chocolate is the main flavor in this pie, use high-quality vegan chocolate chips for the best taste and texture.
- Chill the Crust Before Filling: If using a store-bought or homemade pie crust, it's helpful to chill the crust in the fridge for 10-15 minutes before adding the filling. This helps the crust maintain its shape and prevent sogginess.
- Whip the Nondairy Cream Well: Make sure to whip the nondairy cream to stiff peaks before adding it to the chocolate mixture. This gives the filling a light, airy texture, rather than a dense or overly heavy one.
- Be Careful with Heating the Cream: When heating the nondairy cream to melt the chocolate, don't let it boil. Heat it gently over low to medium heat so that it's warm enough to melt the chocolate but not so hot that it curdles.
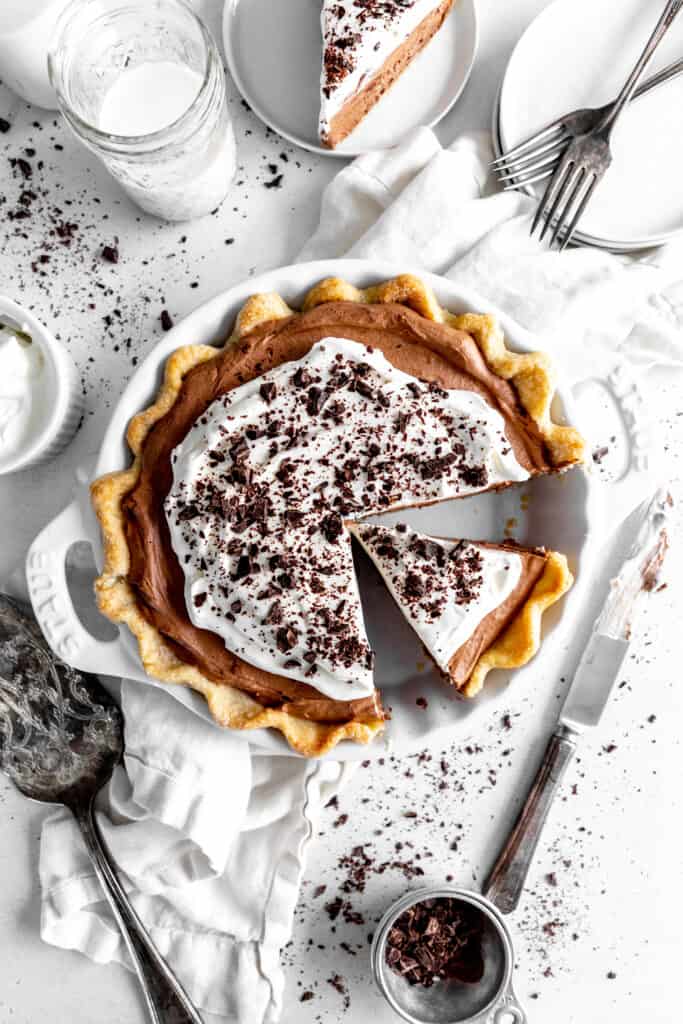
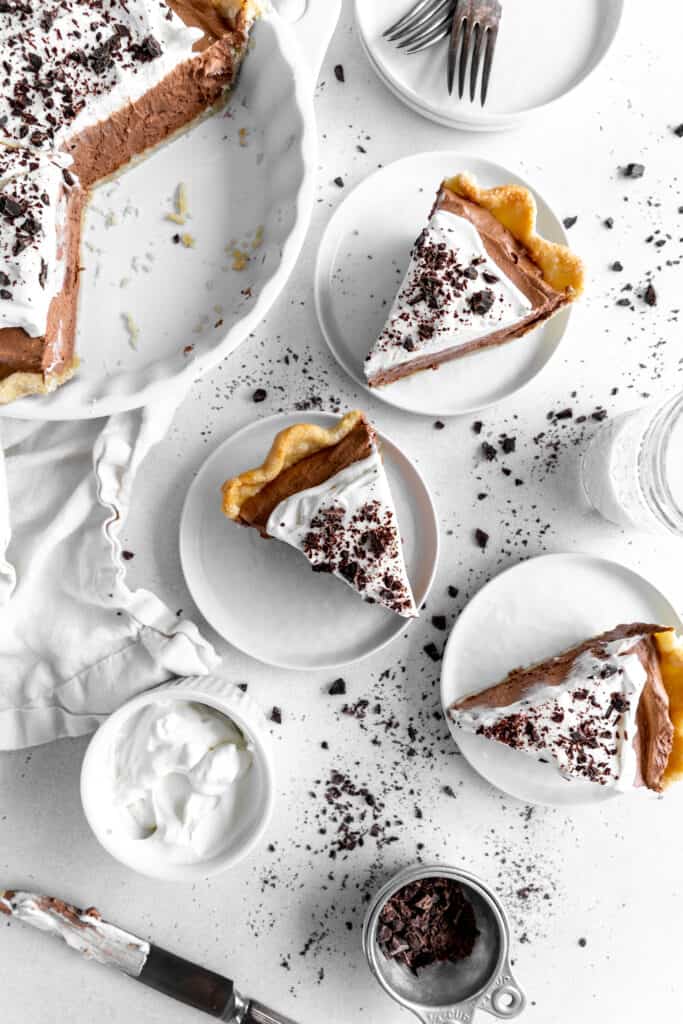
- Use a Sharp Knife for Slicing: To get clean slices, use a sharp knife and wipe the knife clean between slices to keep the layers of the pie neat and tidy.
- Make Ahead for Convenience: This pie is great for making ahead of time, as the flavors deepen and the texture improves after sitting in the fridge for a few hours or even a day.
How to perfectly parbake piecrust:
Parbaking a pie crust is an important step to ensure that it cooks through properly and doesn't become soggy when filled with wet ingredients. Here's how to do it perfectly:
Steps for Parbaking a Pie Crust:
- Prepare the Pie Crust
Roll out your pie dough and fit it into your pie pan. Trim any excess dough and crimp the edges. If you're using a store-bought crust, make sure it's properly thawed and placed in the pan.
- Chill the Crust
Place the prepared crust in the freezer for at least 15 minutes before parbaking. This helps the dough firm up, preventing shrinkage during baking.
- Prick the Crust
Use a fork to poke small holes (called "dock") in the bottom of the crust. This prevents the crust from puffing up while baking and ensures an even texture.
- Add Pie Weights or Beans
Fill the lined crust with pie weights, dry beans, or rice to keep the crust from rising or shrinking. These weights also ensure that the bottom of the crust cooks evenly.
- Bake the Crust
Preheat your oven as specified in your recipe. Place the pie crust on a baking sheet (to catch any drips) and bake for 15-20 minutes or until the edges start to turn golden and the bottom is firm.
- Remove Pie Weights and Lining
Carefully remove the parchment paper with the weights after 15-20 minutes. Return the crust to the oven and bake for an additional 15 minutes or until the bottom is golden brown and fully set.
- Cool Before Filling
Let the crust cool completely before adding any wet fillings. This ensures the crust stays crisp and doesn't absorb moisture from the filling.
By following these steps, you'll get a perfectly parbaked pie crust that is crisp, golden, and ready to hold your delicious fillings!
Frequently asked questions:
Yes, you can use a store-bought vegan pie crust to save time. Just make sure to check the label to confirm it's free from animal products like butter or lard.
Yes, you can purchase or prepare a gluten-free pie crust. All of the other ingredients should naturally be gluten-free.
Yes! This pie can be made ahead of time. In fact, it sets best when chilled in the fridge for at least 4 hours or overnight. This allows the filling to firm up and become fudgy. Just make sure to keep it covered in the fridge until you're ready to serve.
If you don't have nondairy heavy cream, you can substitute it with canned full-fat coconut milk or another plant-based heavy cream alternative. Just make sure to use the thickest option available for the creamiest filling. See recipe notes.
Absolutely! You can make mini pies by using small tart pans or muffin tins. Adjust the baking time accordingly; mini pies will require less time to bake.
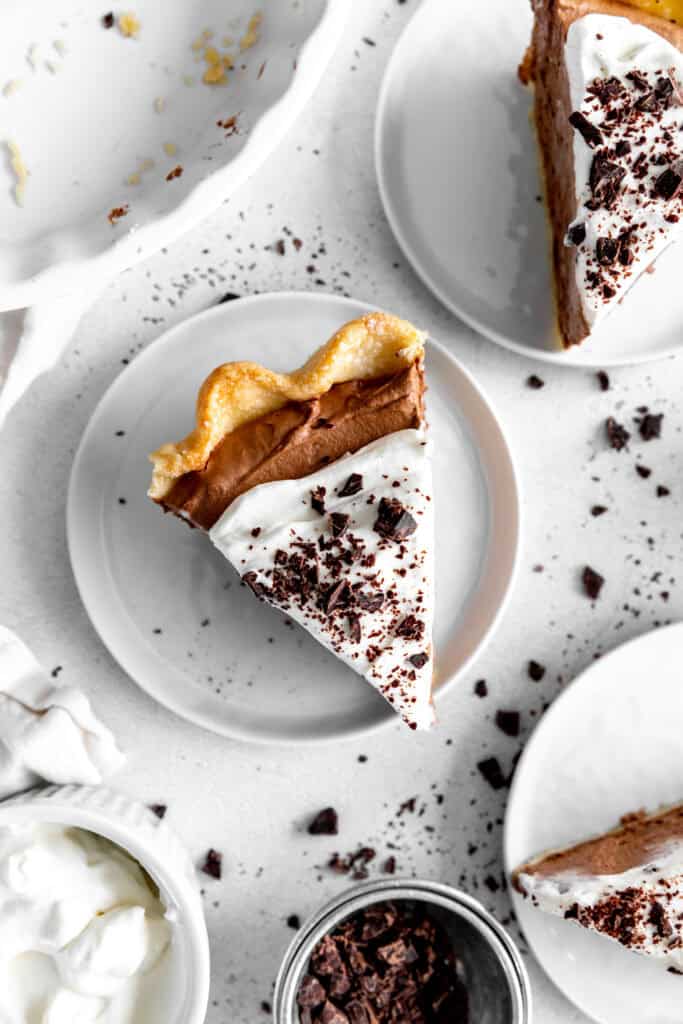
Difference between chocolate pie and french silk pie:
The Vegan Chocolate Fudge Pie and Vegan French Silk Pie are both rich and indulgent chocolate pies, but they differ in several key ways, including texture, ingredients, and flavor profile.
Texture:
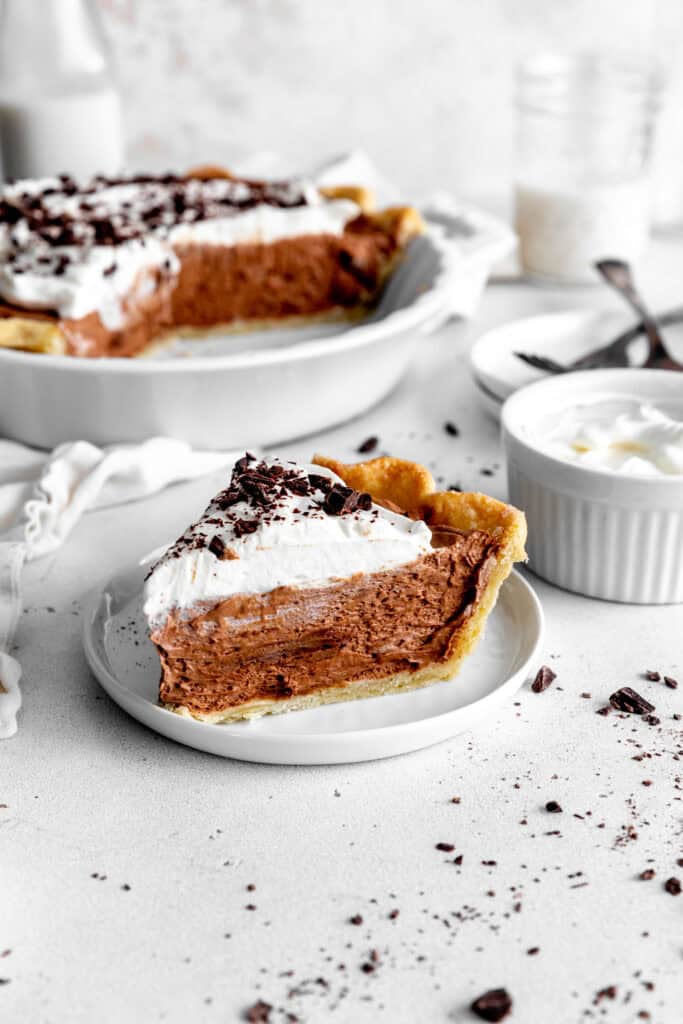
- Vegan Chocolate Fudge Pie: The texture of this pie is dense and fudgy. It has a smooth filling that's rich yet creamy, with a slight firmness once fully chilled.
- Vegan French Silk Pie: French silk pie has a much lighter, fluffier texture. The filling is typically airy and mousse-like, due to whipped ingredients like vegan butter, tofu, or coconut cream. It's much less dense than a fudge pie and has a soft, creamy mouthfeel.
Ingredients/Flavor:
- Vegan Chocolate Fudge Pie: The filling primarily consists of nondairy cream, chocolate, vanilla extract, and powdered sugar. The filling is rich, silky, and has a somewhat firm consistency due to the use of cream and chocolate that solidifies when chilled.
- Vegan French Silk Pie: French silk pie filling is often made with a combination of vegan butter or margarine, vegan cream cheese or silken tofu, and melted chocolate. The ingredients are whipped together to create a fluffy, mousse-like consistency.
How to store leftover chocolate pie:
To ensure your leftover pie stays fresh and maintains its delicious flavor, follow these simple storage tips:
Store in the refrigerator:
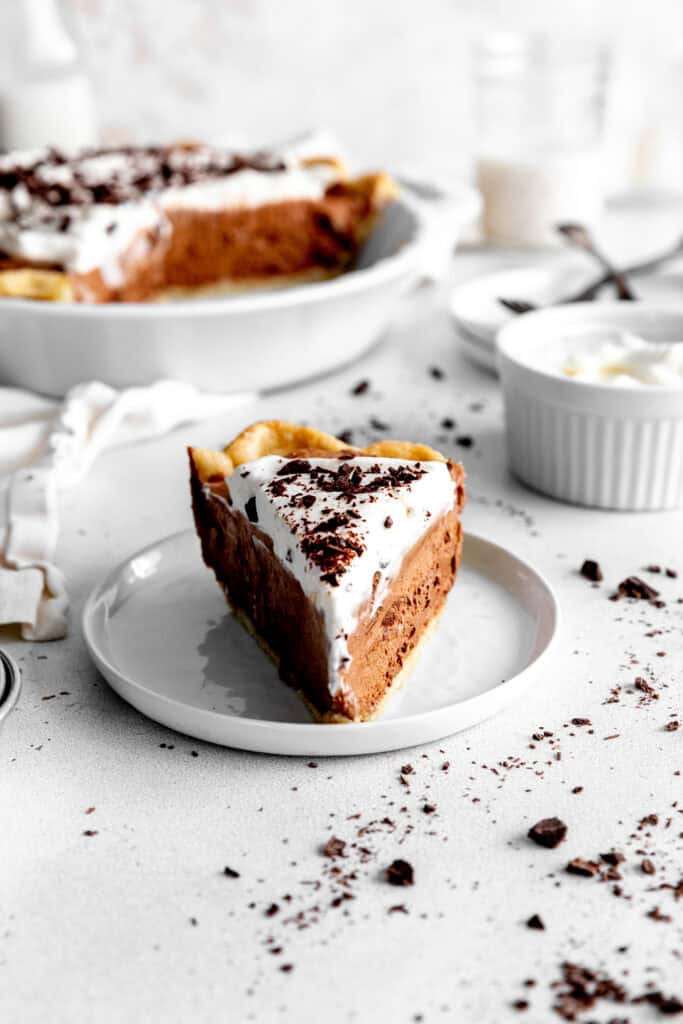
This pie needs to remain chilled to maintain its creamy, fudgy texture. Store any leftovers in an airtight container or cover the pie with plastic wrap or foil to keep it from absorbing odors from other foods in the fridge.
It can keep like this for 3-4 days. This recipe is not freezer friendly.
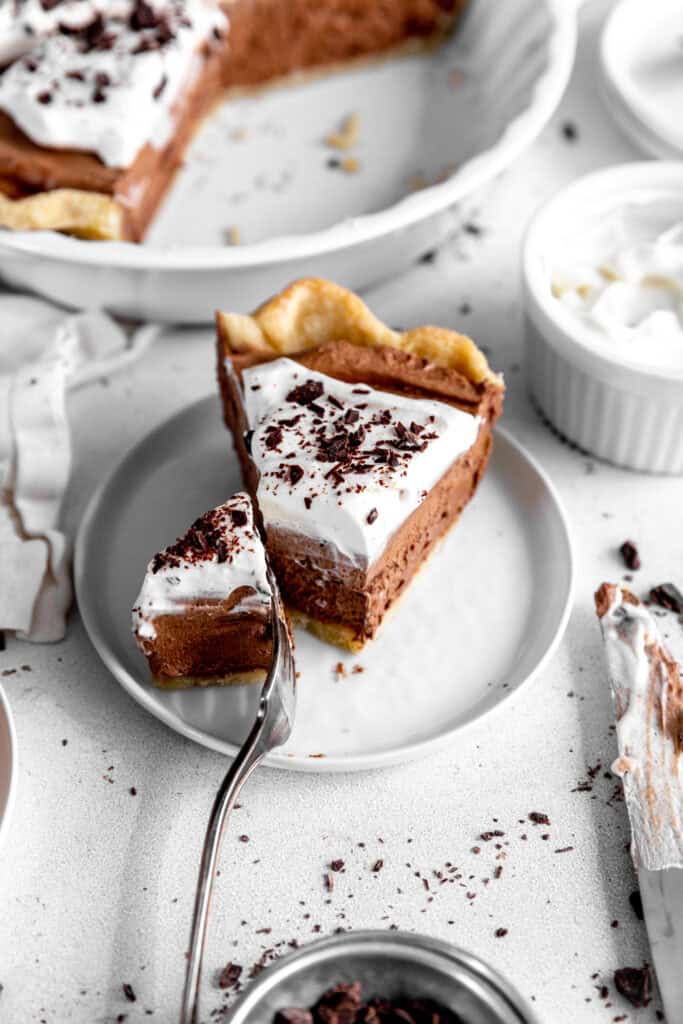
If you make this recipe, please tag @censoredbaker on Instagram!
PrintVegan Chocolate Fudge Pie
Flaky, buttery piecrust filled with rich, velvety chocolate-cream. Perfectly fudgy and 100% vegan.
- Prep Time: 30 minutes
- Bake Time: 30 minutes
- Total Time: 1 hour
- Yield: 1 9-inch Pie 1x
- Category: Pies and Pastries
- Method: Chill
- Cuisine: American
- Diet: Vegan
Ingredients
For the Crust
For the Filling
2 cups nondairy heavy cream, separated*
1 ½ cups nondairy chocolate chips
1 teaspoon vanilla extract
½ cup powdered sugar
additional nondairy whipped cream + chocolate shavings to serve
Instructions
- Piecrust: Begin by making a single piecrust following the linked recipe. Once the crust has chilled as a disk for at least 2 hours, transfer it to a heavily floured surface. Roll out the dough into an 11-12 inch circle. The dough should be about ⅛ inch thick. Using your rolling pin, carefully transfer the dough to a 9-inch pie pan. Fold under the edges and crimp using your thumb and forefinger or a fork. Poke holes in the bottom and sides of the crust using a fork to aid in ventilation. Place piecrust in the freezer to chill for about 15 minutes.
- Prep: Preheat oven to 350 degrees F (175 C). Remove piecrust from the freezer. Lightly brush the edges of the crust with nondairy milk and sprinkle them generously with coarse sugar. Scrunch up a sheet of parchment paper and lay it into the unbaked pie shell. Pour ceramic pie weights over the paper and spread out as evenly as possible using your hands.
- Bake Piecrust: Set piecrust on center rack of preheated oven and bake for 15 minutes. Remove from oven and lift out the pie weights using the parchment paper. Return piecrust to the oven sans weights and bake for 15-20 minutes more or until crust is deeply golden in color. Remove piecrust from oven and set it somewhere to cool completely.
- Melt Chocolate: Pour one cup of nondairy heavy cream in a small saucepan and bring to a simmer. Add nondairy chocolate chips to a large bowl. Pour the heated cream over the top of the chocolate chips along with the vanilla extract. Allow the mixture to sit for 2 minutes before whisking until smooth. Let the filling cool, stirring occasionally to prevent it from solidifying.
- Whip Cream: Add the remaining cream to a clean mixing bowl along with the powdered sugar. Beat with an electric hand mixer for about 2-3 minutes or until stiff peaks form. Place the bowl of cream in the fridge to chill until ready to use.
- Prepare Filling: Once the piecrust and the chocolate mixture has cooled you can finish making the filling. Add your whipped cream into the bowl with the melted chocolate and fold together gently with a rubber spatula. You don't want to over-mix or whisk as these methods will remove the air. Pour chocolate filling into cooled pie shell and even out the top using the rubber spatula. You may not use all the filling!* Place the pie in the fridge to set for at least 4 hours. Overnight works best.
- Serve: When it comes time to serve, you can whip up another batch of whipped cream using the same method as above. Combine ½ cup of nondairy heavy cream and ⅓ c powdered sugar in a bowl and beat until stiff peaks form. Pile it on the center of the pie or scoop onto individual slices to serve. Shave on dark chocolate if desired.
Notes
*Prepared pie will keep in an airtight container in the refrigerator for 3-4 days. Recipe is not freezer friendly.
*If you don't end up needing all of the filling, reserve the leftovers and store in the fridge. It makes an amazing chocolate mousse!
*If you can't find nondairy heavy cream, you can use coconut milk instead. Purchase 2 cans of coconut cream and one can of full fat coconut milk.
*Full fat coconut milk can only be purchased in cans. Be sure you aren't buying light coconut milk. This is what you can use to simmer and pour over the chocolate chips to melt.
*Coconut cream comes in a can but should not be confused with regular coconut milk. Chill it in the refrigerator overnight and the water and cream will separate. The cream will rise to the top of the can and you will be able to easily scoop it out. Whip one can of cream with the powdered sugar until stiff peaks form. One can should be used for the filling, one for the topping.
More vegan chocolate desserts:
- Vegan Skillet Brownie
- Vegan Chocolate Fudge Cupcakes
- Vegan Double Chocolate Cookies
- Vegan Chocolate Lava Cake
- Best Vegan Brownies



Leave a Reply