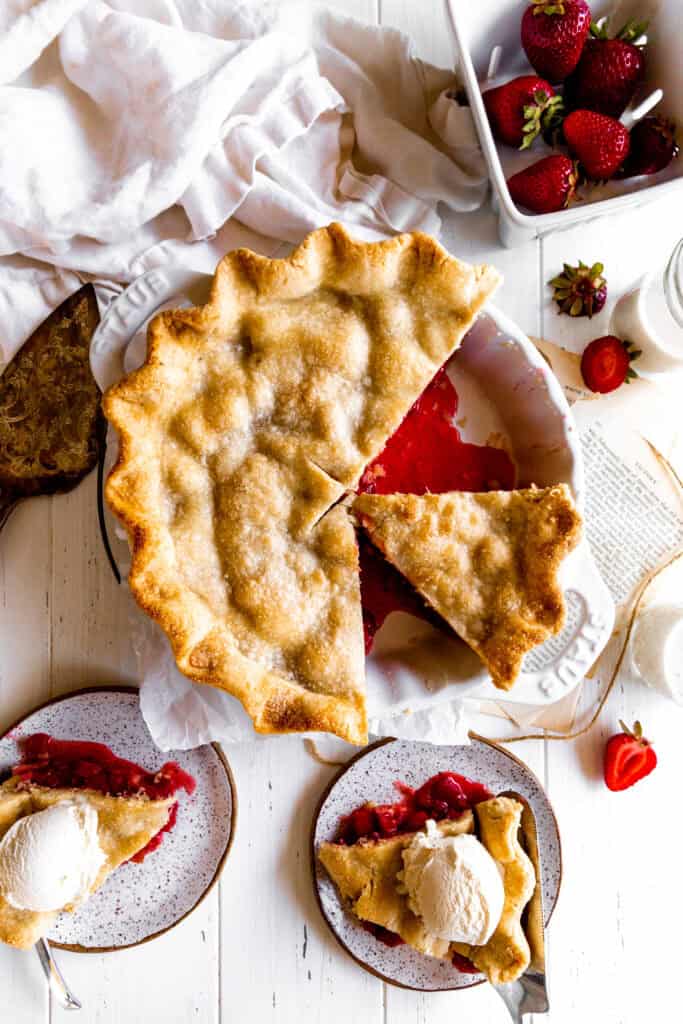
Sweet, juicy strawberries mixed with tart rhubarb pieces wrapped up in a buttery, flaky crust are the makings of this vegan strawberry rhubarb pie. What more could a person ask for? Let's make it together!
The combination of strawberry and rhubarb is criminally underrated. This is due in part to the general maligning of rhubarb. Let this recipe be a lesson to you - rhubarb can be absolutely delicious!
Like most pies and pastries, this recipe may seem a little intimidating. That said, if you break it up into components the process is quick and painless!
If you love this summer fruit combo as much as we do, be sure to check out our vegan strawberry rhubarb scones!
Ingredients
Here is your grocery list! You can make your own pie crust (recipe below) or purchase one from the store. Many are accidentally vegan!
- double pie crust: Provides structure and a buttery, flaky vessel to hold the filling. The top crust locks in moisture while allowing some steam to escape during baking.
- fresh strawberries: Adds natural sweetness, juiciness, and bright berry flavor that balances the tartness of the rhubarb.
- rhubarb: Delivers tartness and structure. Rhubarb breaks down as it cooks, blending beautifully with strawberries to create a tangy-sweet filling.
- granulated sugar: Sweetens the filling and balances the natural tartness of rhubarb. Adjust based on the ripeness of your fruit and your preferred sweetness.
- orange zest: Enhances the fruit flavor with bright citrus notes and aromatic oils from the peel.
- orange juice: Adds moisture, acidity, and a gentle citrus tang that complements both strawberries and rhubarb.
- vanilla extract: Adds warmth and depth to the flavor profile, rounding out the tart and fruity notes.
- cornstarch: Thickens the fruit juices as the pie bakes, preventing a runny filling and ensuring clean slices.
- salt: Enhances all the flavors and balances the sweetness, making the fruit taste more vibrant.

Why you'll love this pie:
Here's just a few reasons why you will adore this vegan strawberry rhubarb pie:
- Perfect Sweet-Tart Balance: The juicy sweetness of strawberries paired with the tart zing of rhubarb creates a bright, irresistible filling.
- Golden, Flaky Crust: A buttery double crust bakes up golden and crisp-perfect for encasing all that luscious fruit.
- Hints of Citrus & Vanilla: Orange zest and vanilla extract add warm, aromatic layers that elevate the fruity filling.
- Seasonal & Fresh: Made with fresh strawberries and rhubarb, this pie is a celebration of spring and summer flavors.
- Great Texture: Cornstarch thickens the filling just right-no soggy bottom or runny slices!
- 100% Vegan: Made with all plant-based ingredients making it fit for any crowd!
How to Make Vegan Strawberry Rhubarb Pie (with pictures!)
Please see the recipe card at the bottom of the page for full instructions and ingredient measurements.
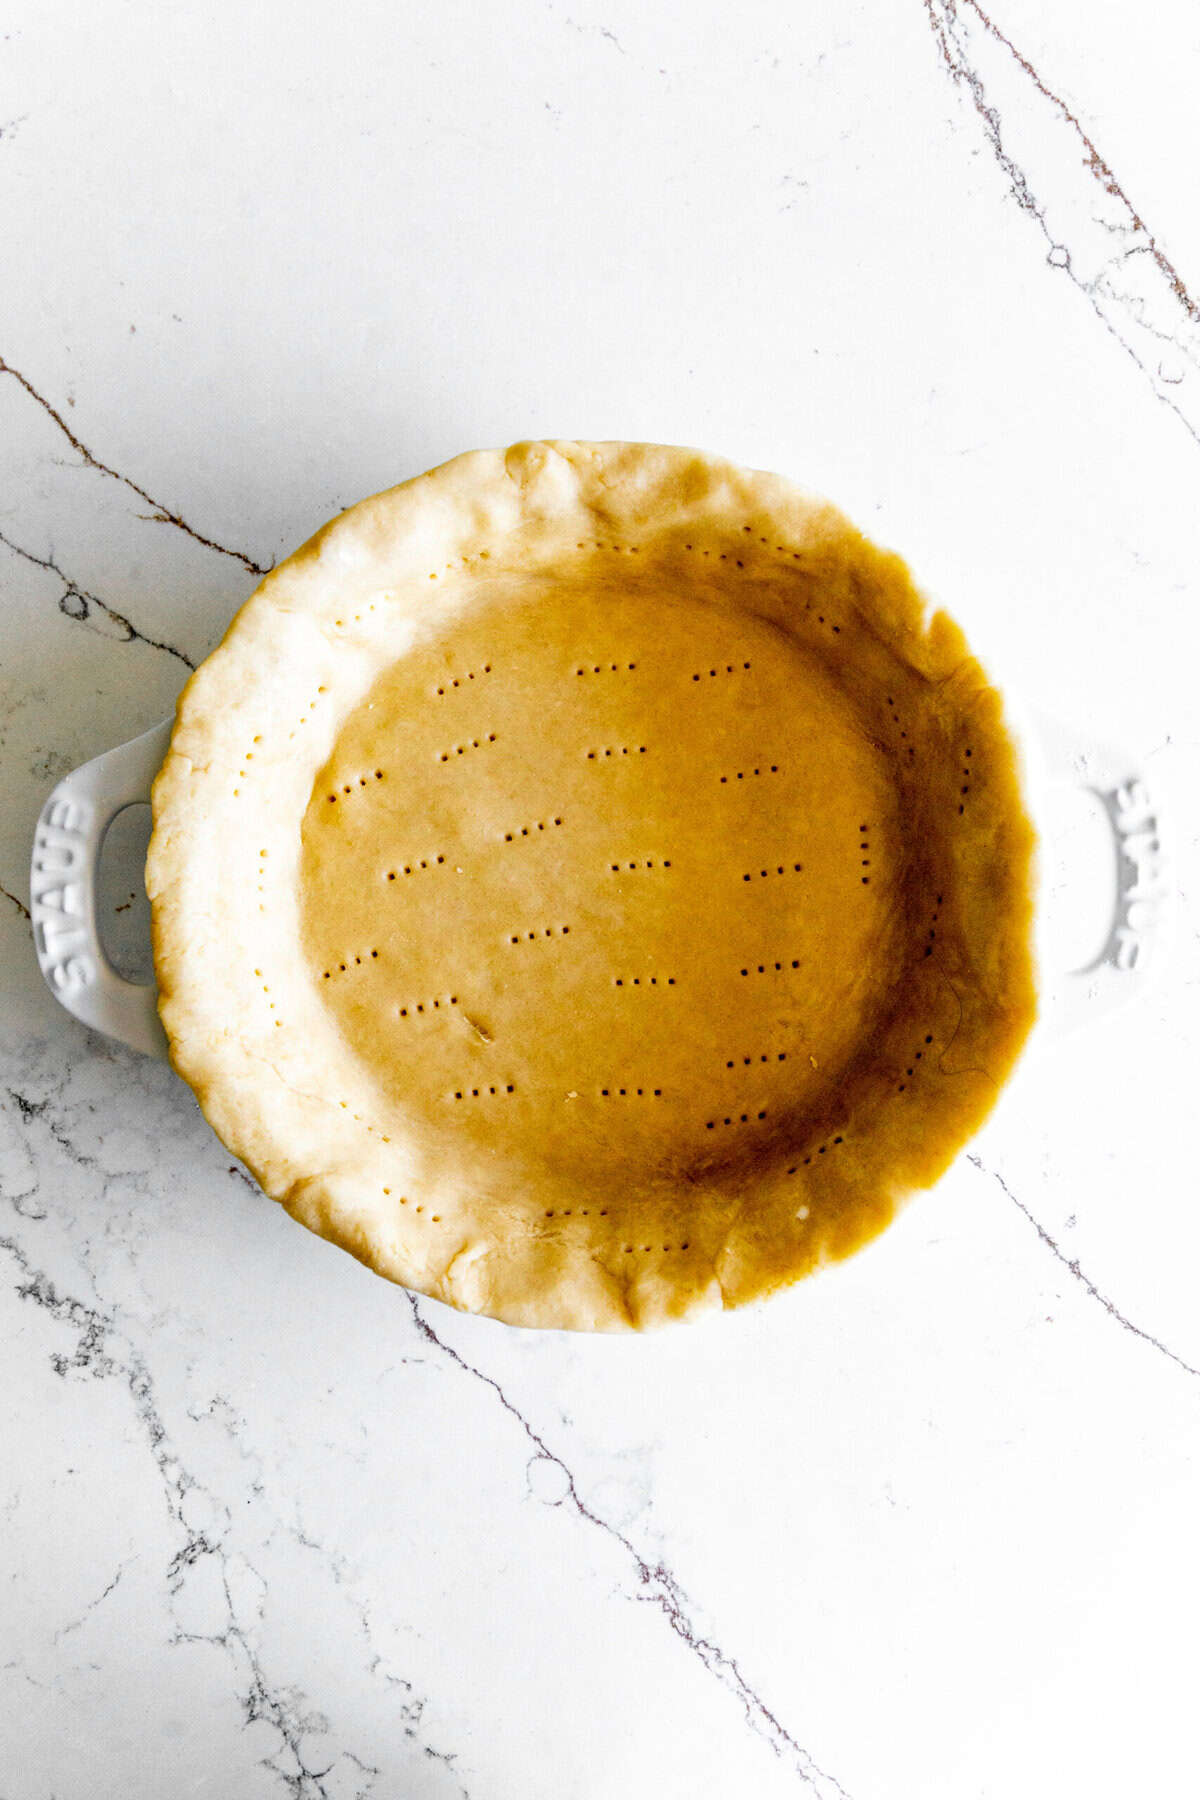
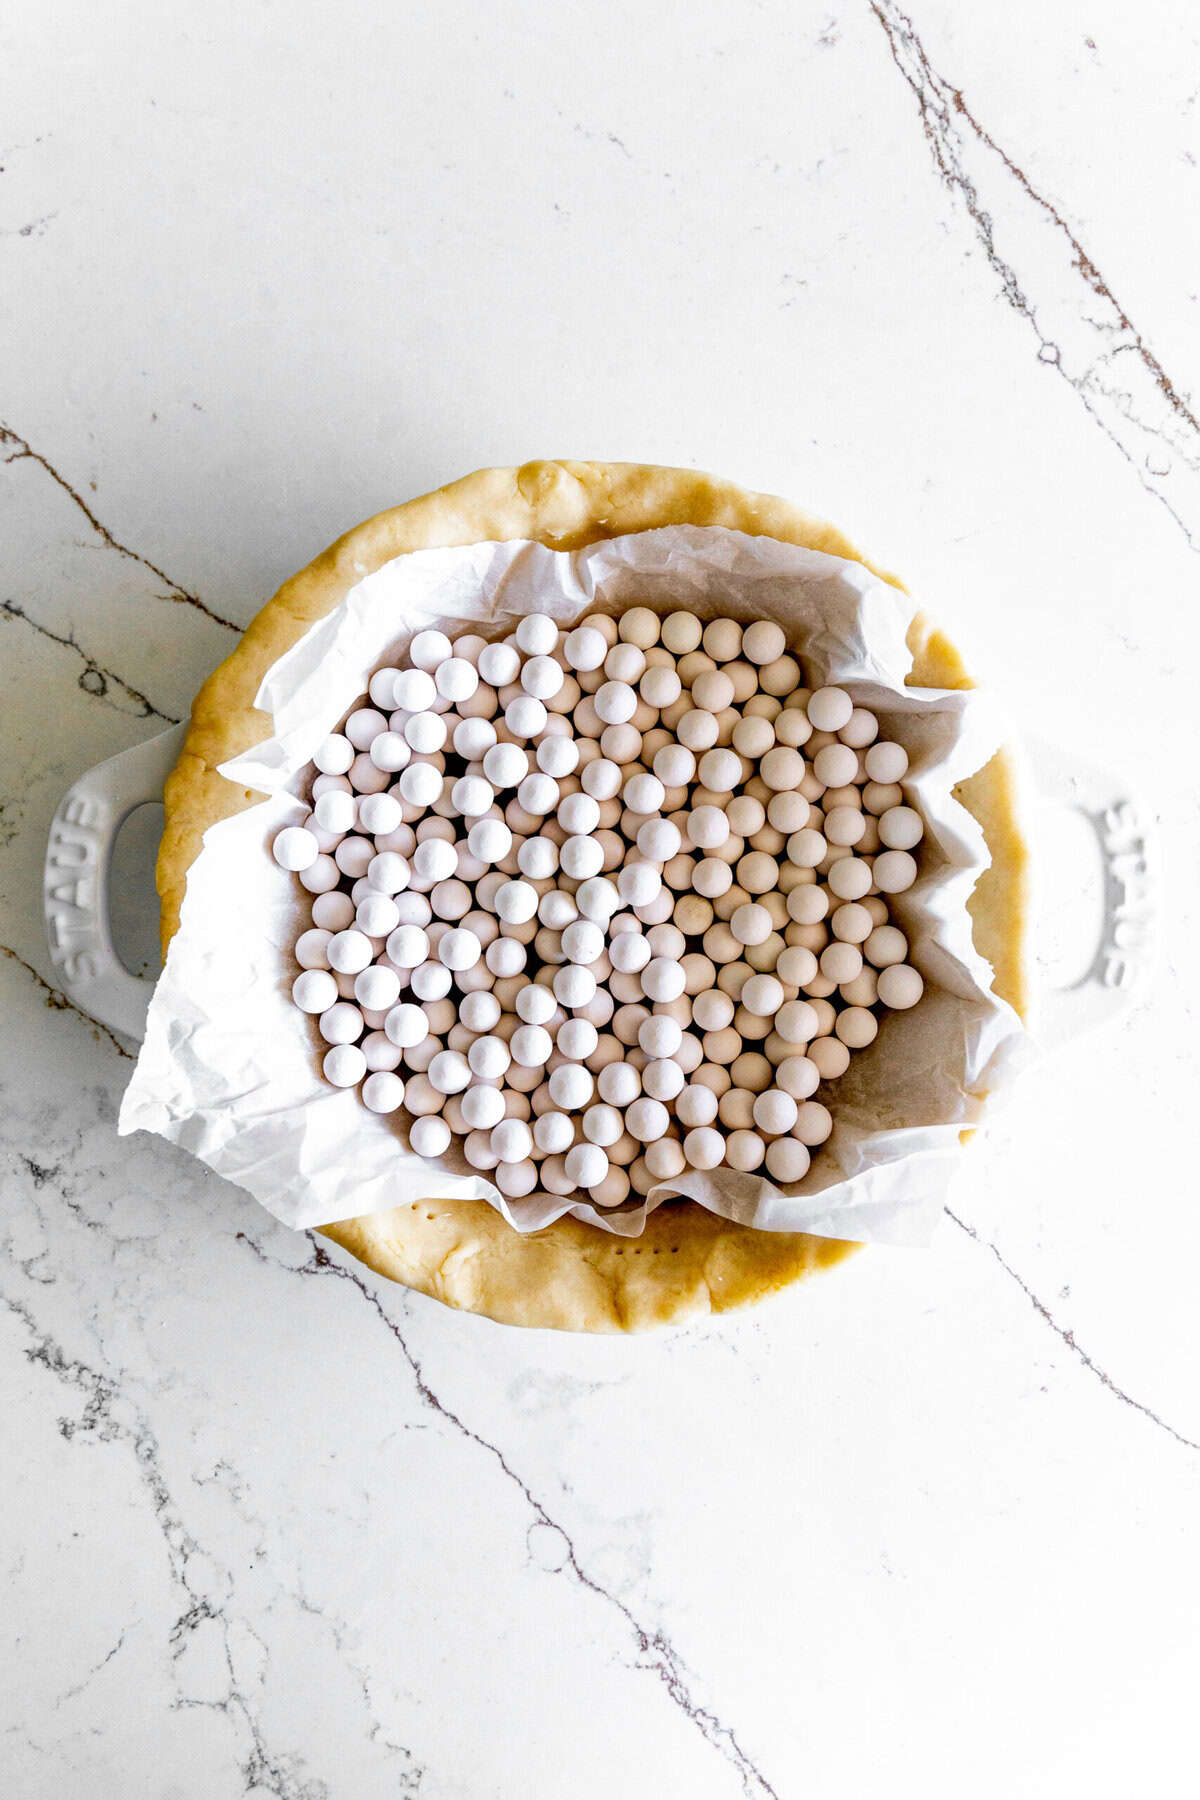
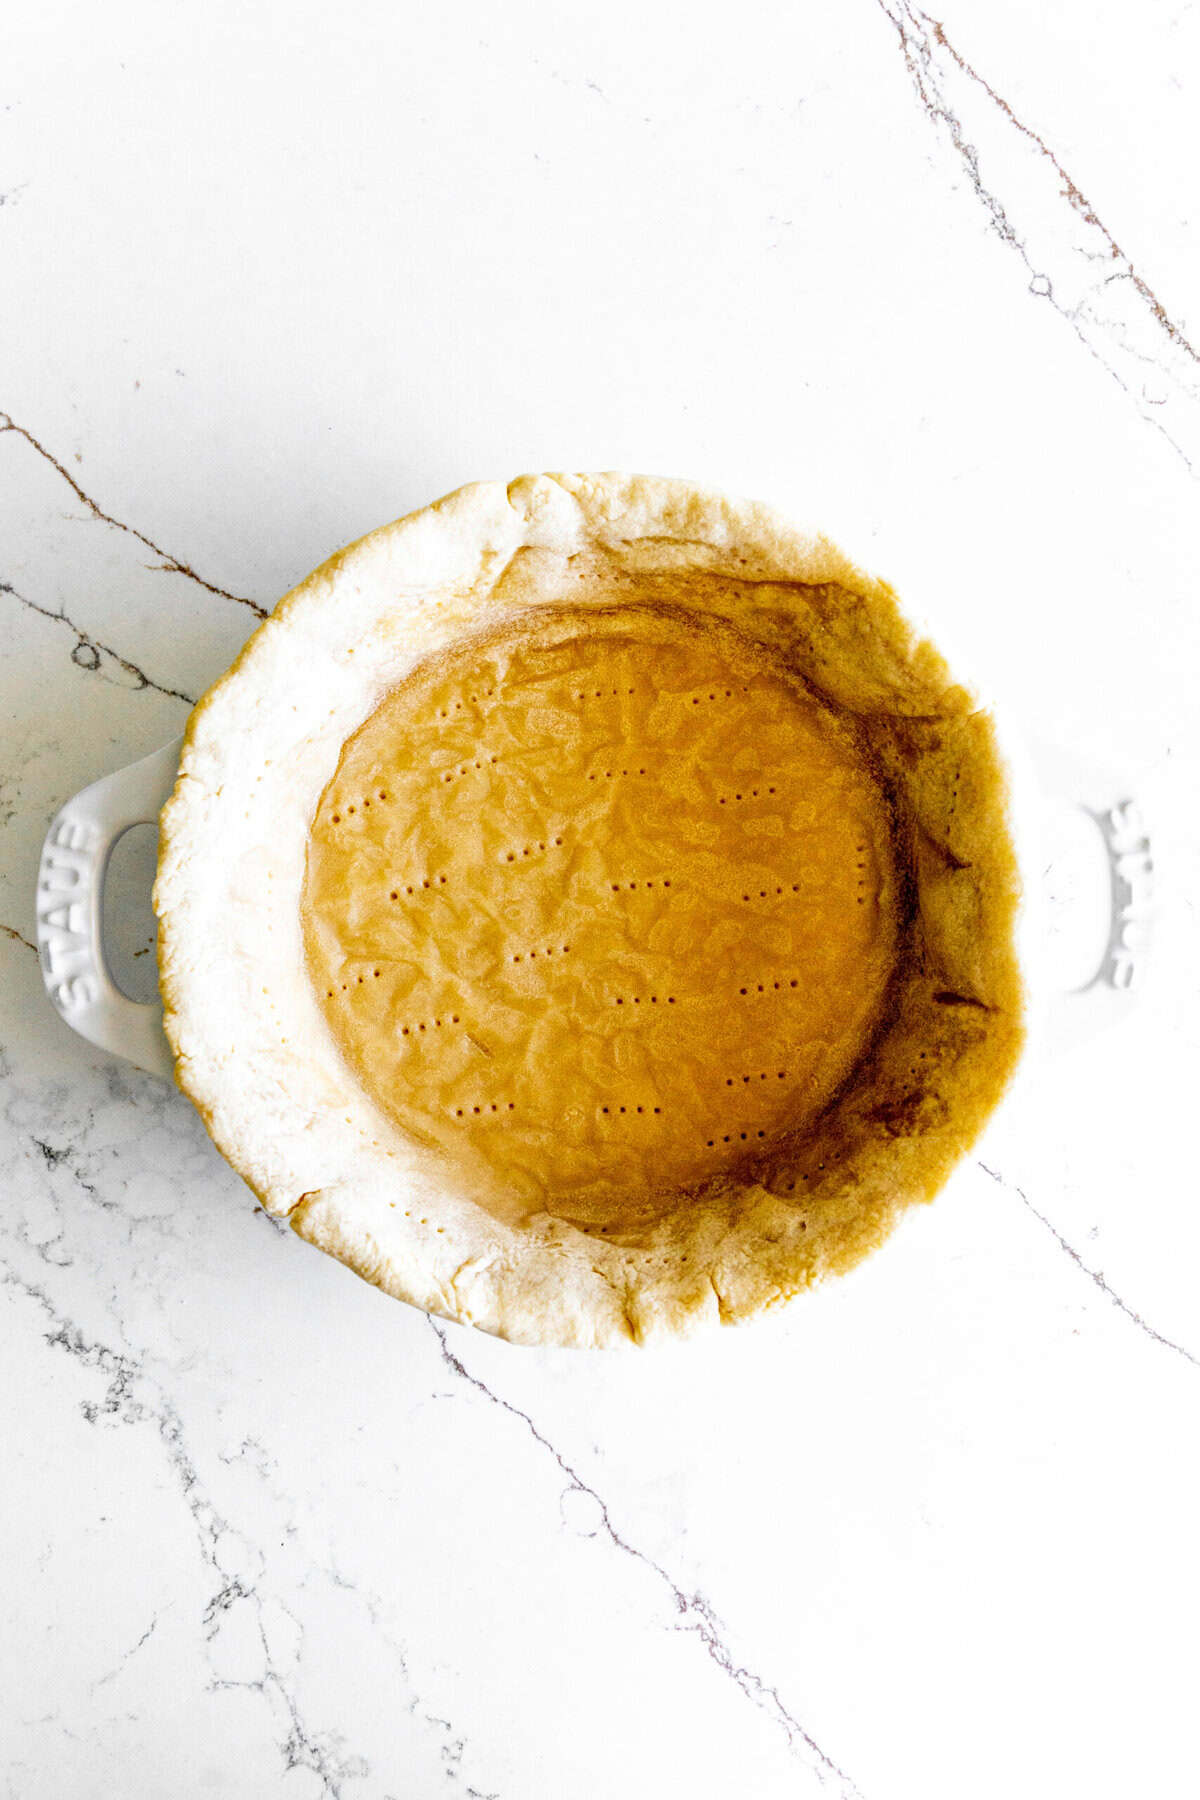
Begin by par baking your piecrust. Roll out one of the crust layers and fit it in the bottom of a 9-inch pie pan. Lay a sheet of parchment paper in the center and fill it with ceramic pie weights.
Bake at 375 F (190 C) for 15 minutes. Remove from oven and lift out the parchment and weights. Return to oven and bake for an additional 7 minutes. Set aside to cool.
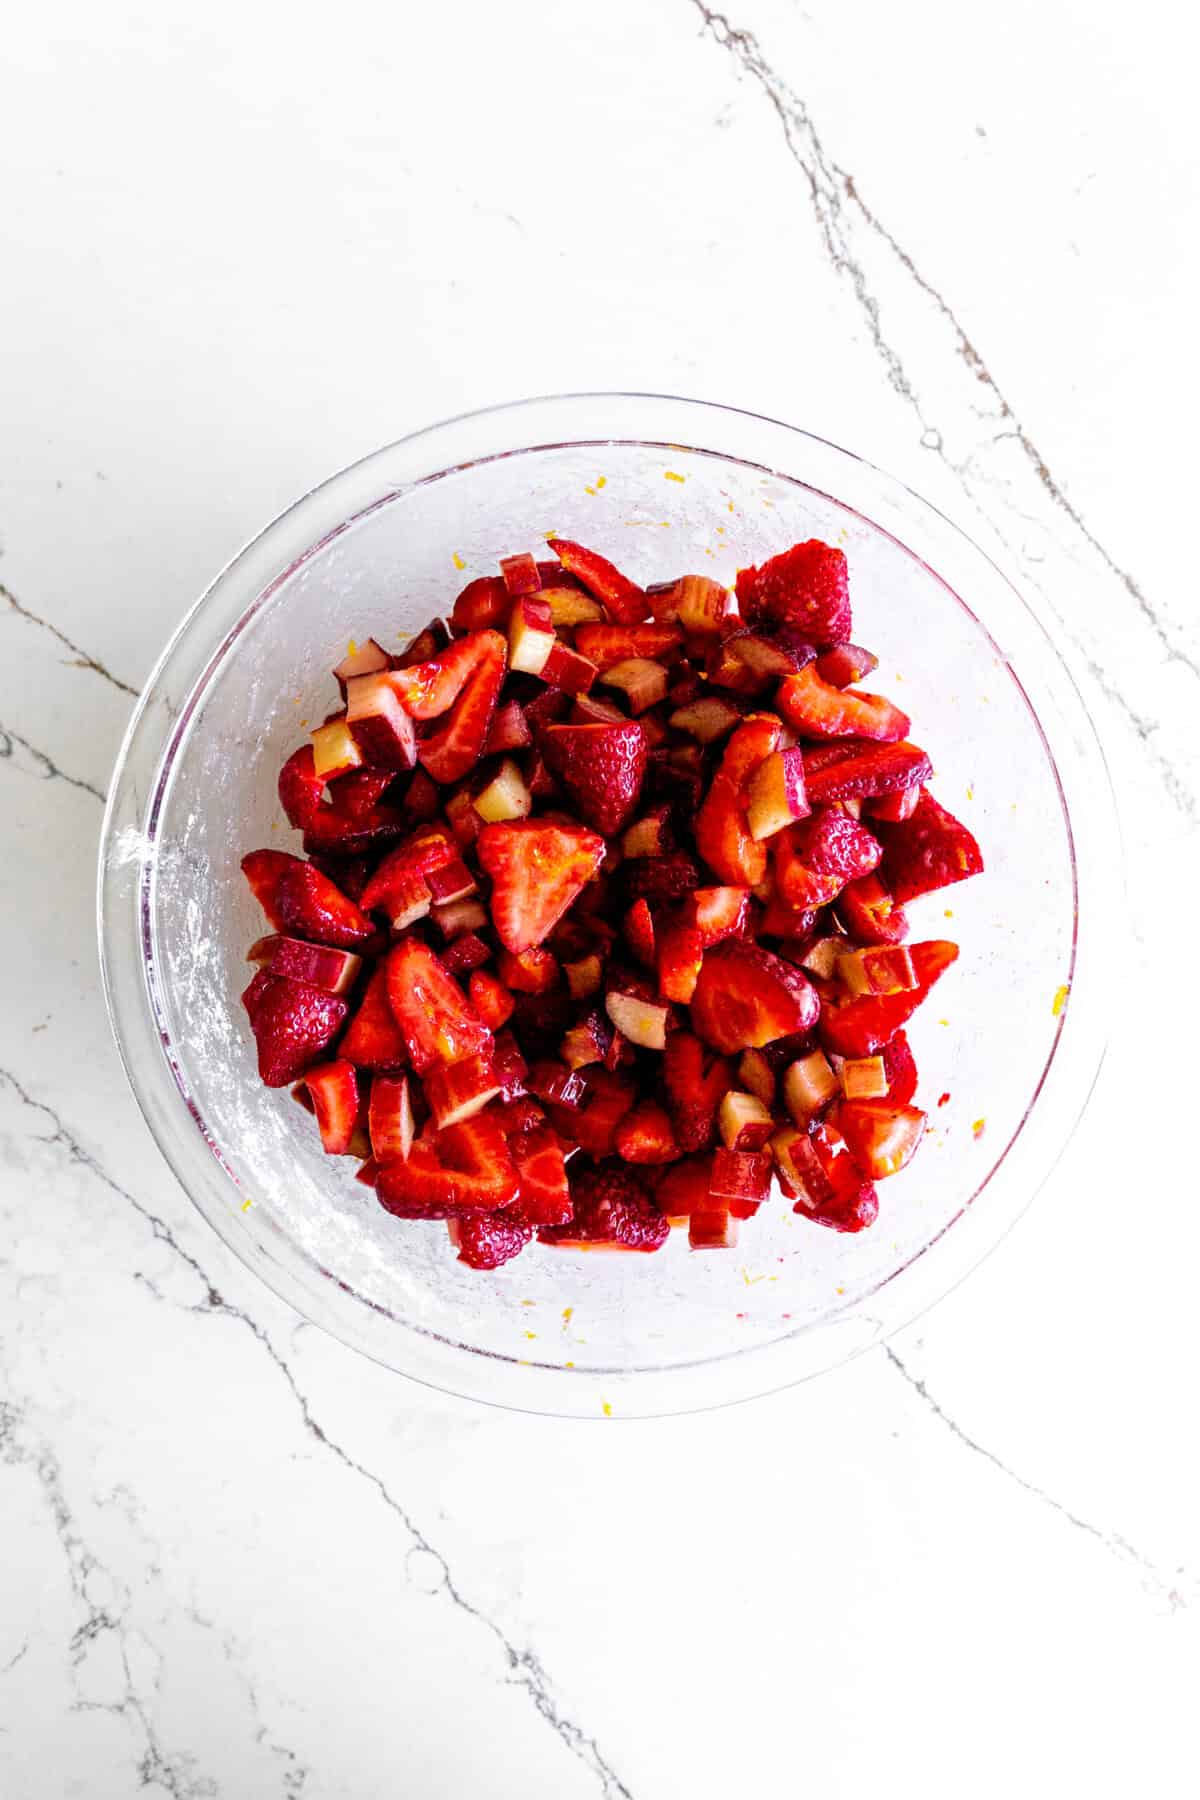
Add all of the filling ingredients to a large mixing bowl and gently toss them together until mixture is syrupy.
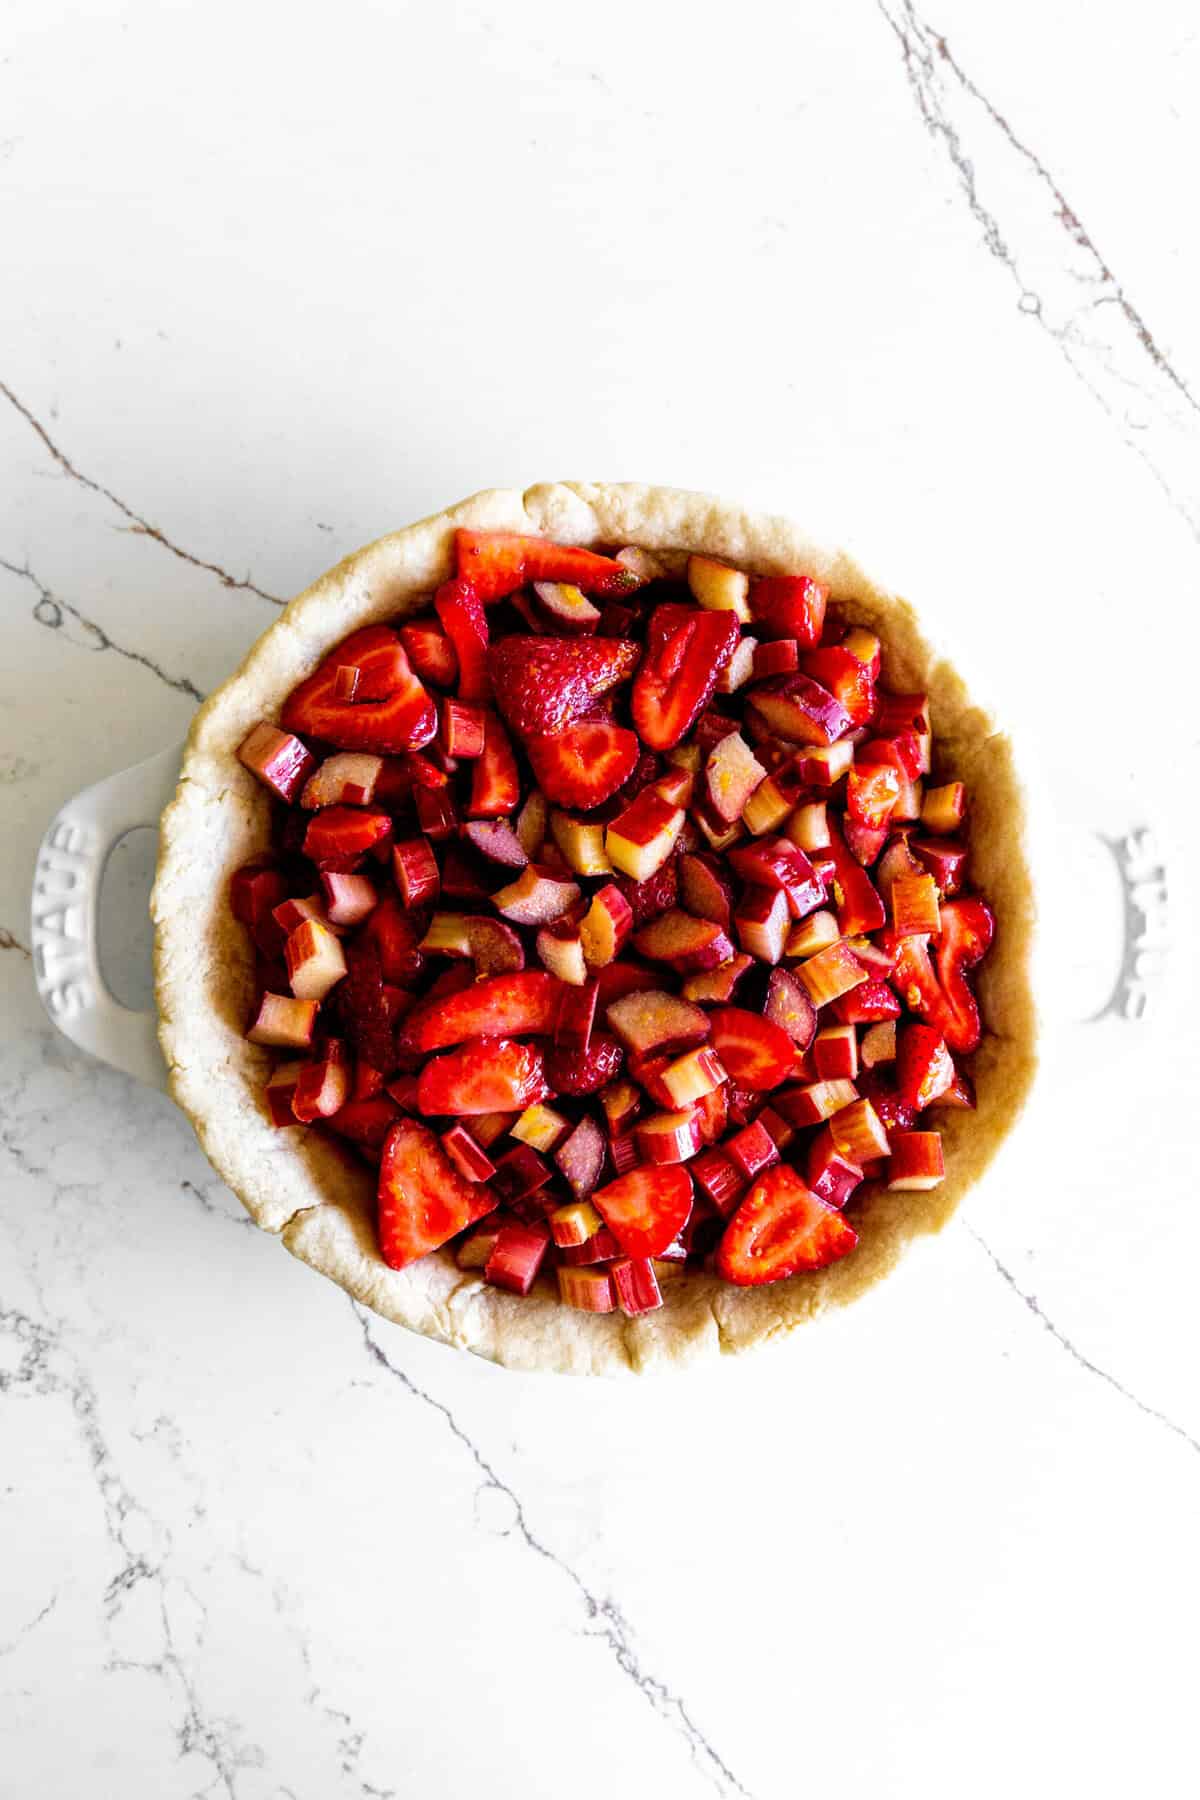
Pour fruit into the cooled, par baked pie shell. Level out the top.
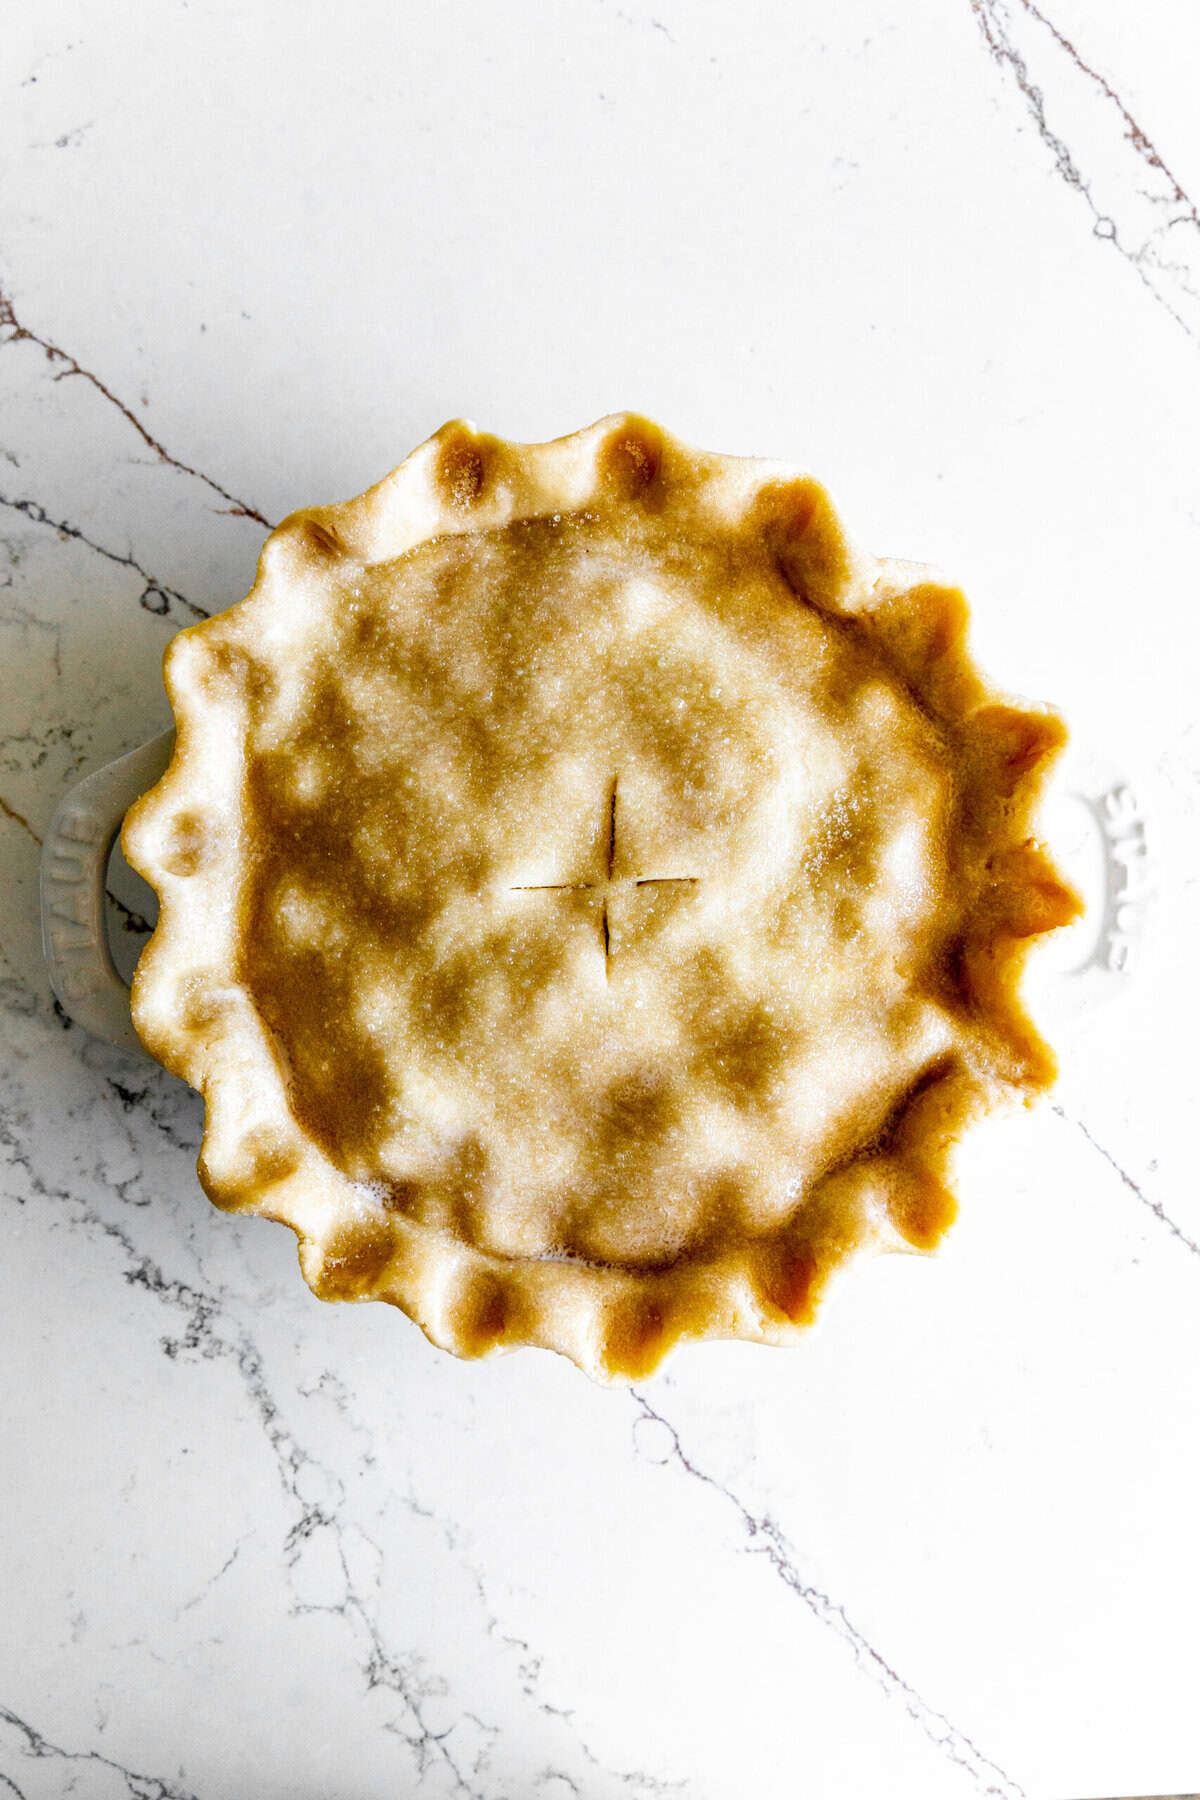
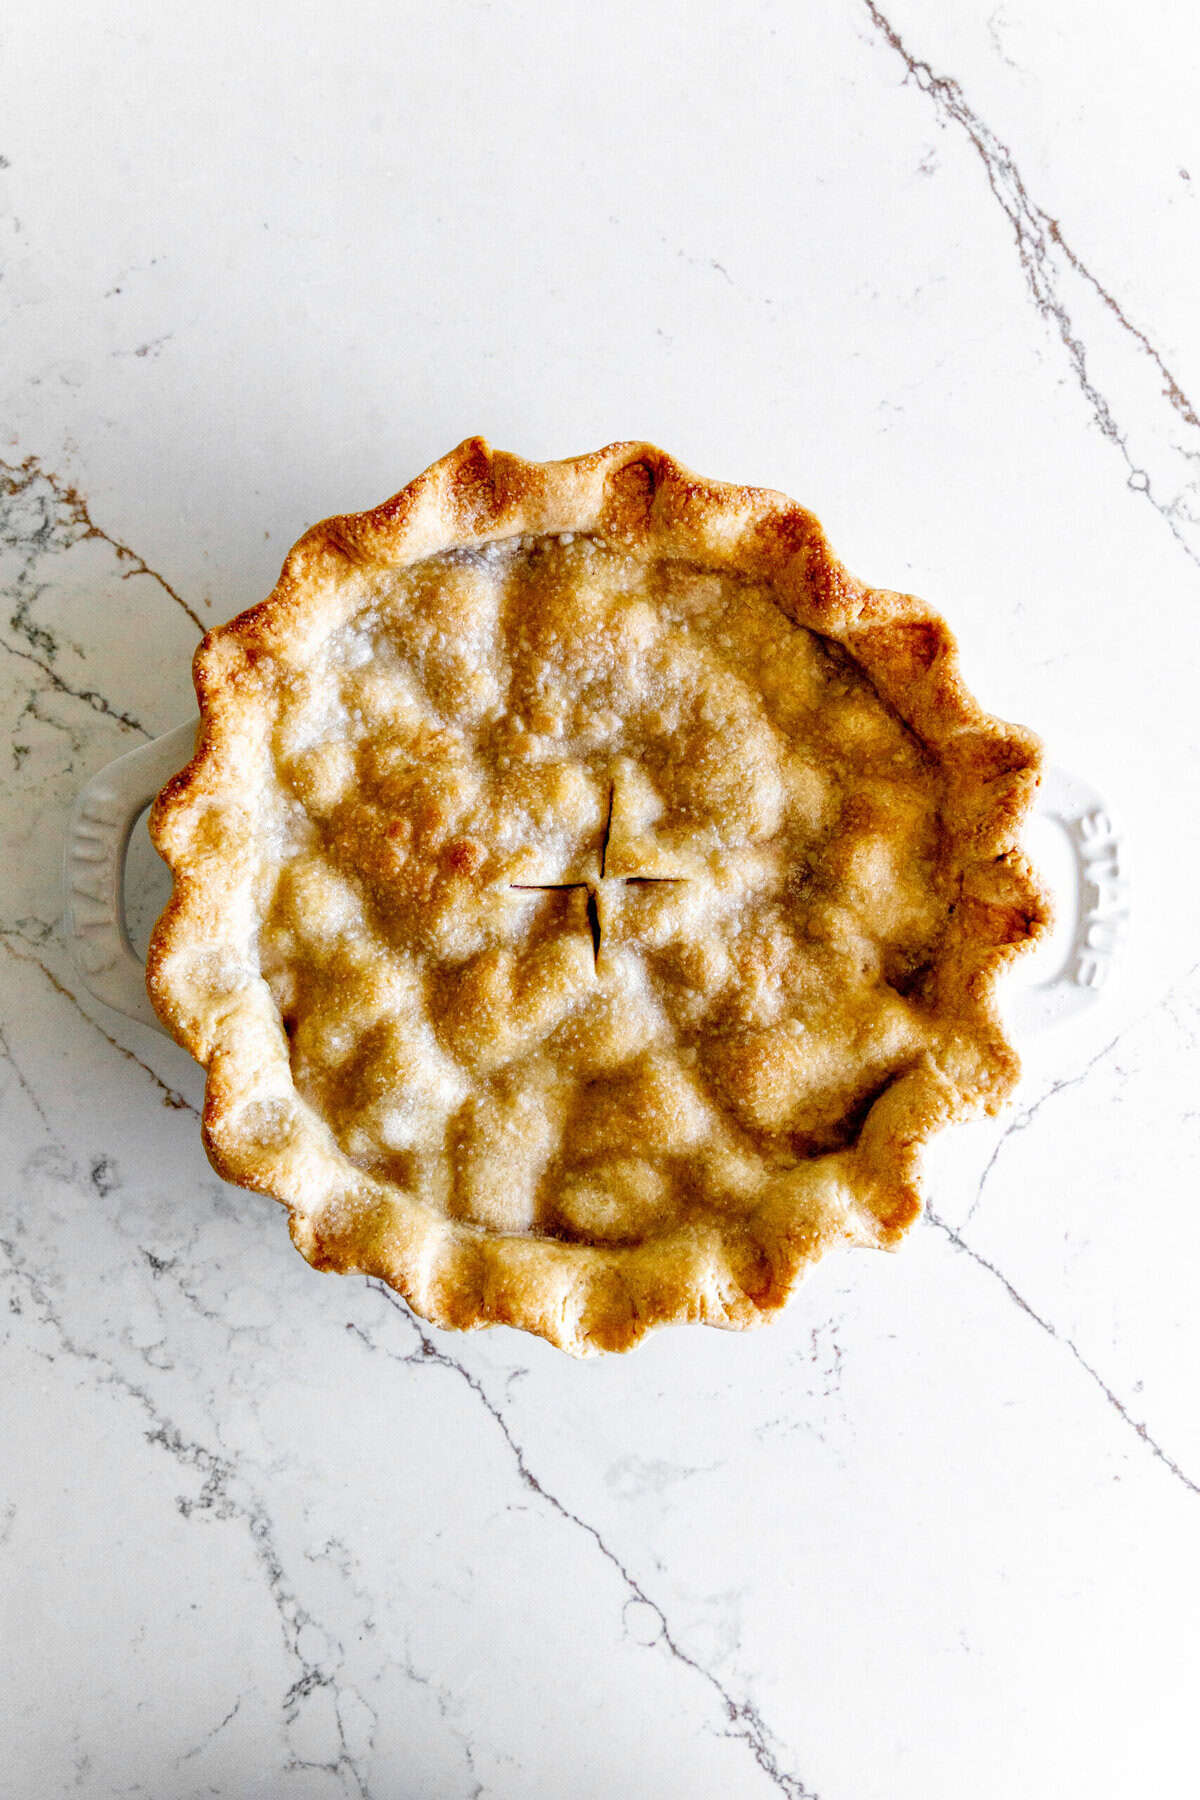
Roll out the second layer of pie crust and gently place it atop the fruit filling. Turn over the edges of the crust and crimp together using your thumb and index finger. Slice perpendicular slats in the center for ventilation.
Brush the crust with nondairy milk and sprinkle generously with coarse sugar. Wrap the edges loosely in tinfoil to avoid burning.
Bake at 375 F (190 C) for 60-70 minutes or until deeply golden.
Tips for the Perfect Pie
- Get Ahead: Make your pie crust dough in advance and chill it in the fridge as a plastic-wrapped disk. The crust will keep like this for up to 2 days.
- Keep Your Dough Cold: Chill your pie crust before rolling it out and again before baking. Cold fat = flaky crust.
- Use Fresh, Not Frozen Fruit (if possible): Fresh strawberries and rhubarb give better texture and flavor. If using frozen, thaw and drain well to prevent a soggy filling.
- Don't Skip Par Baking: While you may be tempted to skip the par baking step in the recipe - don't. This is essential if you want to avoid a soggy bottom.
- Vent the Top Crust: Cut slits or use a lattice top to let steam escape and avoid a soggy crust.
- Bake on a Sheet Pan: Place your pie on a parchment-lined baking sheet to catch any overflow and prevent a mess in your oven.
- Bake Until Deep Golden in Color. Brushing your crust with nondairy milk and sprinkling with sugar before baking will help achieve this beautiful color and flakiness. Do not take your pie out when it is only starting to yellow.
Why to Par Bake the Pie Crust
Par-baking (or blind baking) the pie crust is important in certain pie recipes-here's why you might want to do it, especially with fruit pies like strawberry rhubarb:
- Prevents a Soggy Bottom: Juicy fillings like strawberries and rhubarb release a lot of moisture. Par-baking helps the bottom crust stay crisp and golden instead of turning gummy.
- Ensures Even Baking: Sometimes the filling takes longer to cook than the crust. Par-baking gives the bottom a head start, so it's fully cooked by the time the filling is done.
- Adds Structure: Especially helpful for pies with wet fillings-par-baking helps the crust hold its shape and not get weighed down.
Tip: If your recipe (not this one) doesn't call for par-baking, you can still partially preheat a baking sheet in the oven and place the pie on it-this jump-starts the crust from below for similar benefits.
Frequently Asked Questions
Not usually. If your rhubarb is young and tender, just trim the ends. If it's very thick or stringy, you can peel off the outer layer with a paring knife.
Yes, but thaw and drain them well first. Frozen fruit releases more moisture and can make the filling runny if not properly prepped.
This usually happens if:
You didn't use enough cornstarch.
The pie didn't bake long enough for the starch to activate.
You sliced the pie before it had time to cool and set.
Yes! You can make it 1 day in advance. It holds up well at room temperature for a day or in the fridge for longer.
Absolutely. If your strawberries are very sweet, you can reduce the sugar slightly. Taste the fruit mix before baking to adjust.
This isn't recommended. If you'd like to get ahead, prepare the crust in advance. It will keep in the refrigerator for up to 2 days or can be frozen for up to 1 month.
Crimping Pie Crust Edges
Crimping pie edges not only seals in the filling-it also makes your pie look beautiful and homemade. Here are a few simple methods you can use to crimp pie edges:
Finger Pinch (Traditional Crimp)
Best for: Double Crust Pies
- Use your index finger from one hand to push the dough outward from the inside.
- Use the thumb and index finger of your other hand to pinch around the dough, forming a V-shape.
- Continue all the way around the pie.
Fork Crimp (Easy & Neat)
Best for: Single crust pies or when you're short on time
- Press the tines of a fork along the edge of the pie where the crust meets the dish.
- Press gently but firmly to seal the edges and leave a decorative mark.
- Works well for both top and bottom crusts.

Rope Crimp (Chunkier & Decorative)
- Use your knuckle to press into the outer edge of the crust while using two fingers from the other hand to press around it, creating a rope-like texture.
- Great for rustic fruit pies!
Tips for Crimping Success
- Chill your dough for 10-15 minutes before crimping for cleaner edges.
- Flour your fingers or utensils to prevent sticking.
- For double crust pies, press the top and bottom crusts together firmly before crimping.
- This video is very helpful!
Storing the Pie
Here's how to store your strawberry rhubarb pie so it stays fresh and delicious:
At Room Temperature (1-2 Days)
- Once fully cooled, cover loosely with foil, plastic wrap, or a pie dome.
- Keep it on the counter if your kitchen is cool and dry.
- Best if eaten within 1-2 days.
In the Refrigerator (Up to 5 Days)
- Cover the pie tightly with plastic wrap or foil to prevent it from drying out.
- Refrigeration helps preserve the freshness of the fruit filling, especially in warm weather.
Tip: For best texture, avoid storing the pie uncovered, as the crust may dry out or become soggy from humidity.

If you make this recipe, please tag @censoredbaker on Instagram!
PrintVegan Strawberry Rhubarb Pie

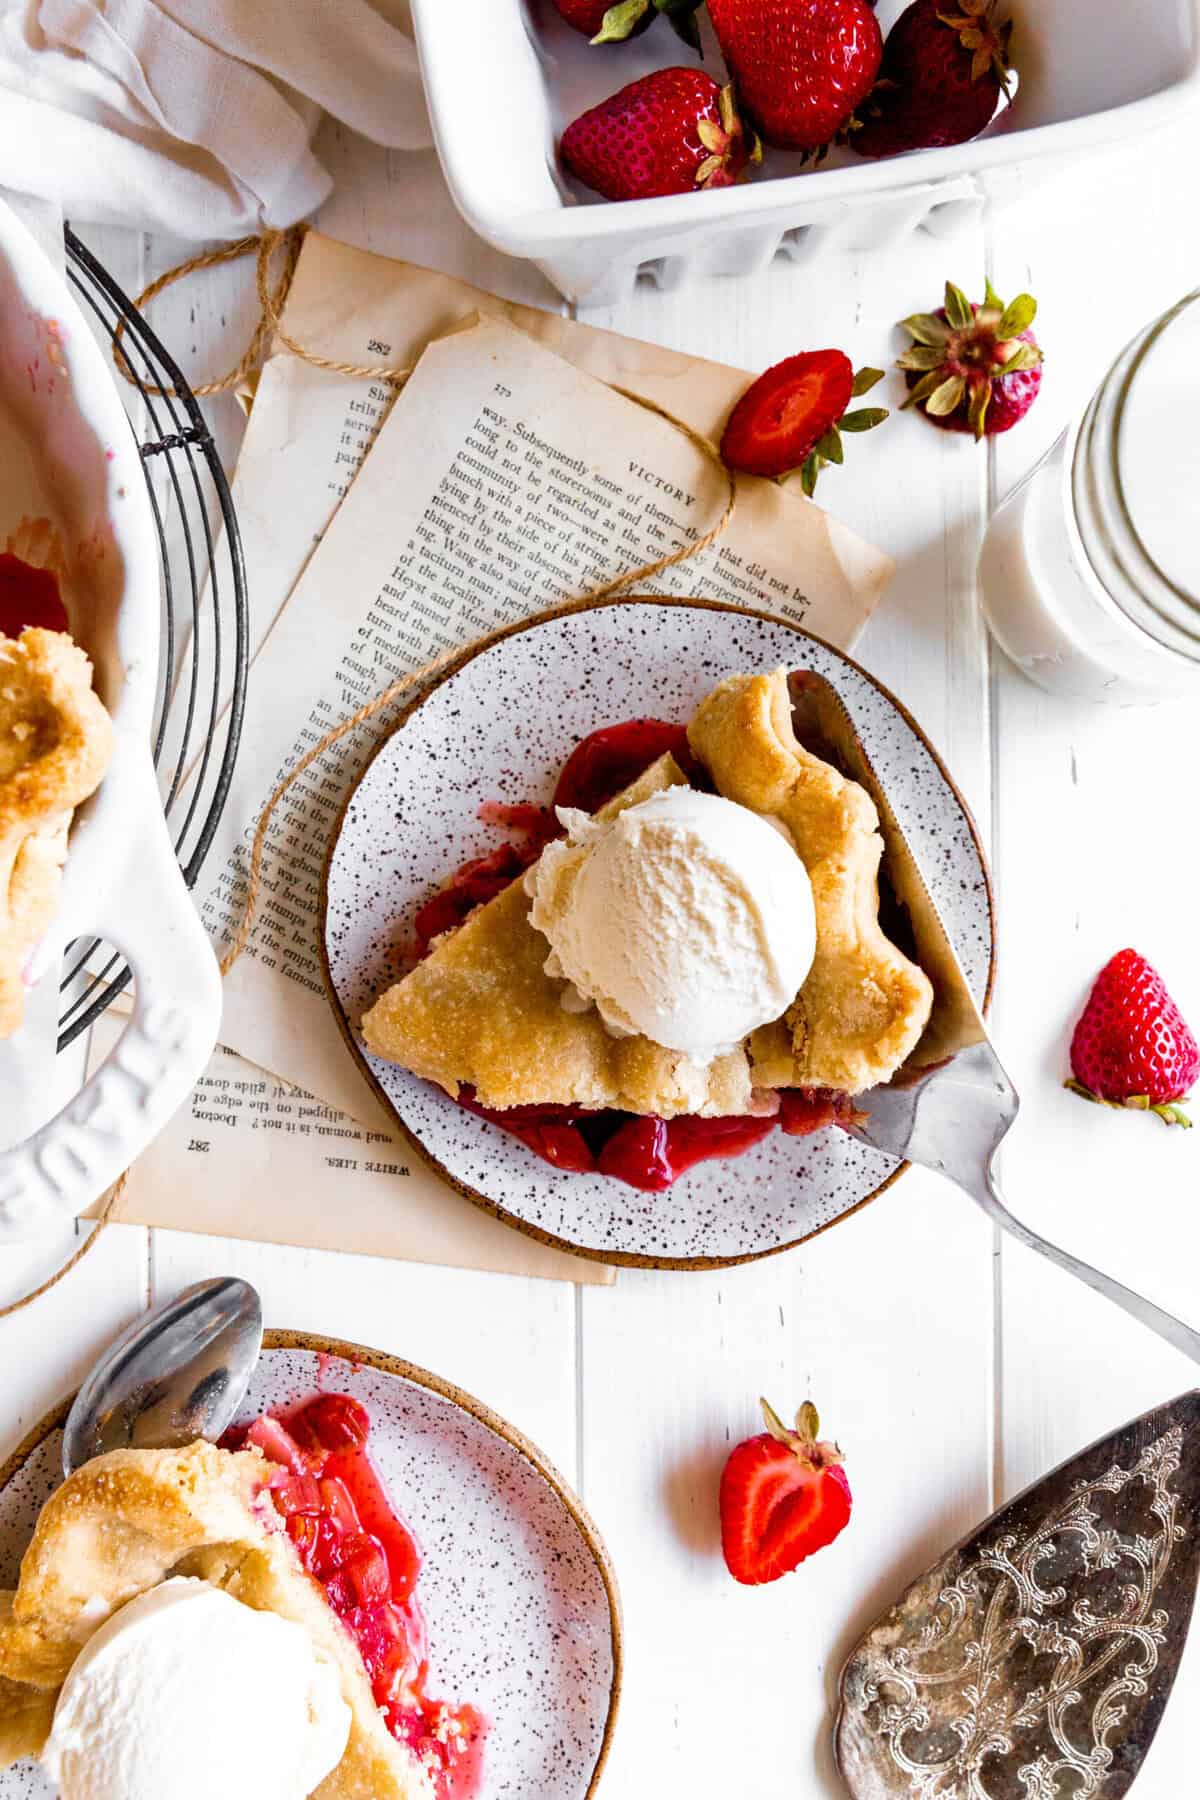
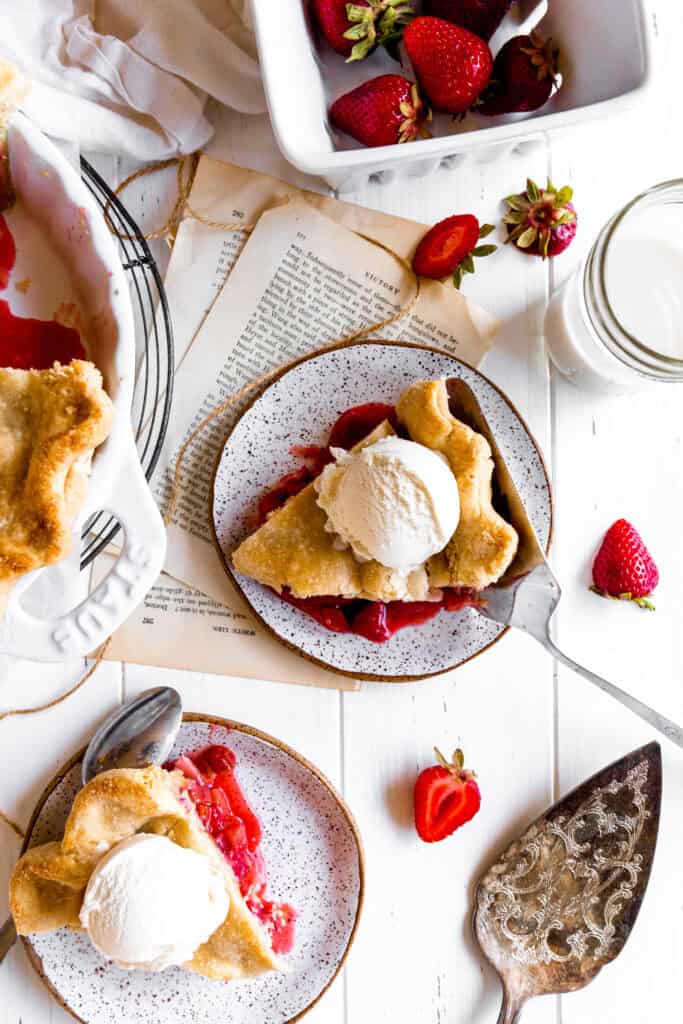
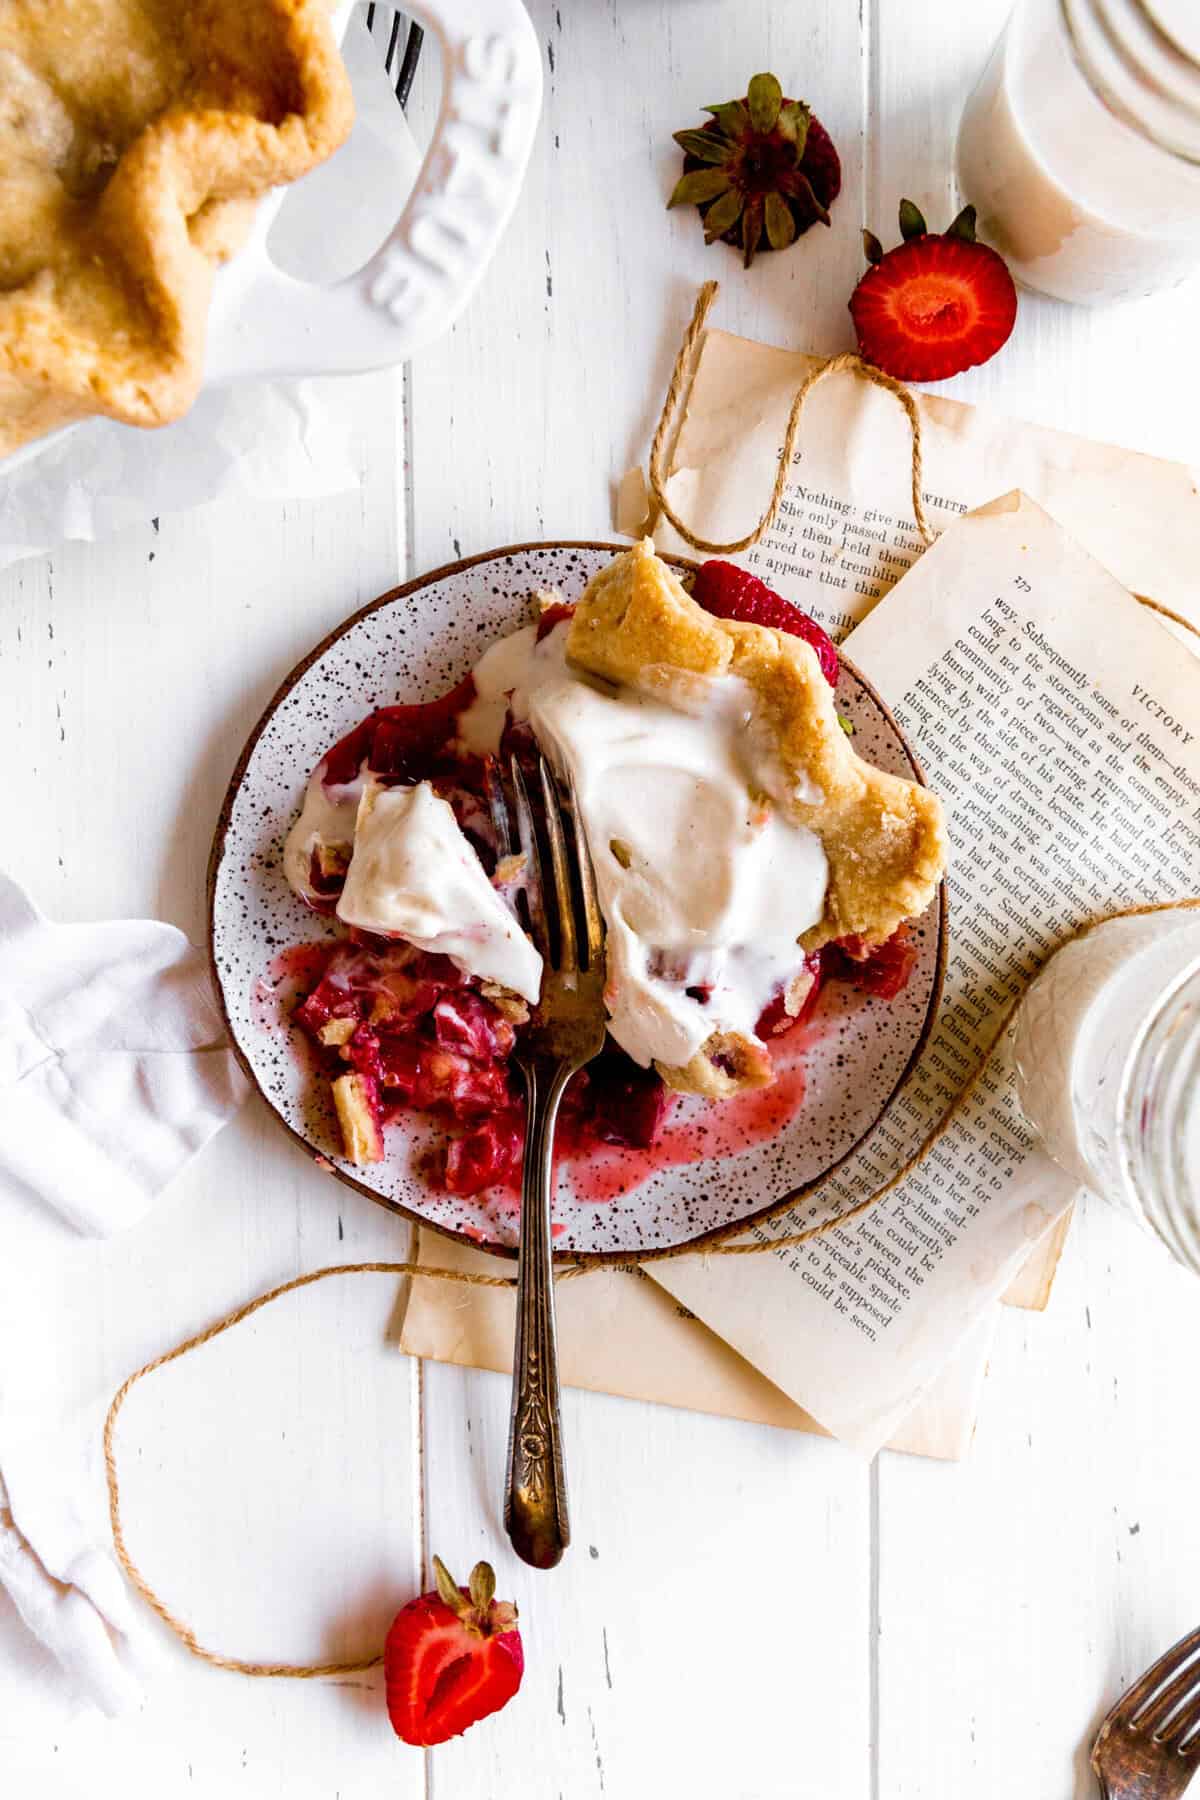
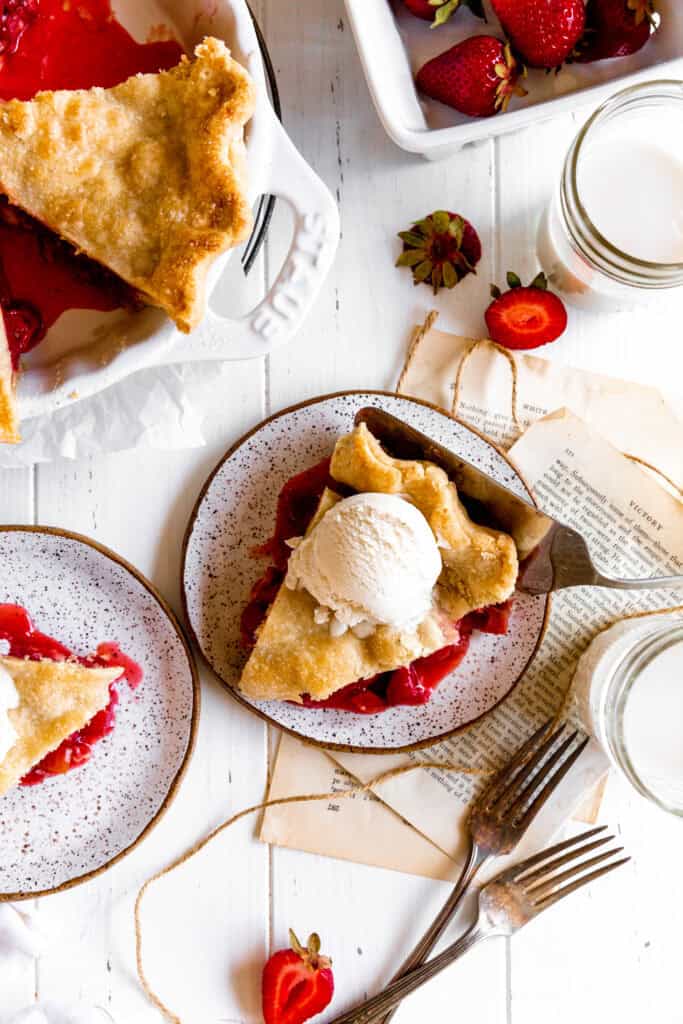
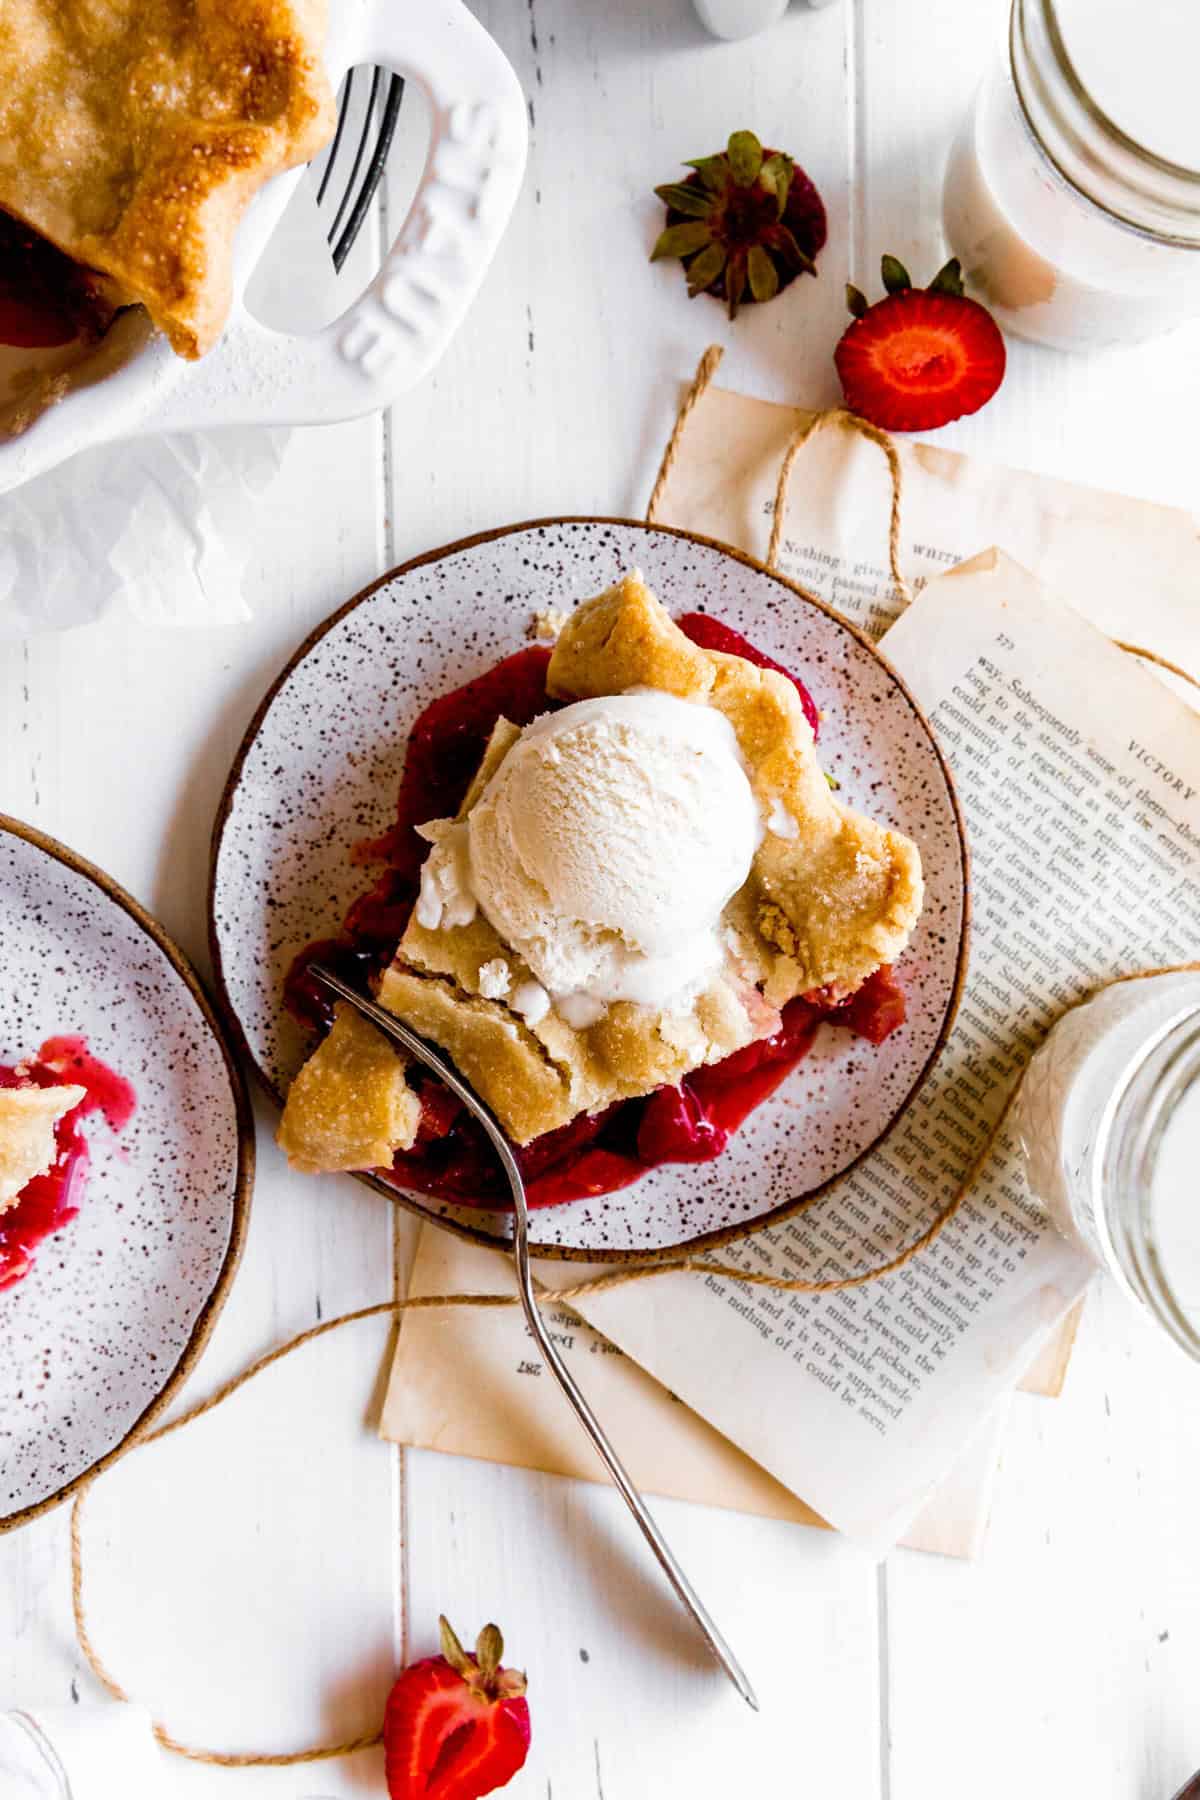
Buttery, flaky pie crust filled with strawberries and tangy rhubarb. Serve with nondairy vanilla ice cream for extra points!
- Prep Time: 1 hour
- Bake Time: 1 hour
- Total Time: 2 hours
- Yield: 8 Servings 1x
- Category: Pies and Pastries
- Method: Bake
- Cuisine: American
- Diet: Vegan
Ingredients
For the Crust
For the Filling
3 cups fresh strawberries, sliced
3 cups rhubarb, sliced ¼-inch
½ - ¾ cup granulated sugar*
1 tablespoon orange zest
1 tablespoon orange juice
½ teaspoon vanilla extract
¼ cup cornstarch
¼ teaspoon sea salt
2 tablespoons nondairy milk for brushing
coarse sugar for sprinkling
Instructions
- Make Pie Crust: If you are going to be making your own double pie crust, follow the instructions laid out in this recipe. Roll out one of your chilled pie crust disks on a floured surface into an 11-12 inch circle that is about ⅛-inch thick. Carefully lay dough into a 9-inch pie pan. Turn under/trim the excess dough around the edges. Poke holes in the bottom and sides of the crust using a fork. Cover pan with plastic wrap place in the freezer to chill for 15 minutes.
- Par Bake: Preheat oven to 375 F (190 C). Once pie crust is chilled, remove from the freezer. Crumple up a square sheet of parchment paper and then unfold it. Push it down into your pie shell and fill with ceramic pie weights. Spread them out evenly in the bottom of the pan. Place crust in preheated oven and bake for 15 minutes. Remove from oven and gently remove the parchment paper and weights. Return crust to the oven to bake for an additional 7 minutes. Set aside to cool.
- Make Pie Filling: While crust is cooling, prepare your pie filling. Add all of the ingredients to a large bowl and stir together gently. Mix until you no longer see any dry ingredients and the fruit looks sweet and syrupy. Pour all of the filling into cooled, par baked crust.
- Assemble: Remove your second pie crust disk from the fridge and set on a generously floured surface. Roll into an 11-12 inch circle. Using the rolling pin, carefully transfer the dough over to the pie. Gently roll the dough over the top of the filling. Turn under the excess crust around the edges and crimp using your index finger and thumb. Cut perpendicular slats in the top of your pie crust for ventilation while baking. Place assembled pie in the freezer to chill for 15 minutes.
- Bake: Brush the top of the pie with nondairy milk using a pastry brush and sprinkle generously with granulated sugar. Wrap the crimped edges of the crust in tin foil to keep them from burning. Place pie on center rack of preheated oven and bake for 60-70 minutes or until top crust is golden brown. Allow pie to cool for at least 2 hours before slicing.
Notes
*Baked pie will keep under plastic wrap at room temperature for 2 days. You can stretch a pie's life to 3-4 days if you keep it in the refrigerator. Just keep in mind that this will make the crust less crisp.
*If you like the fruit in your pie to maintain some of its tartness, use ½ c sugar. If you like your fruit on the sweeter side bump sugar up to ¾ c.
*I am a big believer in par baking. This is the act of pre-baking the bottom layer of crust before it is filled with filling and baked for a second time with a top crust. This ensures your bottom crust will be just as flaky and delicious as the top.
*There is lots of dough chilling in this recipe. I know it's annoying, but it's important. Every time you work the crust with your hands or a rolling pin the butter starts to melt. You want the butter melting to take place in the oven! This will give you the flakiest crust imaginable!
*It's always a good idea to bake your pie with a sheet of tinfoil underneath it. This way if your filling bubbles over the edge of the pan the foil catches it and you won't be left with a big cleanup job.
*For more pie crust tips see this recipe.