
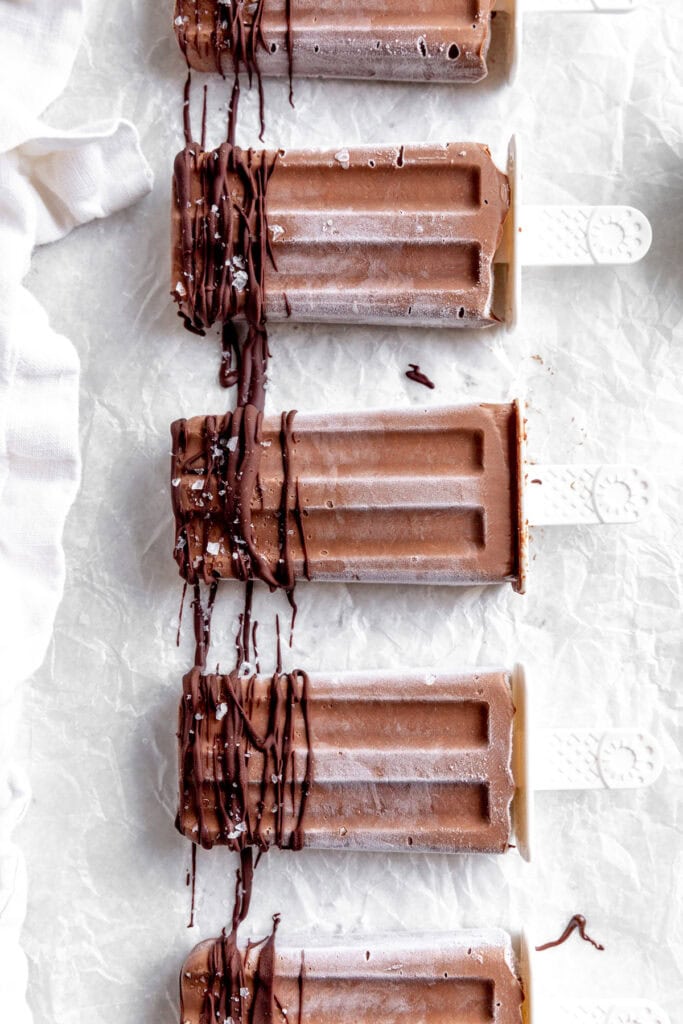
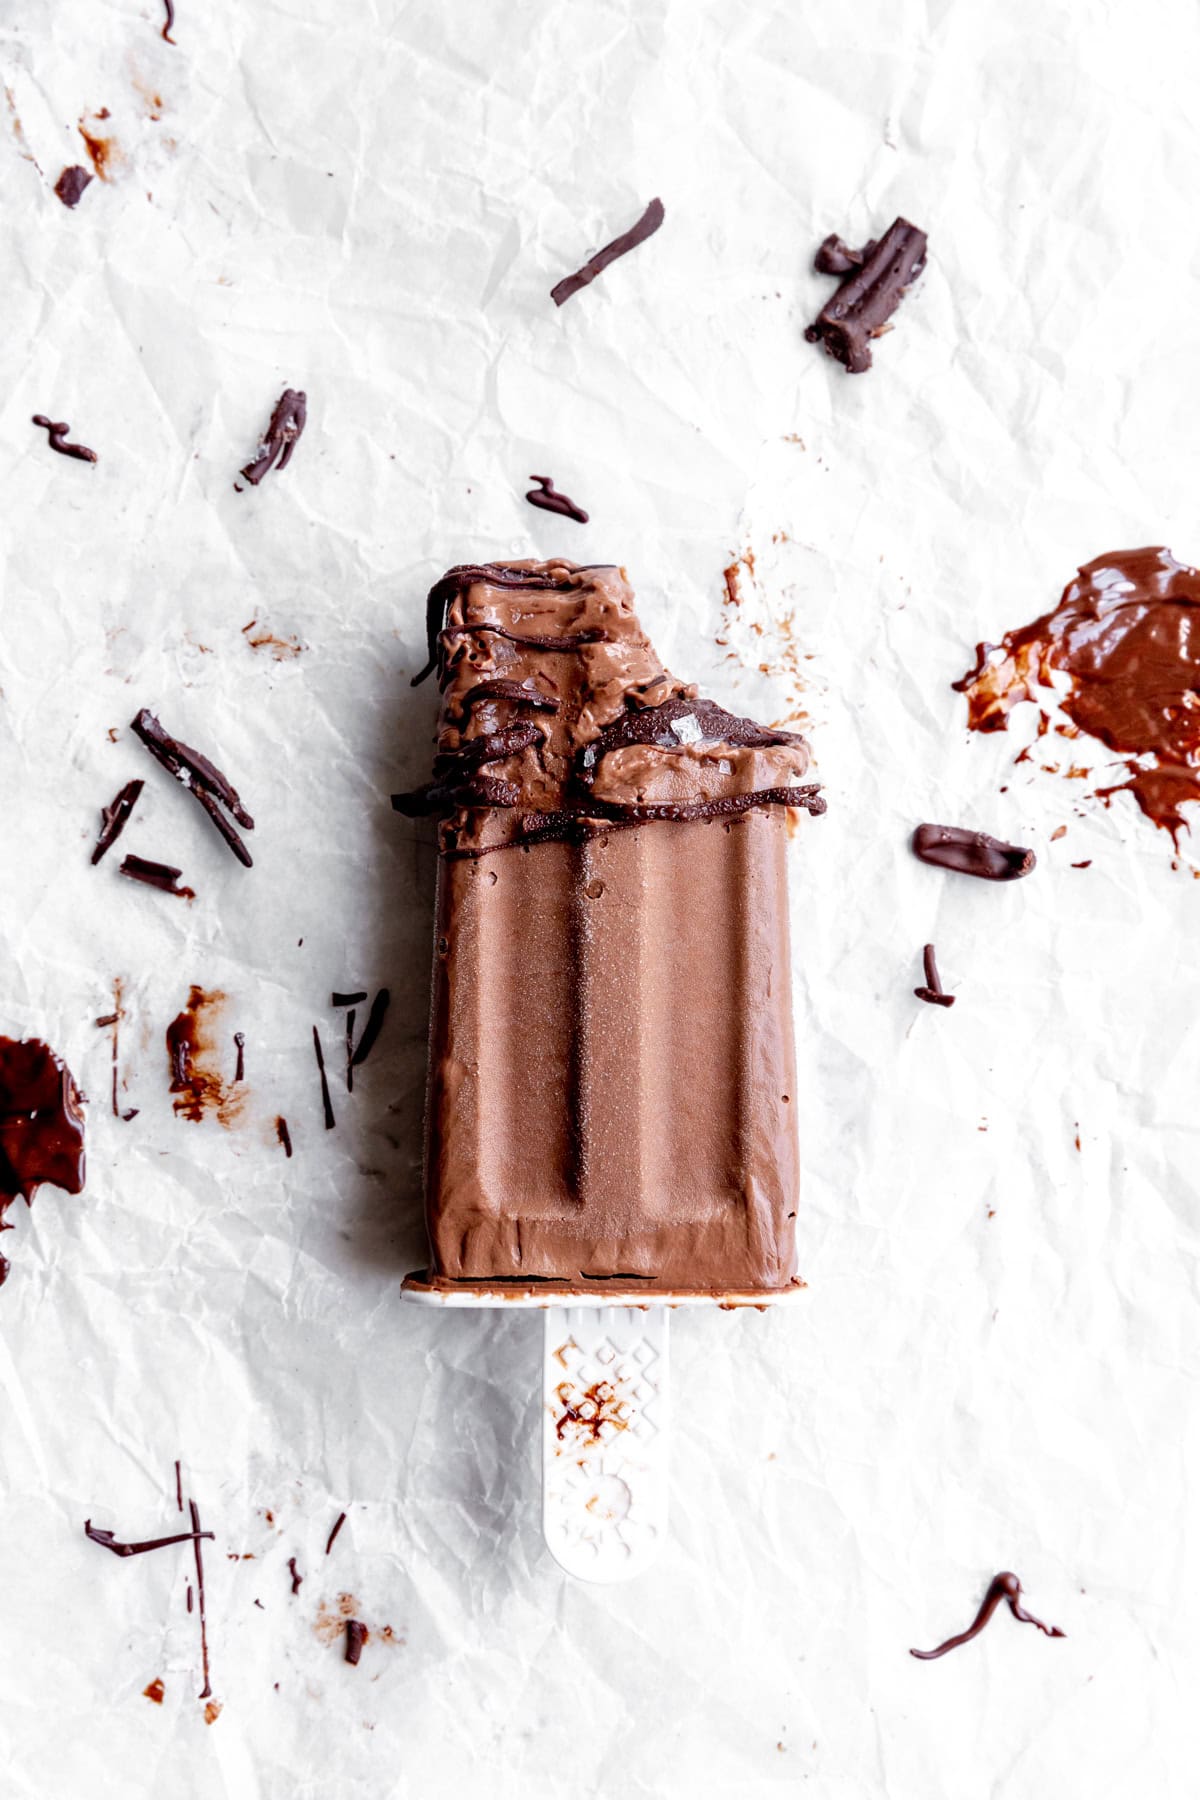
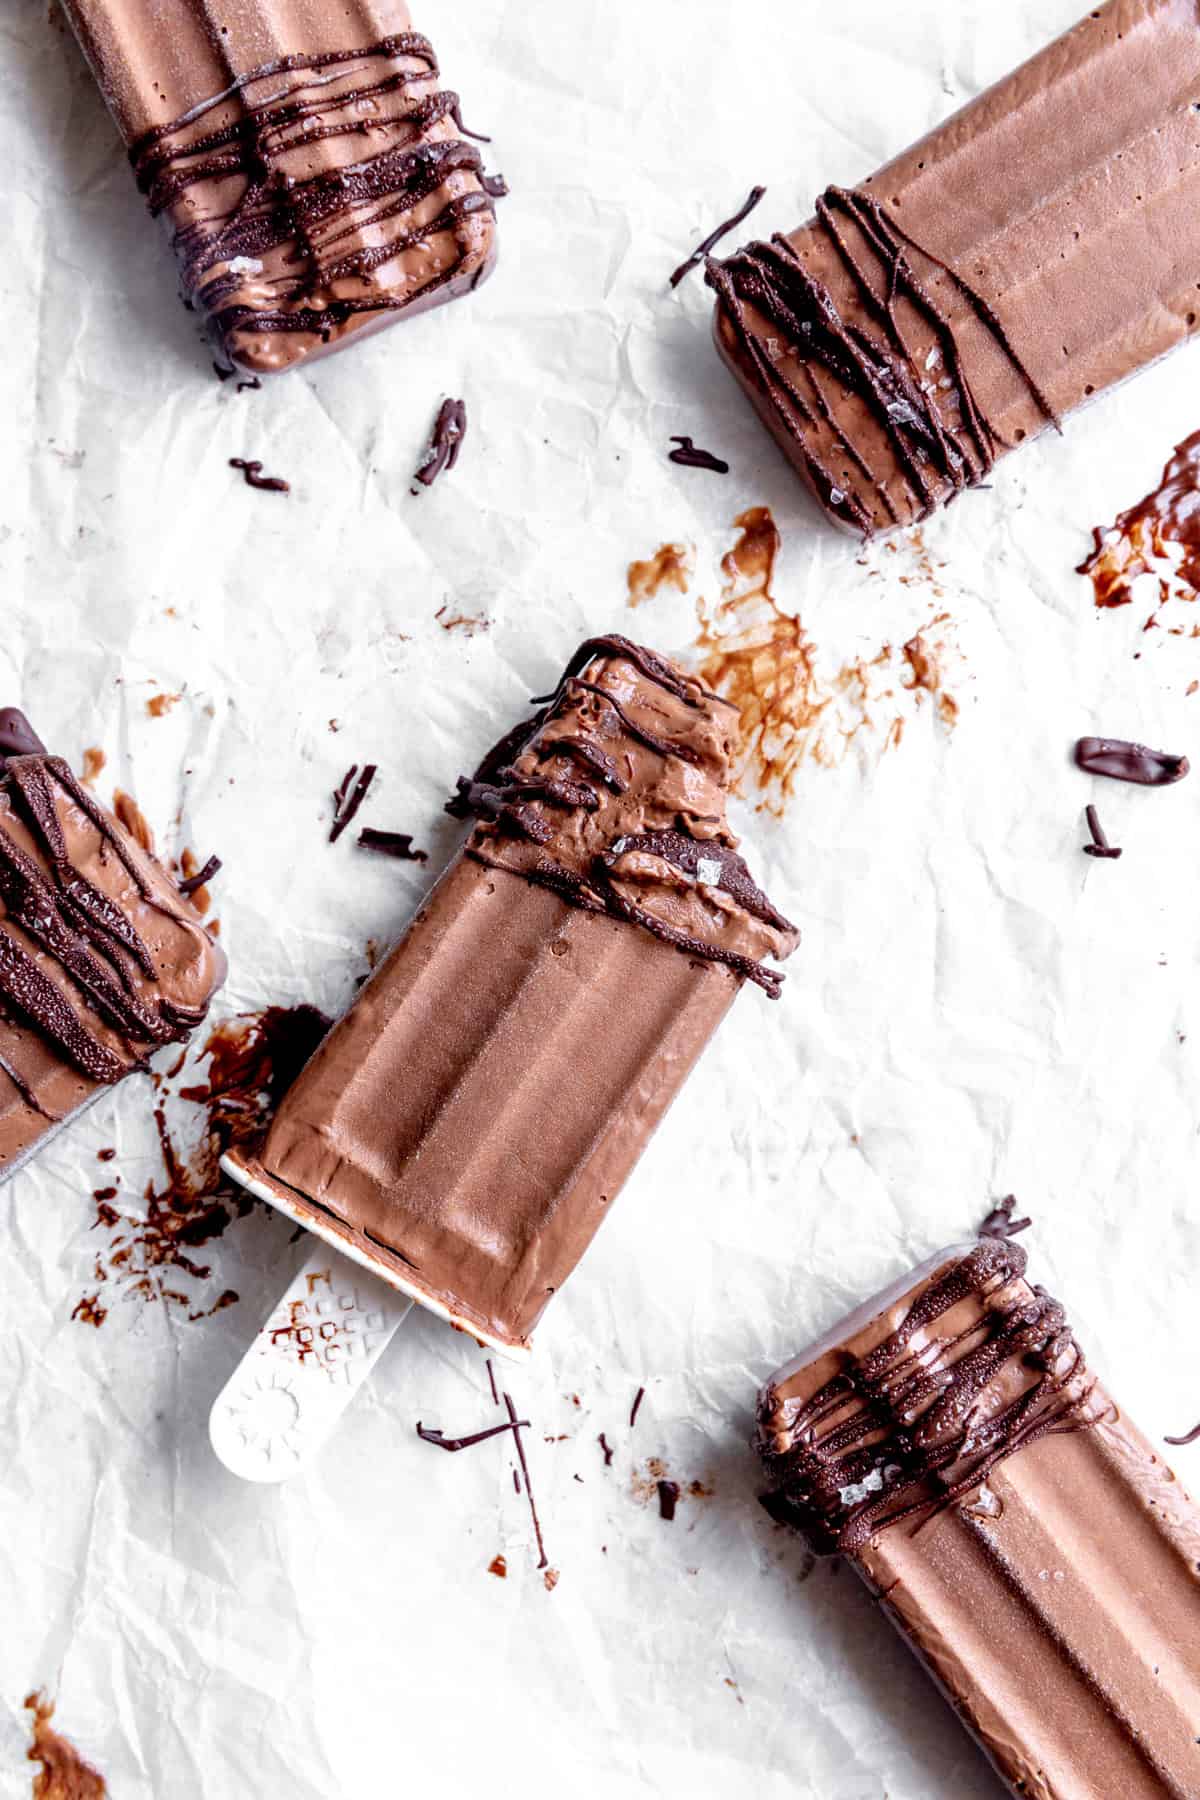
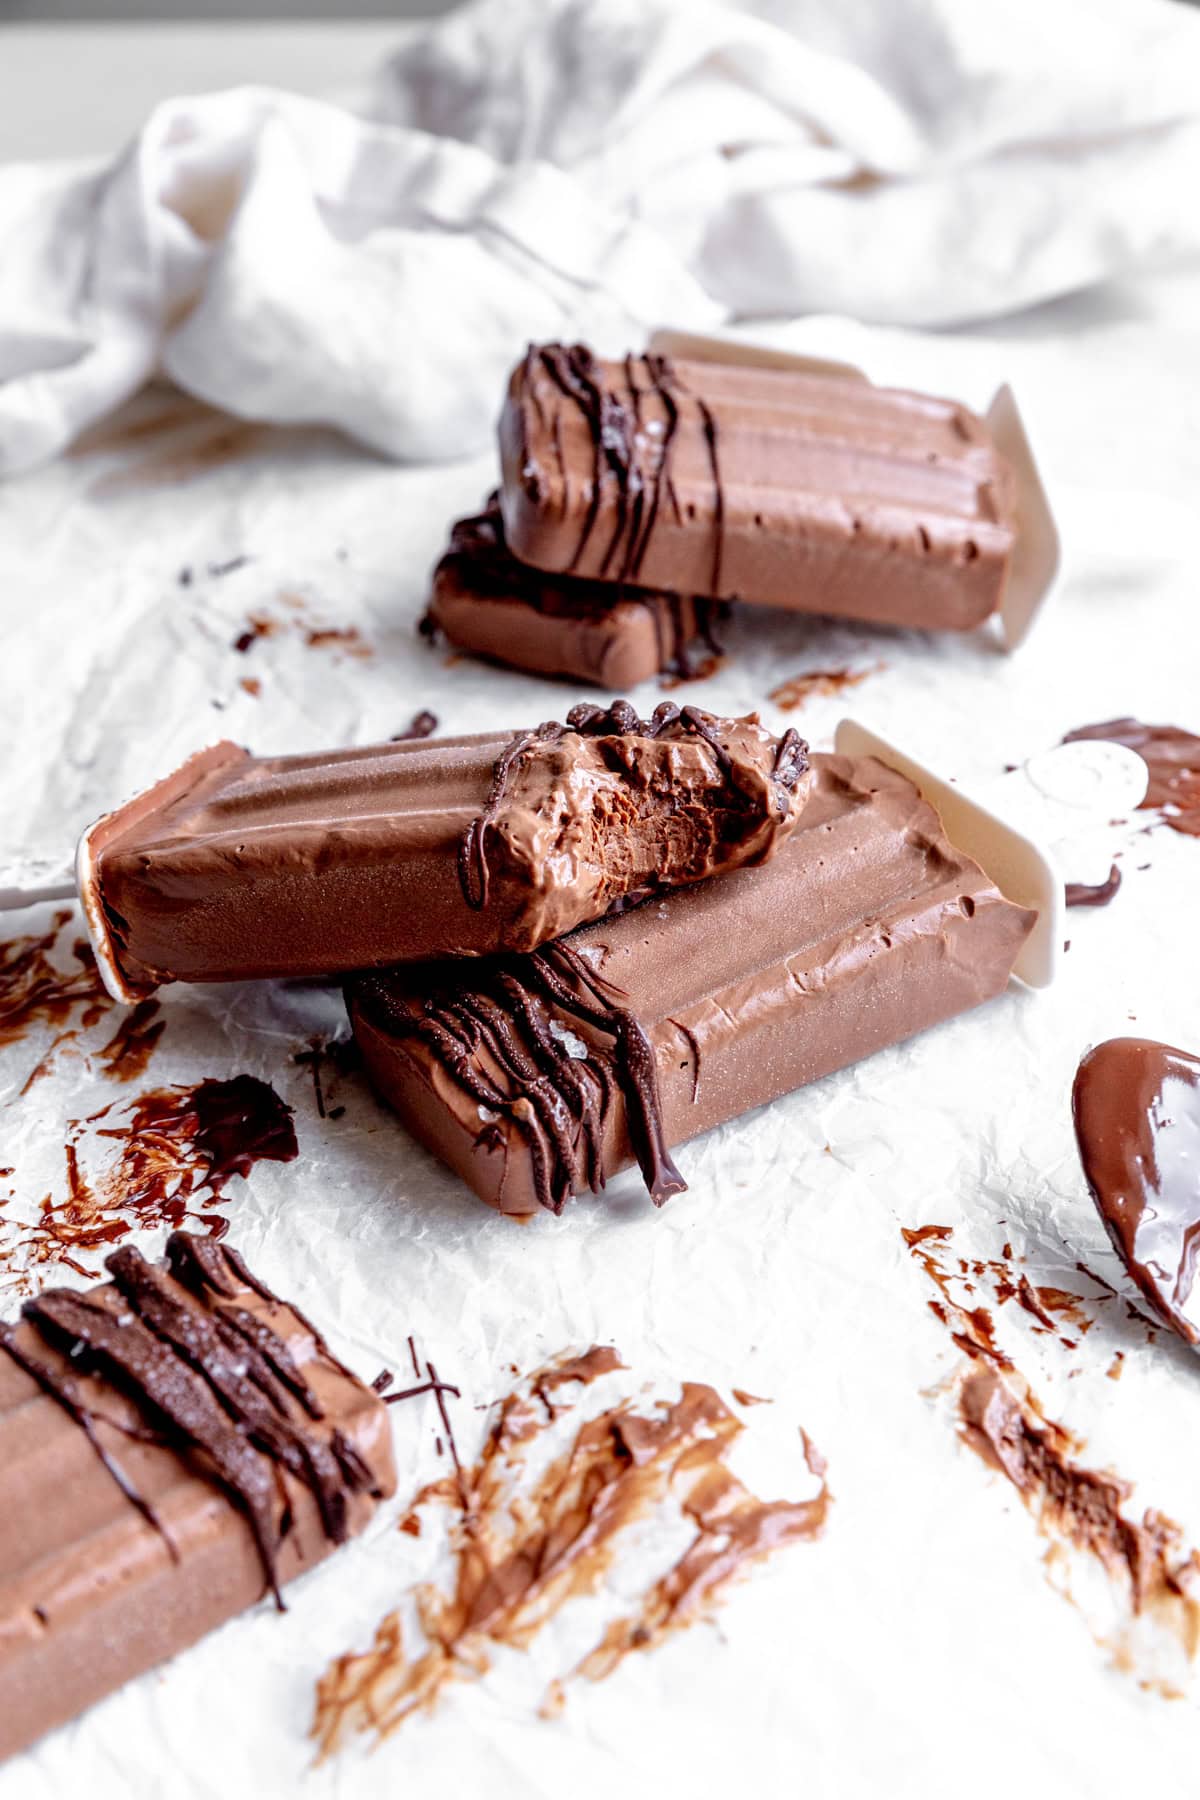
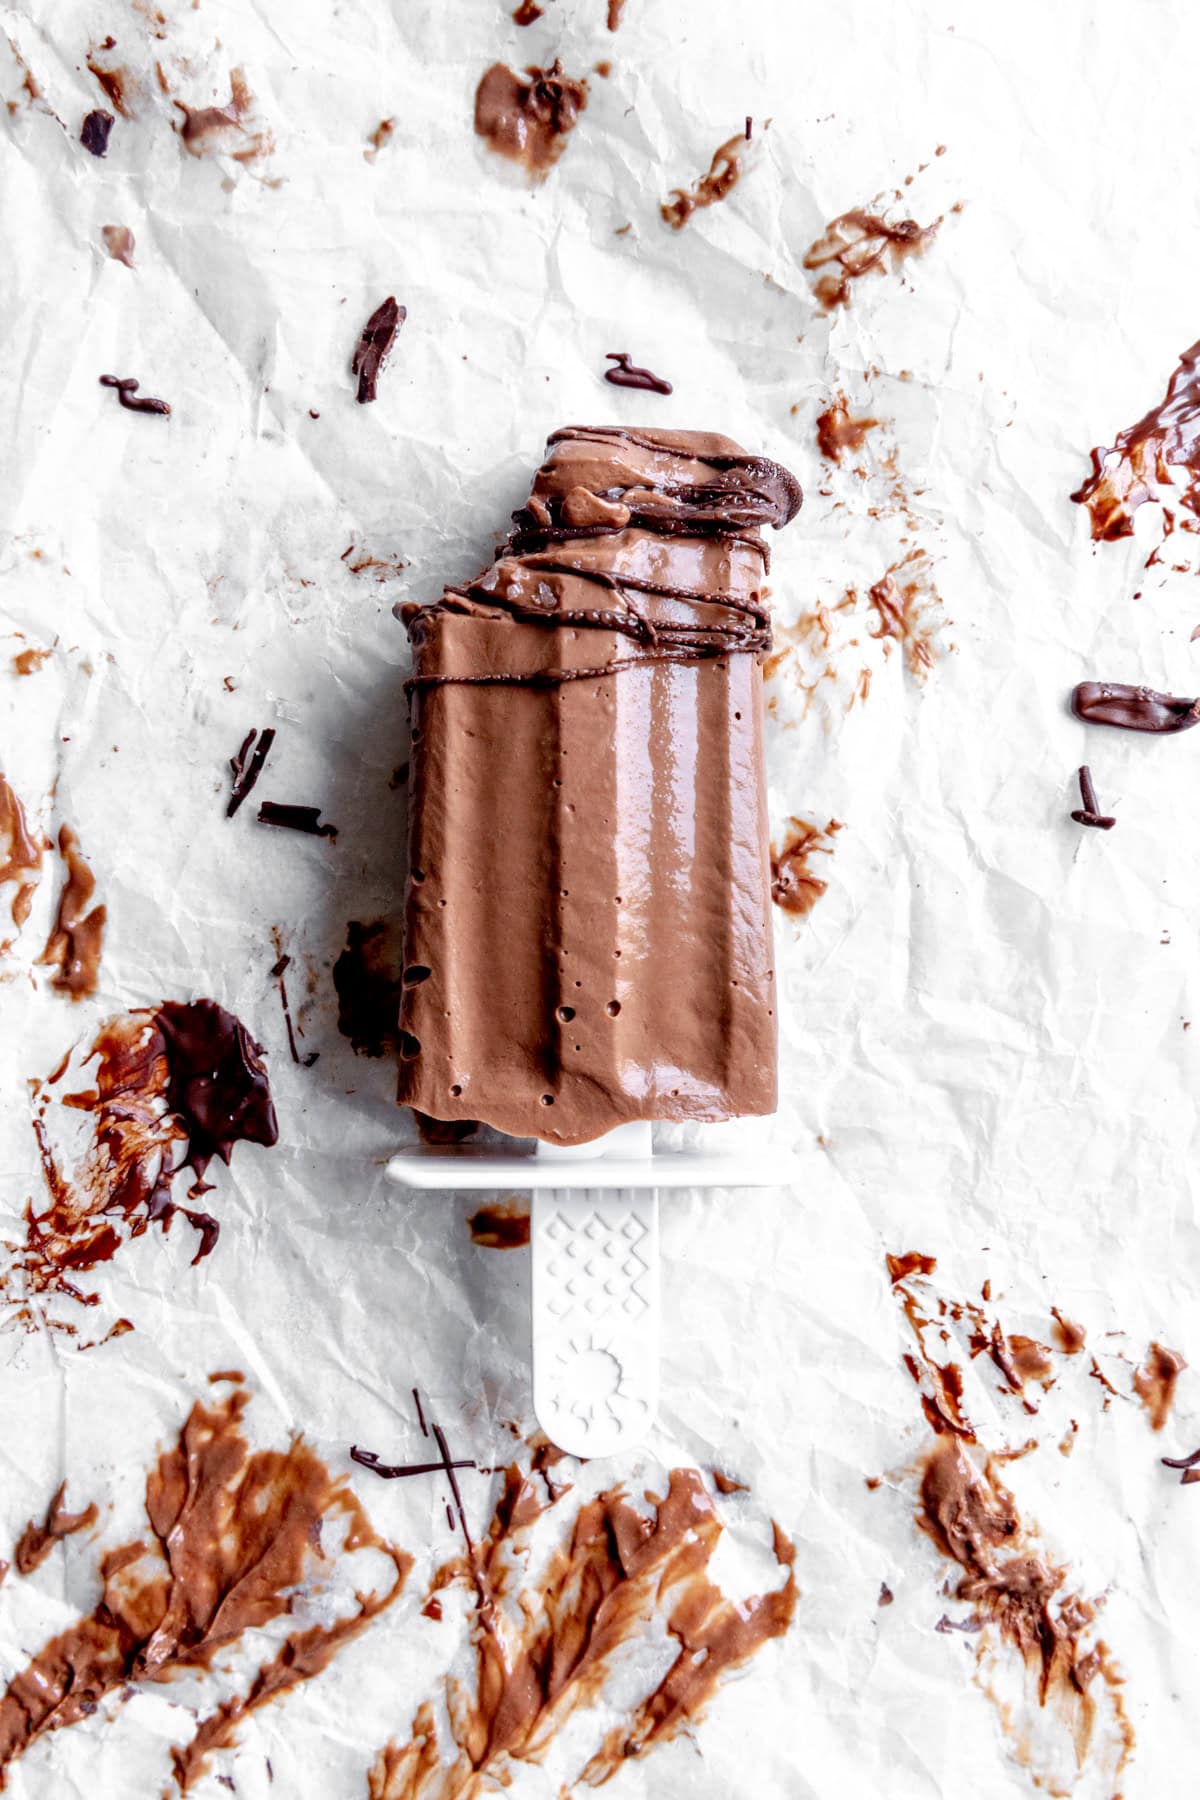
These Vegan Fudge Pops are rich, creamy, and intensely chocolatey. They're the perfect frozen treat for satisfying a summer sweet tooth! Made with only five ingredients and completely dairy-free, they're incredibly easy to make and taste just like the pops you grew up with!
Made these for my kids and they loved them! I like that they have some protein and are healthier than what you can buy in the store. So fun too! -Debbie
I am so nostalgic about fudge pops, it's not even funny. They were one of my favorite parts of summer when I was growing up.
The most difficult thing about fudge pops? Finding a way to steal one from the box in the freezer without your parents realizing it was missing!
Now you can make an adult version at home! Just as creamy and delicious, but without all of the junk. These healthier, vegan fudge pops can and should take a prominent place in your dessert rotation.
If you love chocolate ice cream as much as me, you'll also want to check out my vegan rocky road ice cream!
If you love popsicles as much as I do, you'll also want to try these vegan strawberry cheesecake popsicles!
Jump to:
ingredients you'll need
Here are the 5 ingredients you'll need to make these vegan fudge pops!
- Nondairy Chocolate Chips: Provide the rich, deep chocolate flavor that gives these fudge pops their decadent, fudgy taste.
- Nondairy Milk: Loosens the mixture and provides the liquid needed to create a smooth, creamy popsicle base.
- Silken Tofu: Creates a thick, creamy texture while adding structure and richness.
- Nondairy Yogurt: Adds extra creaminess and a subtle tang that balances the sweetness.
- Agave Nectar: Naturally sweetens the fudge pops while helping create a smooth, soft texture when frozen.
have a specific food allergy?
Click the button below to ask ChatGPT to alter it for your diet!
why you'll love these pops
- Rich and chocolatey: These pops have an intensely chocolatey flavor that tastes more like a frozen fudge dessert than an ordinary popsicle.
- Ultra-creamy: Silken tofu and nondairy yogurt create a creamy texture without any dairy.
- Easy to make: Simply blend the ingredients together, pour into molds, and freeze.
- No ice cream maker needed: All you need are a few simple ingredients and popsicle molds.
- Kid-friendly: With their creamy texture and rich chocolate flavor, these homemade fudge pops are a hit with kids and adults alike!
- Completely vegan: Great for people with allergies!
how to make vegan fudge pops (with pictures!)
Please see the recipe card at the bottom of the page for full instructions and ingredient measurements.
Begin by placing the chocolate chips and nondairy milk in a large mixing bowl. Melt chocolate in the microwave and mix together until completely smooth!
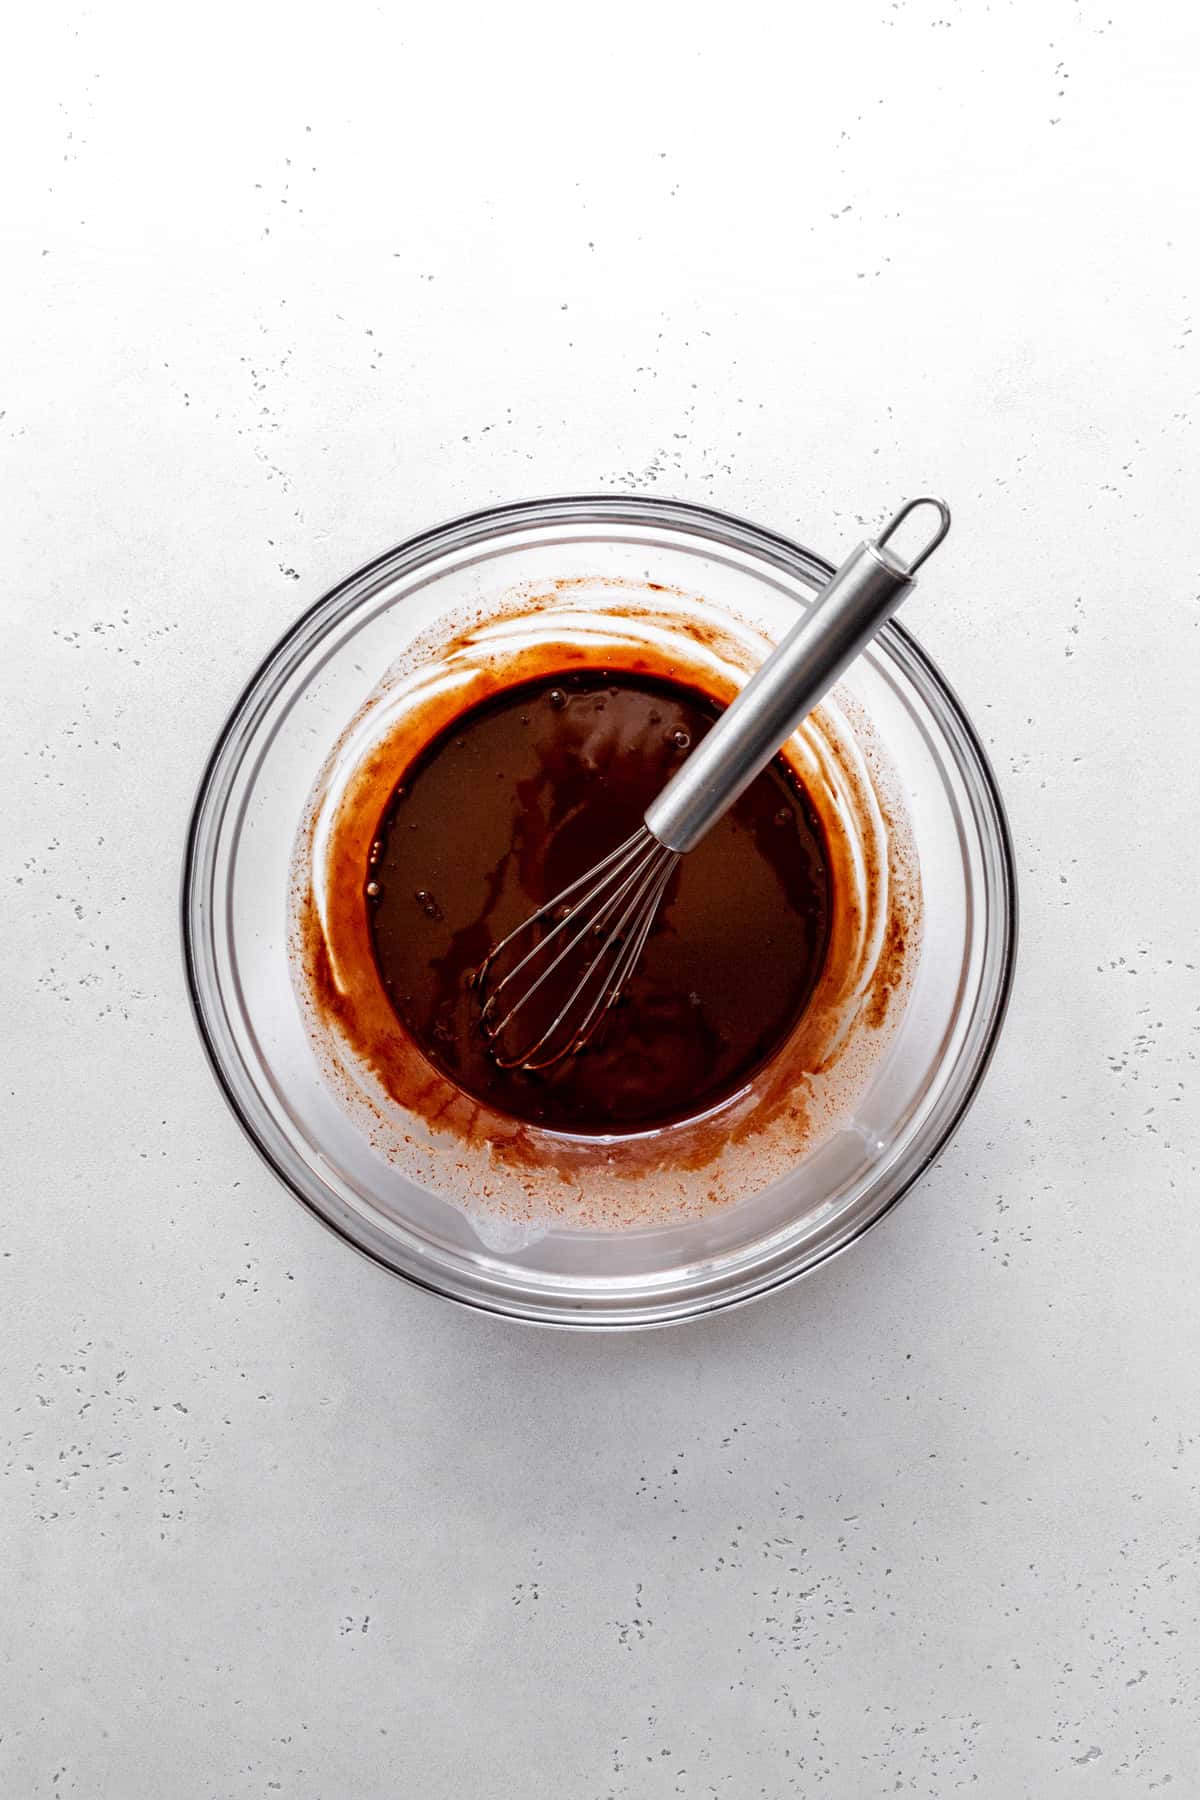
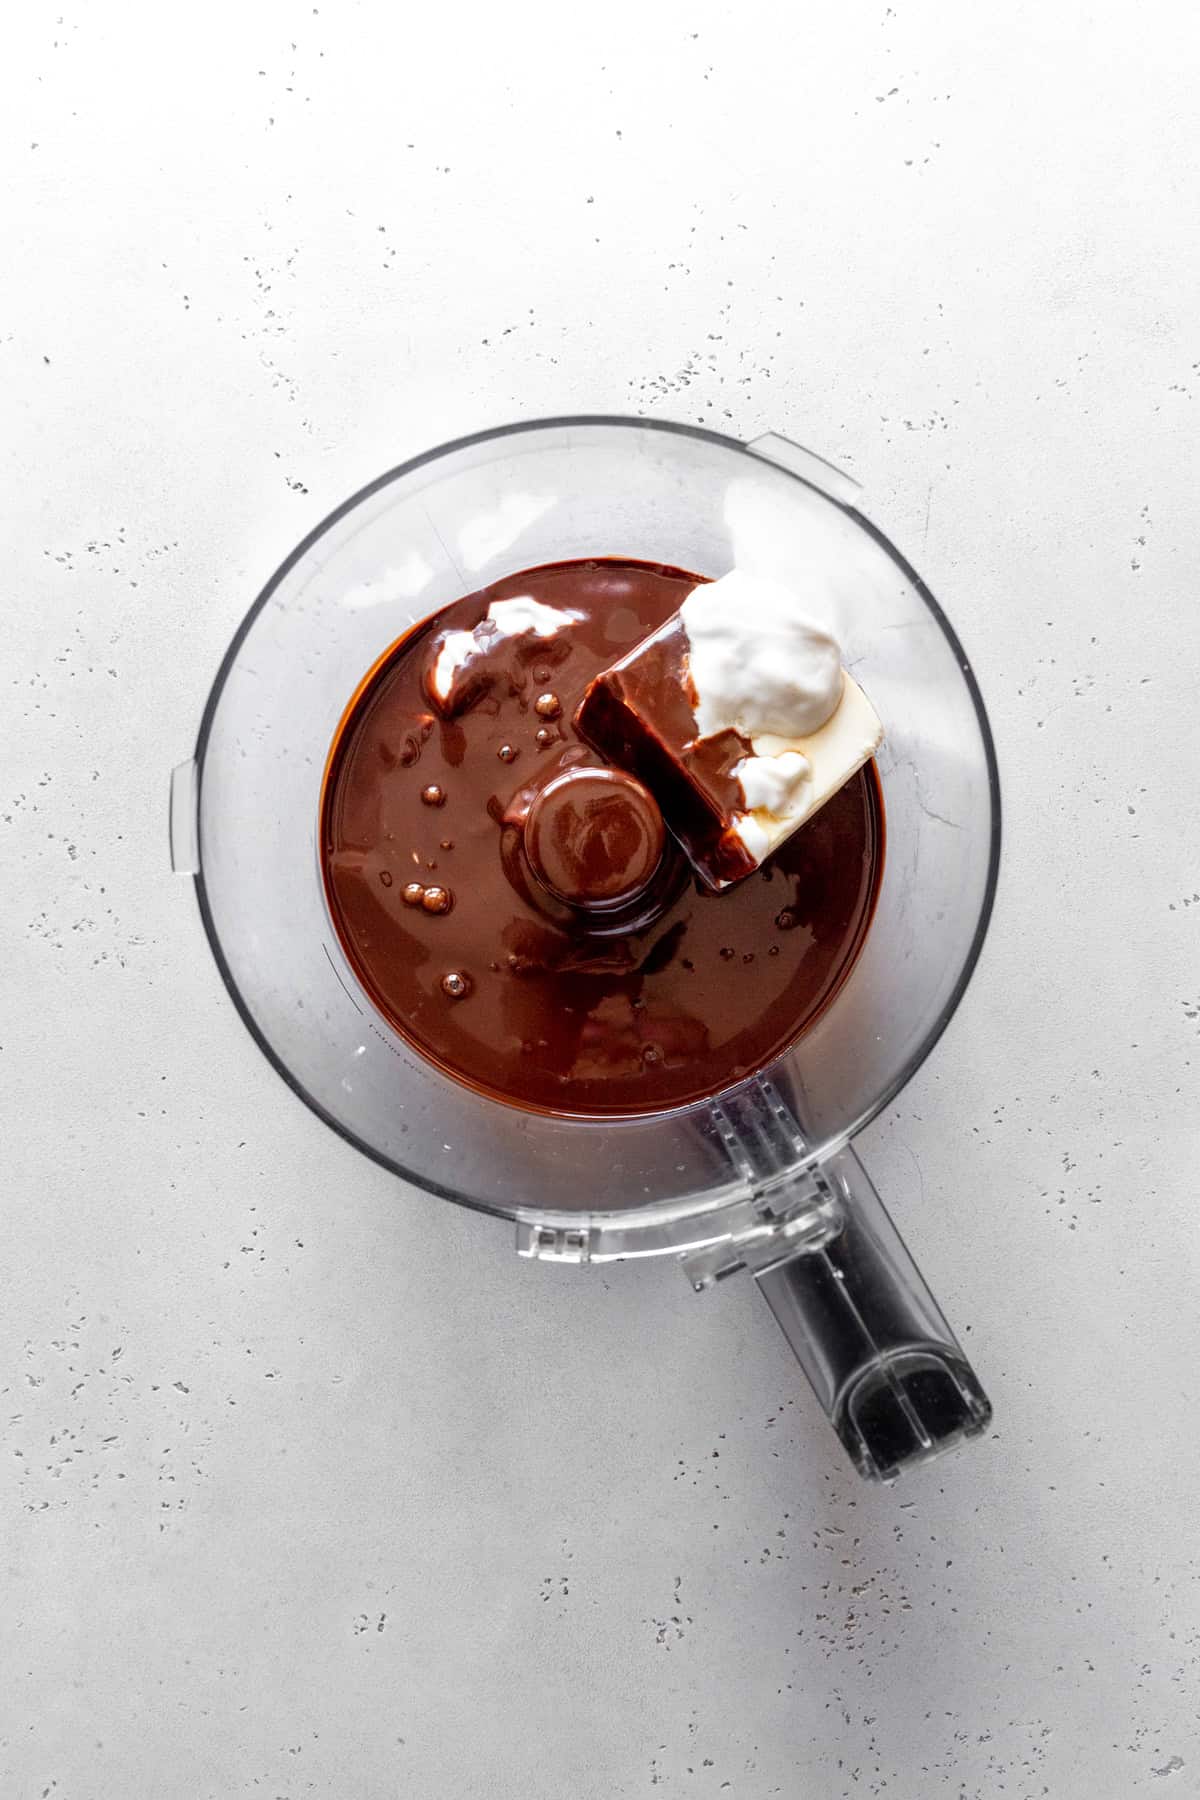
Pour melted chocolate into the bowl of a food processor and add in the remaining ingredients. Blend until smooth.
Pour the chocolate mixture into a popsicle mold, filling each mold all the way to the top.
Place in the freezer to chill for at least 8 hours or overnight. Pop out of the mold and enjoy!
what popsicle molds are best for fudge pops?
For fudge pops, choose molds that are relatively narrow and have easy-release sides, since the chocolate-heavy mixture can freeze quite firmly.
Flexible silicone molds are best for easy release. Silicone is especially helpful for fudge pops because you can gently flex the mold to release the frozen pop instead of struggling to pull it out.
For this recipe, I'd recommend 2-3 ounce molds rather than giant popsicle molds. They're a good size for a fudge pop, and the smaller size also makes them easier to eat before they start melting.
One important tip: Don't fill the molds completely to the top. Leave a little room for the mixture to expand as it freezes. When you're ready to eat them, run the outside of the mold under warm (not hot) water for a few seconds to loosen the pop.
tips and tricks
Here are a few things you can do to make sure your pops turn out perfectly every time:
- Use silken tofu: Make sure you're using silken tofu rather than firm or extra-firm tofu. Silken tofu blends into a completely smooth, creamy consistency that's perfect for fudge pops.
- Blend until completely smooth: Don't rush this step. Blend the mixture until there are no visible bits of tofu remaining for the creamiest texture.
- Melt the chocolate gently: Melt the nondairy chocolate chips slowly, stirring frequently, to prevent them from scorching or becoming grainy.
- Taste before freezing: Give the mixture a quick taste before pouring it into the molds. Frozen desserts taste less sweet once frozen, so you can adjust the sweetness if needed.
- Don't overfill the molds: Leave a little space at the top of each mold to allow the mixture to expand as it freezes.
- Freeze completely: For the best texture, freeze the fudge pops for at least 8 hours, preferably overnight. If they're not completely frozen, they'll be difficult to remove from the molds.
- Let them soften slightly before eating: Give the pops a minute or two at room temperature before taking the first bite. This makes their creamy, fudgy texture even better.
how to easily remove fudge pops from molds
Removing popsicles from the mold can be tricky. Here are a few tips to help make sure you get it right:
- Don't rush it: Make sure the fudge pops are completely frozen before attempting to remove them. If they're not fully frozen, they're more likely to break or stay stuck.
- Run the mold under warm water: Hold the outside of the mold under warm (not hot) running water for 10-15 seconds. Focus on the sides of the mold rather than the top.
- Gently wiggle the stick: Give the popsicle stick a gentle back-and-forth wiggle to see if the pop has loosened. Don't pull forcefully! You don't want the stick to come out without the fudge pop.
- For silicone molds: Gently squeeze or flex the sides of the mold to release the pop. Silicone molds are particularly convenient for creamy fudge pops because they're naturally flexible.
- Remove only what you're eating: If you're using a multi-pop mold, avoid repeatedly warming the entire tray. Unmold individual pops as needed and return the remaining pops to the freezer immediately.
- Troubleshooting a broken pop: If the pop begins to crack or the stick starts pulling away from it, stop and refreeze it for another 30-60 minutes before trying again.
frequently asked questions
No! Silken tofu has a very mild flavor, and the rich chocolate and vanilla flavors completely mask it. It primarily adds creaminess and structure to the pops.
No. Since you're using silken tofu, there's no need to press it. Simply drain any excess liquid from the package and add the tofu directly to the blender.
Yes! Maple syrup or another liquid sweetener can be substituted for the agave, although the flavor and sweetness may vary slightly.
Icy pops can result from too much liquid or from not blending the mixture thoroughly. Make sure your ingredients are measured accurately and blend until completely smooth and creamy.
Yes! Pour the mixture into small paper cups, freeze until partially firm, then insert popsicle sticks. Once completely frozen, simply peel away the paper cup.
didn't find the answer you were looking for?
Ask ChatGPT to answer based on this specific recipe:
fudge pop variations
Here are a few things you can do to church up your pops!
- Peanut Butter Fudge Pops: Add ¼ cup creamy peanut butter to the blender for a rich chocolate-peanut butter flavor.
- Mint Chocolate: Blend in ¼ teaspoon peppermint extract for a refreshing mint chocolate version.
- Mocha Fudge Pops: Add 1-2 teaspoons instant espresso powder to intensify the chocolate and create a coffeehouse-inspired pop.
- Chocolate Hazelnut: Add ¼ cup vegan chocolate hazelnut spread for a creamy, Nutella-inspired flavor.
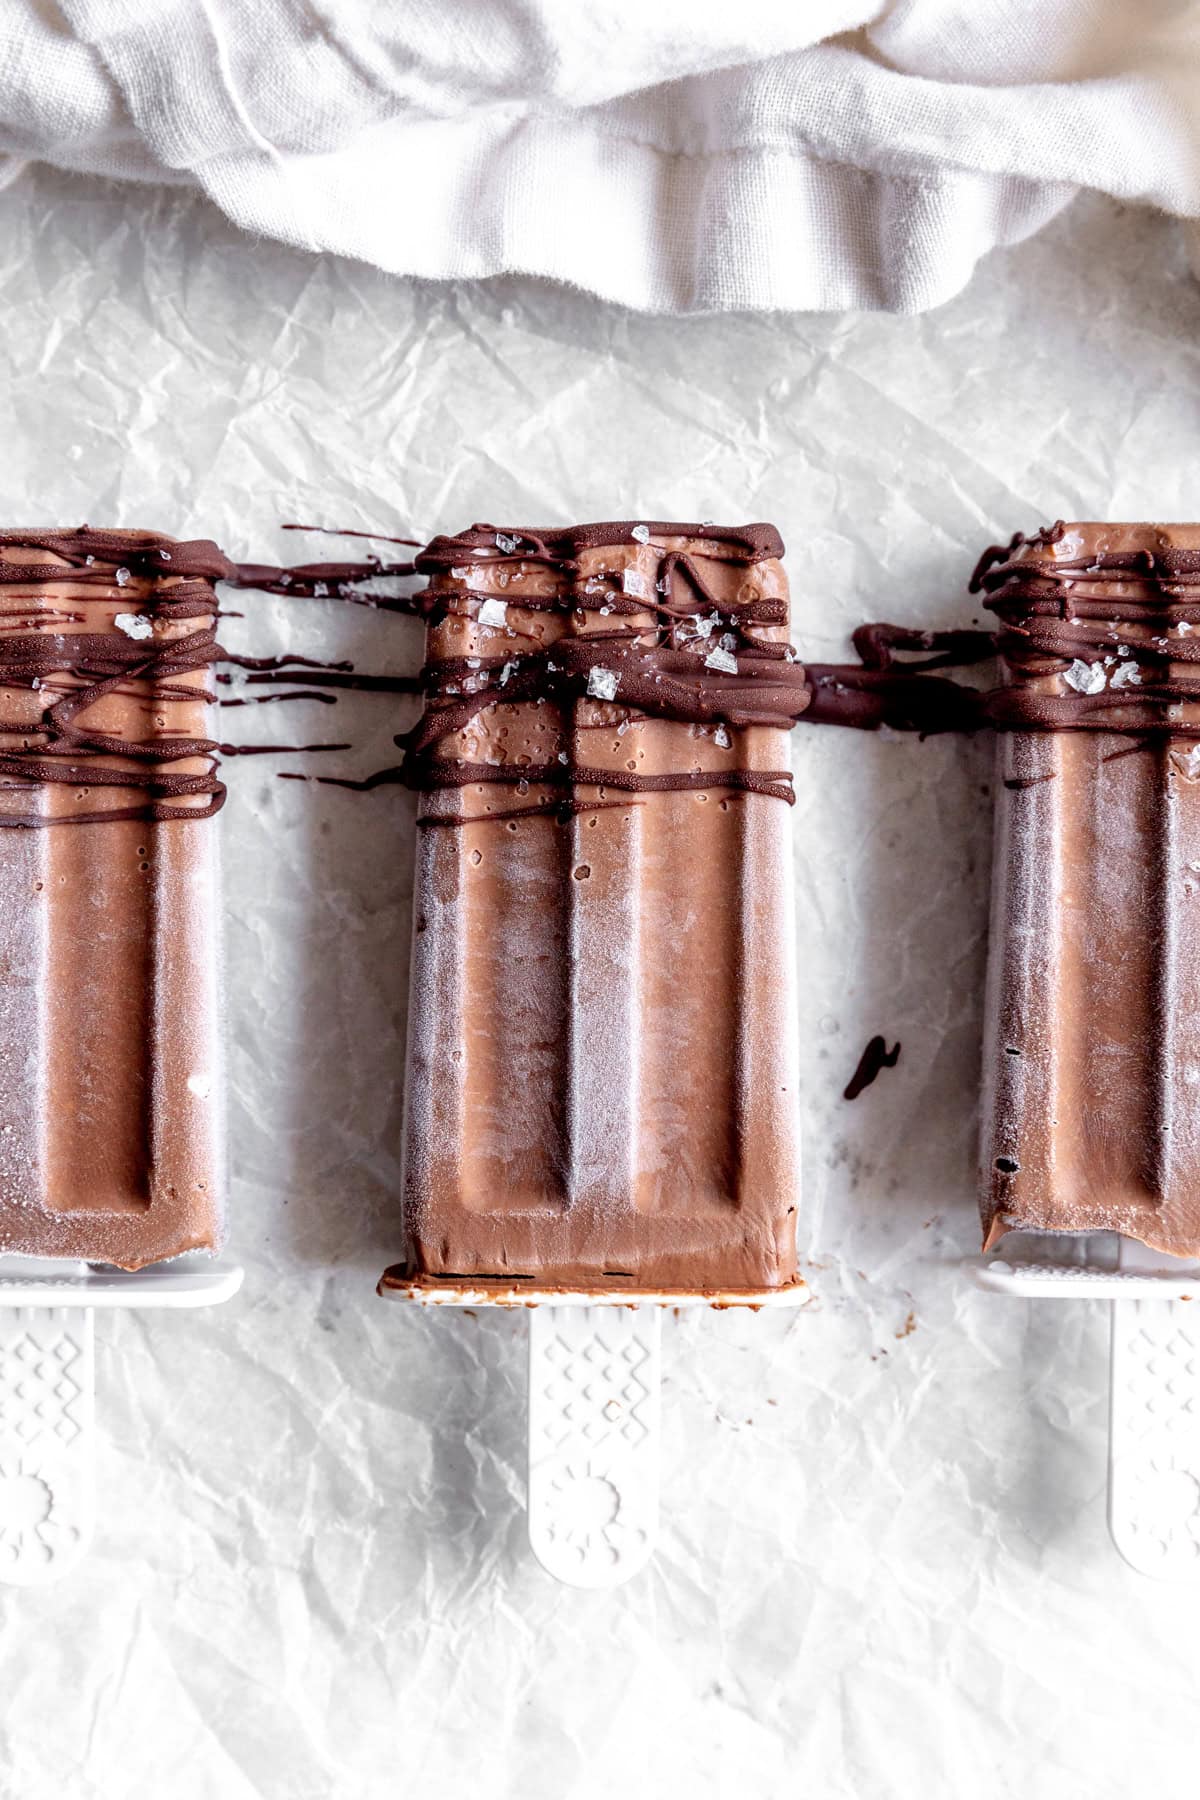
- Salted Chocolate: Stir in a pinch of flaky sea salt before freezing, or sprinkle it over a chocolate-dipped pop.
- Chocolate Cherry: Add ½ cup finely chopped cherries or a swirl of cherry preserves for a fruity chocolate combination.
- Raspberry Fudge Pops: Blend in ½ cup fresh or frozen raspberries for a tart, berry-filled variation.
- Cookies and Cream: Fold in crushed vegan chocolate sandwich cookies after blending for extra texture.
- Chocolate Orange: Add 1 teaspoon orange zest and ¼ teaspoon orange extract for a bright citrus twist.
- Banana Fudge Pops: Blend in one ripe banana for a naturally sweeter, extra-creamy chocolate banana pop.
storage
In the Molds: Keep the vegan fudge pops in their molds and store them in the freezer for up to 2 weeks for the best texture and flavor.
Once Removed: If you remove the pops from their molds, wrap each one individually in parchment paper or plastic wrap and place them in a freezer-safe container or bag.
Prevent Freezer Burn: Store the pops in an airtight container and press out as much excess air as possible before sealing.
Avoid Repeated Thawing: Only remove the pops you plan to eat. Repeatedly thawing and refreezing them can create ice crystals and make the texture less creamy.
To Serve: Let a fudge pop sit at room temperature for 1-2 minutes before eating. This gives it a slightly softer, creamier texture while keeping it nicely frozen.
If you make this recipe, be sure to tag @censoredbaker on Instagram!
PrintVegan Fudge Pops

Homemade, dairy-free fudge pops. Only 5 ingredients!
- Prep Time: 15 minutes
- Freeze Time: 8 hours
- Total Time: 8 hours 15 minutes
- Yield: 10 Popsicles* 1x
- Category: Frozen Dessert
- Method: Freeze
- Cuisine: American
- Diet: Vegan
Ingredients
1 ½ cups nondairy chocolate chips
1 cup nondairy milk
12 ounces extra firm silken tofu*
½ cup nondairy yogurt, unflavored and unsweetened
1 tablespoon agave nectar
Instructions
- Melt: Add chocolate chips and nondairy milk to a large microwave-safe bowl. Place in the microwave and heat in 30 second increments, stirring after each until chocolate is completely melted and smooth.
- Blend: Place silken tofu, nondairy yogurt, melted chocolate mixture and agave nectar into a high speed blender or food processor. Run machine until mixture is completely smooth, about 1 minute.
- Freeze: Pour chocolate mix into a popsicle mold, filling each section all the way to the top. Cover, insert popsicle sticks and place in the freezer for 8 hours or overnight.
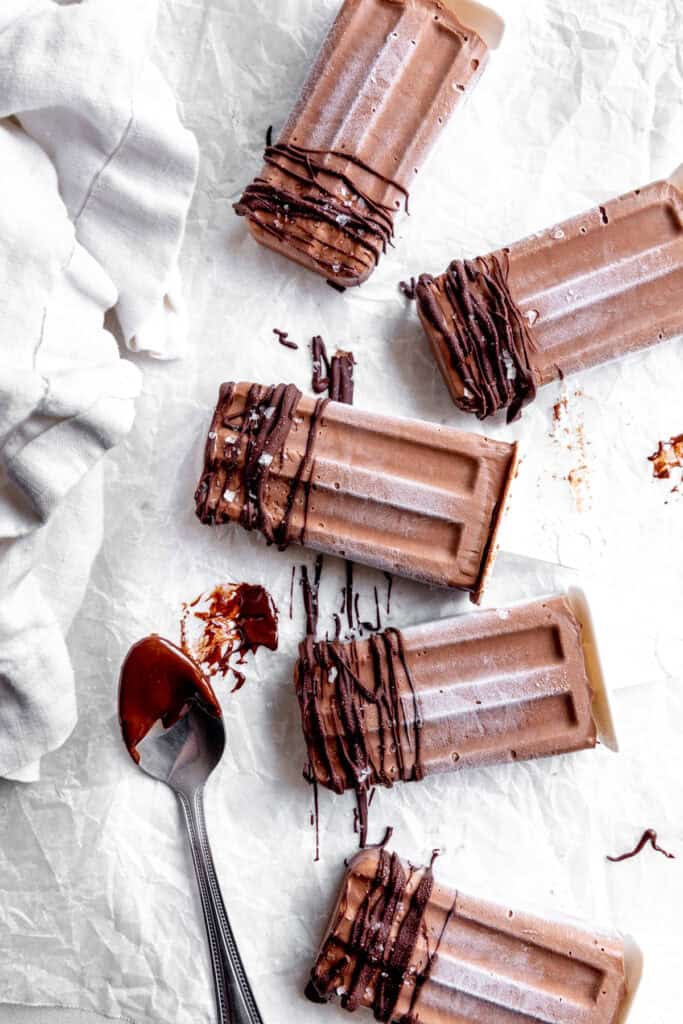
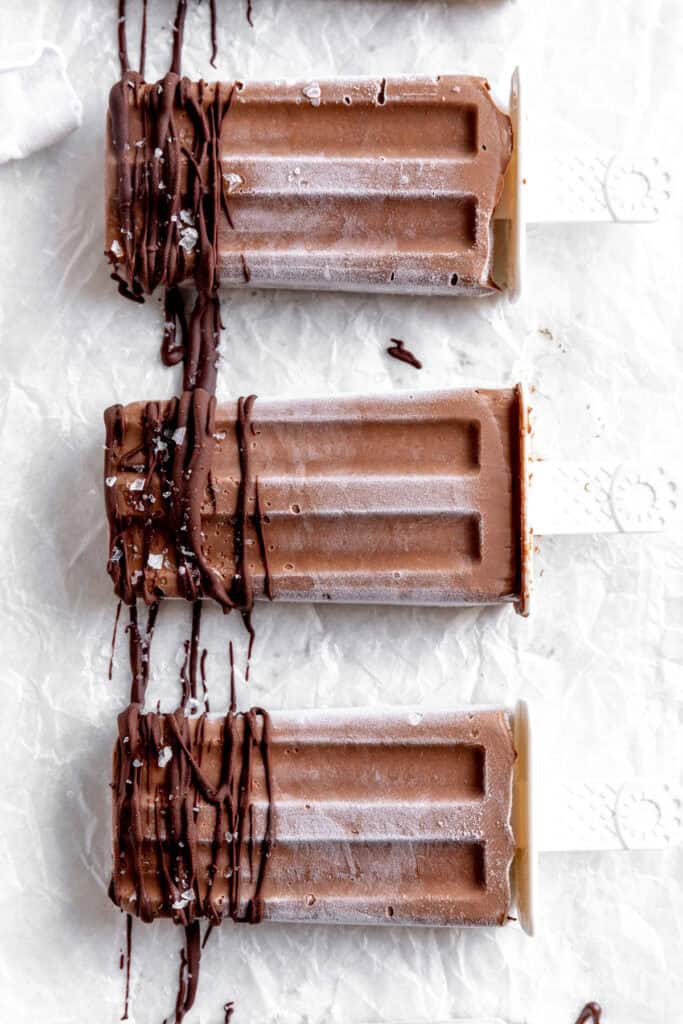
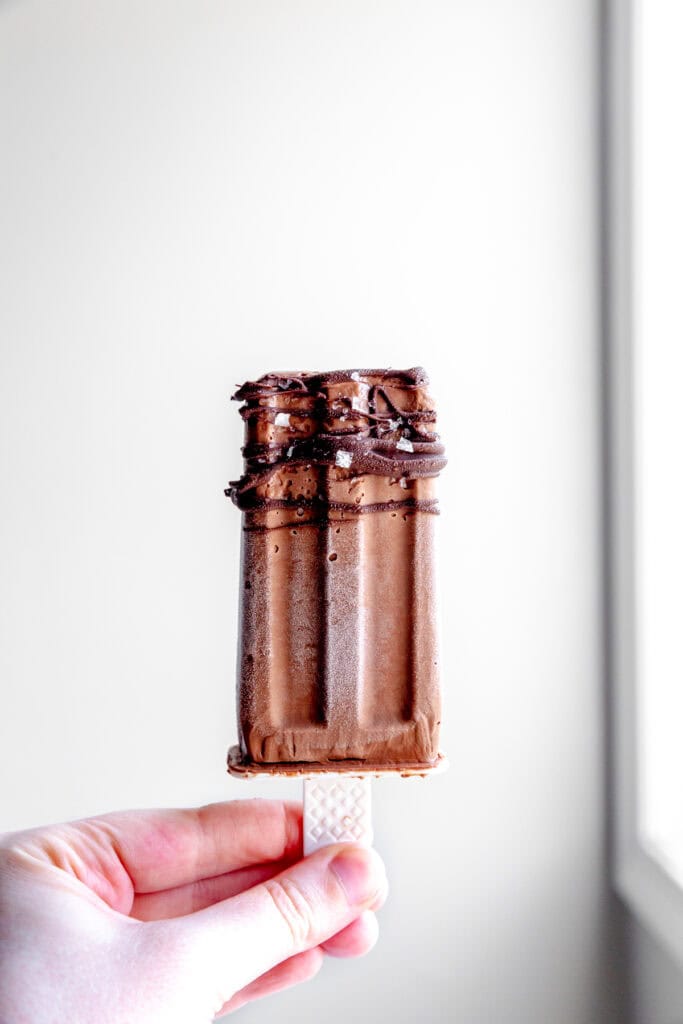
- Un-mold: Once at least 8 hours have elapsed you are free to begin popping fudge pops out of the mold. Only remove pops from the mold as you serve them. You can drizzle with melted chocolate and sprinkle with toppings if desired.
Notes
*Fudge Pops will keep sealed in their molds in the freezer for up to 2 weeks.
*Silken tofu is a Japanese-Style tofu that has a softer consistency than regular tofu. It blends very easily and provides a nice, creamy consistency. You can typically find it in the Asian aisle at the grocery store. It is shelf stable. I promise you won't taste it!
*The number of Fudge Pops made by this recipe depends completely on the size of the mold you use. You may get a few more or a few less than what is written in the recipe.

more dairy-free frozen treats
- vegan pumpkin spice ice cream with cookie swirl (no-churn!)
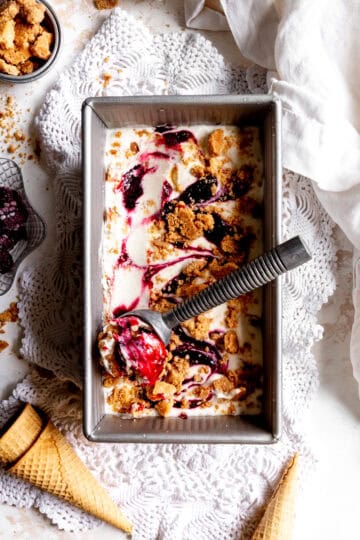
- Vegan Blackberry Cobbler Ice Cream (no-churn!)
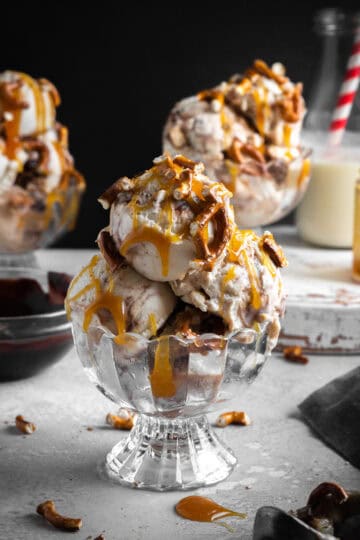
- Vegan Caramel Pretzel Ice Cream (no-churn!)
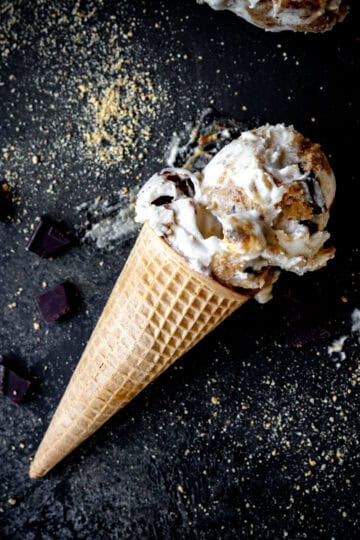
- Vegan S'mores Ice Cream (no-churn!)
Made these for my kids and they loved them! I like that they have some protein and are healthier than what you can buy in the store. So fun too!
So glad you like them!