This Vegan Red Velvet Cake recipe boasts sweet, moist cake layers held together with the creamiest, tangiest vegan cream cheese frosting. This cake is perfect for the red velvet-lover in your life. Easy, delicious and comes together using only one bowl. Let's learn how to make it!
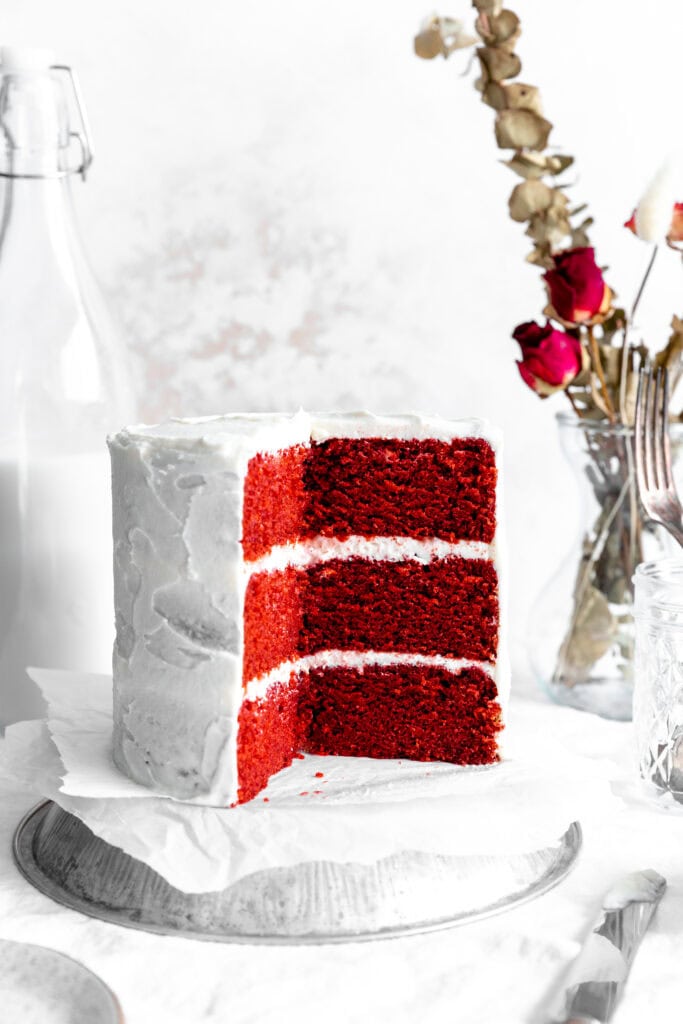
Just because this cake is vegan, doesn't mean it's short on flavor. We guarantee that no one who eats it will be able to tell it's free of dairy and eggs.
Here we take cakes and cupcakes very seriously and red velvet is no exception. Red velvet has a light cocoa flavor and a stunning red color. If you love this cake, you'll adore our vegan red velvet cupcakes.
Check out our vegan vanilla cake blog post for more tips and tricks on how to make the perfect vegan cake.
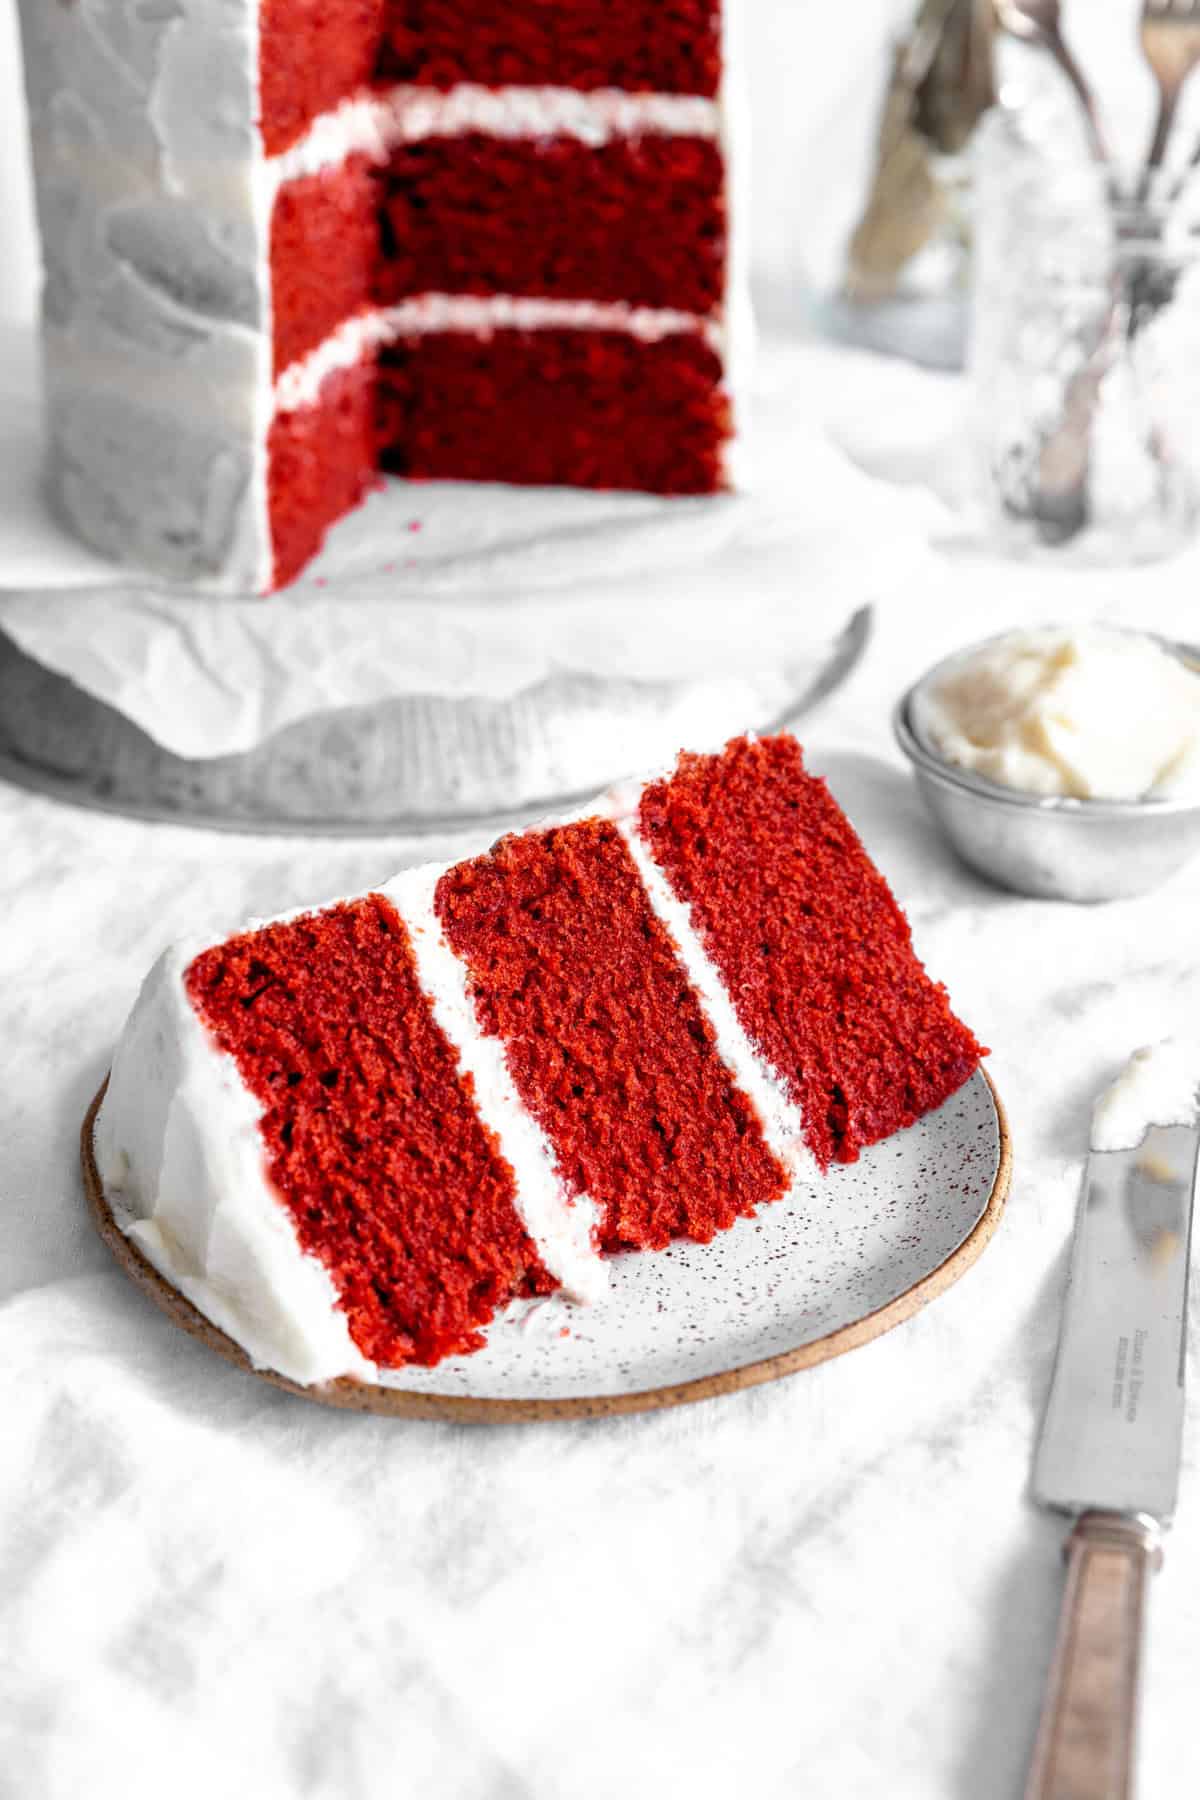
Vegan red velvet cake ingredients:
- all-purpose flour: Forms the base structure of the cake, providing the necessary gluten for a soft yet sturdy texture.
- granulated sugar: Adds sweetness and contributes to the cake's moistness and tender crumb.
- cocoa powder: Offers a subtle chocolate flavor typical of red velvet cake and enhances the vibrant red color when combined with the red food coloring.
- baking powder: A leavening agent that helps the cake rise and creates a light, fluffy texture.
- baking soda: Works with the vinegar to create a chemical reaction that further helps the cake rise and develop its characteristic soft crumb.
- salt: Balances the sweetness and enhances the flavors of the cake.
- nondairy yogurt: Provides moisture, richness, and a slight tanginess that mimics buttermilk, which is traditionally used in red velvet recipes. Also replaces eggs and helps bind cake together.
- nondairy milk: Adds additional moisture to create a smooth, pourable batter.
- canola oil: Keeps the cake incredibly moist, tender and adds richness.
- vanilla extract: Enhances the overall flavor profile of the cake, adding warmth and depth.
- white vinegar: Reacts with the baking soda to help the cake rise and enhances the signature red color of the cake.
- vegan red food coloring: Creates the vibrant red color that defines red velvet cake. Look for vegan-friendly brands without animal-derived additives like carmine.
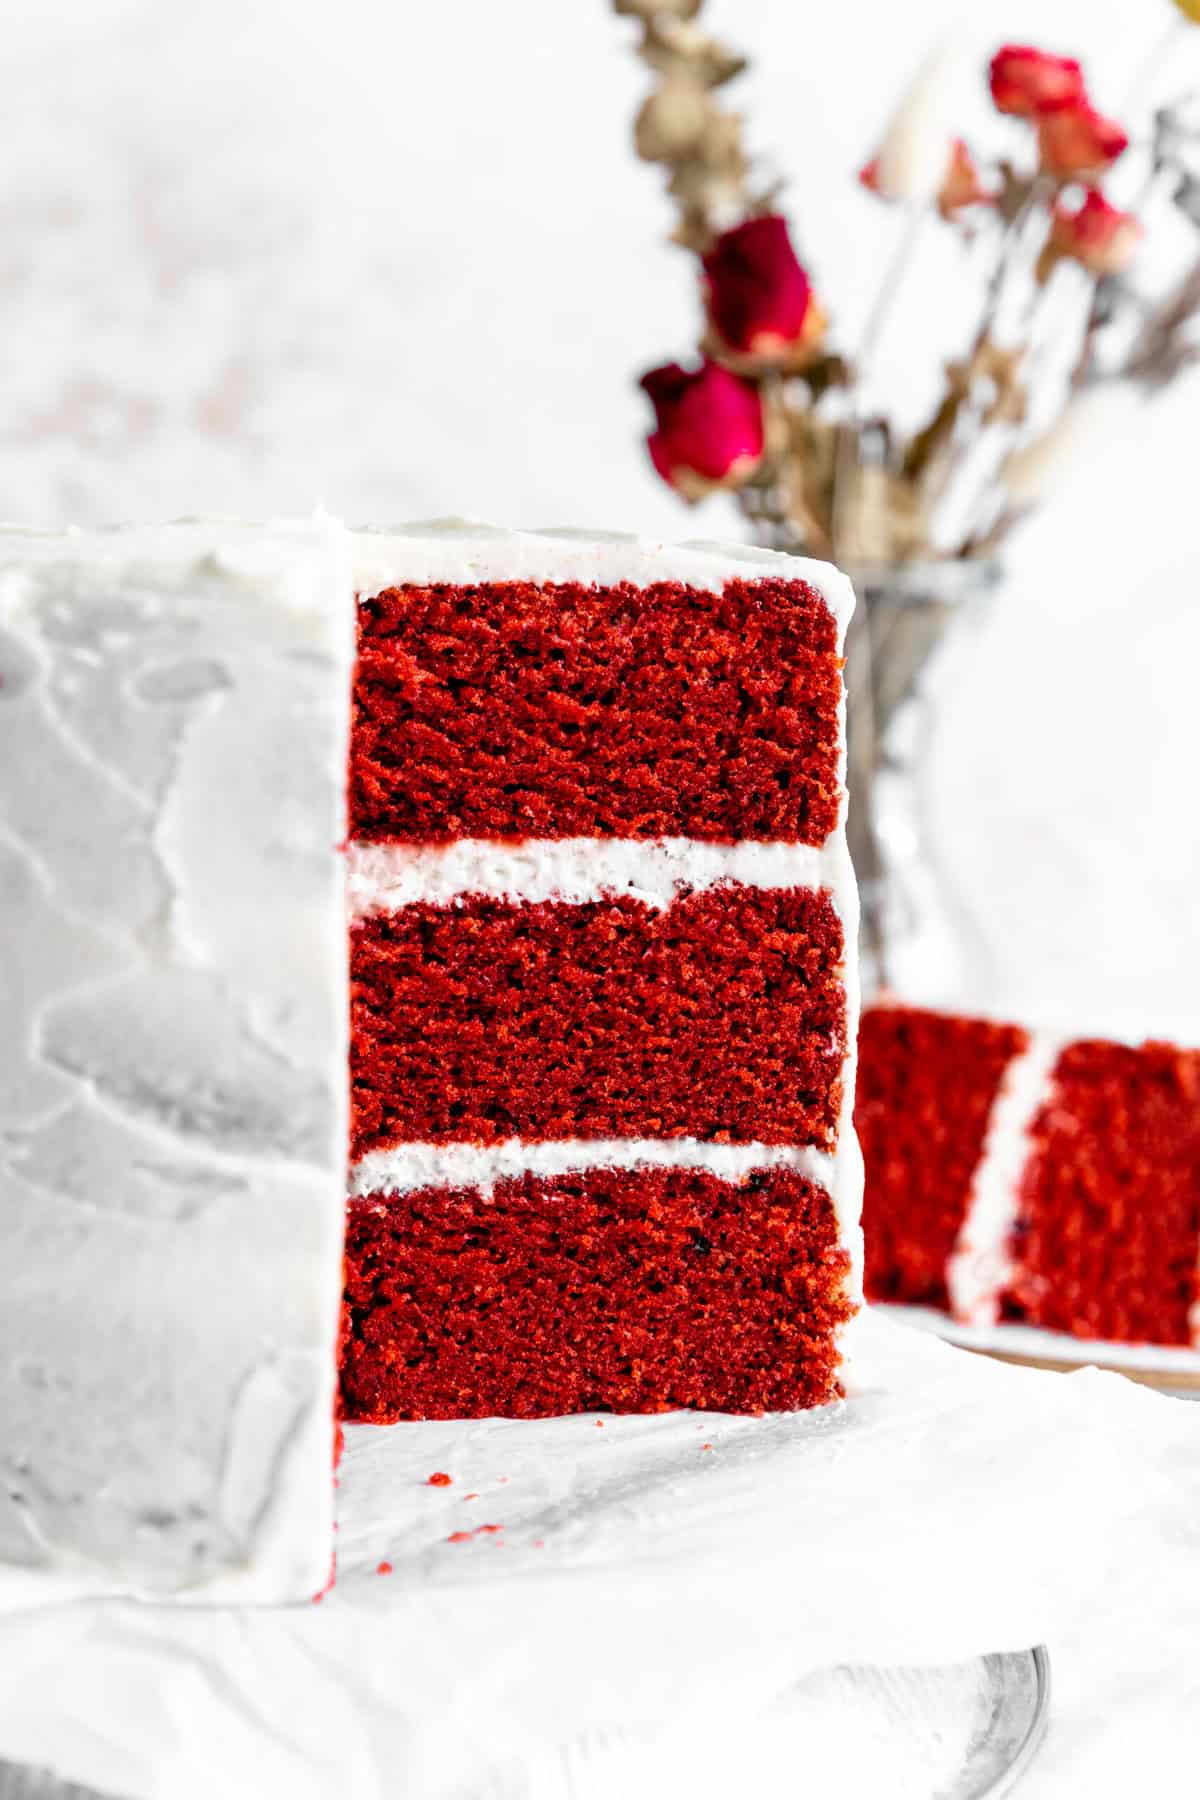
Vegan cream cheese frosting ingredients:
- vegan cream cheese: Adds the classic tanginess and creaminess to the frosting.
- non-hydrogenated shortening: stabilizes the frosting and helps it hold its shape while maintaining a creamy texture.
- vegan butter: Provides richness and a smooth, spreadable consistency to the frosting.
- powdered sugar: Sweetens the frosting and creates a thick, silky texture perfect for spreading or piping.
- vanilla extract: Balances the tanginess of the cream cheese and enhances the overall flavor of the frosting.
How to make a vegan red velvet cake (with pictures!)
Please see the recipe card at the bottom of the page for full instructions and ingredient measurements.
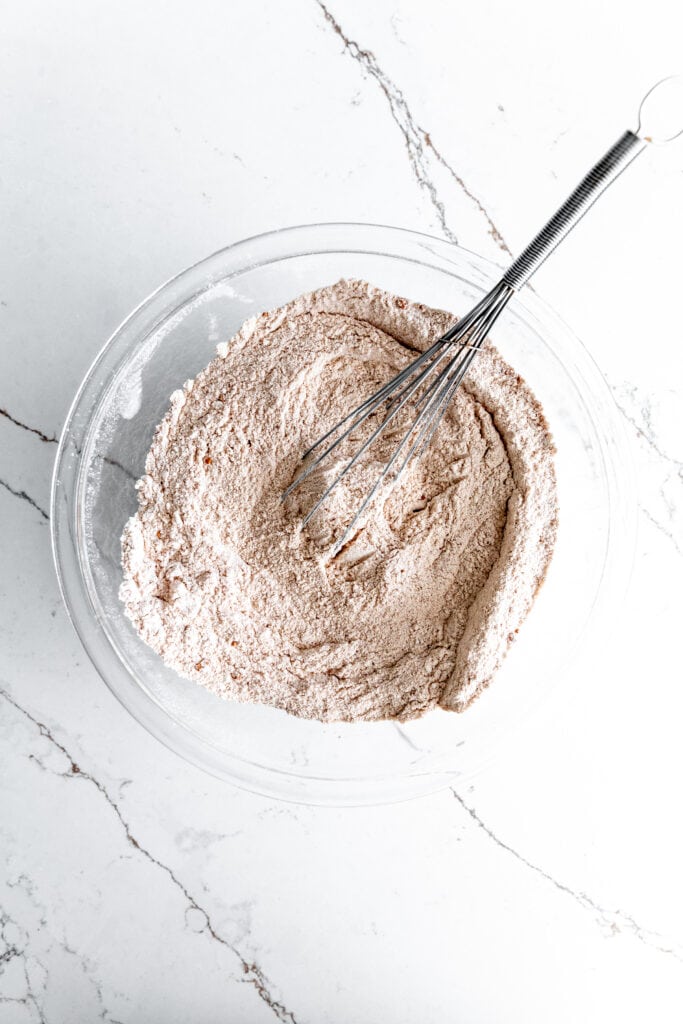
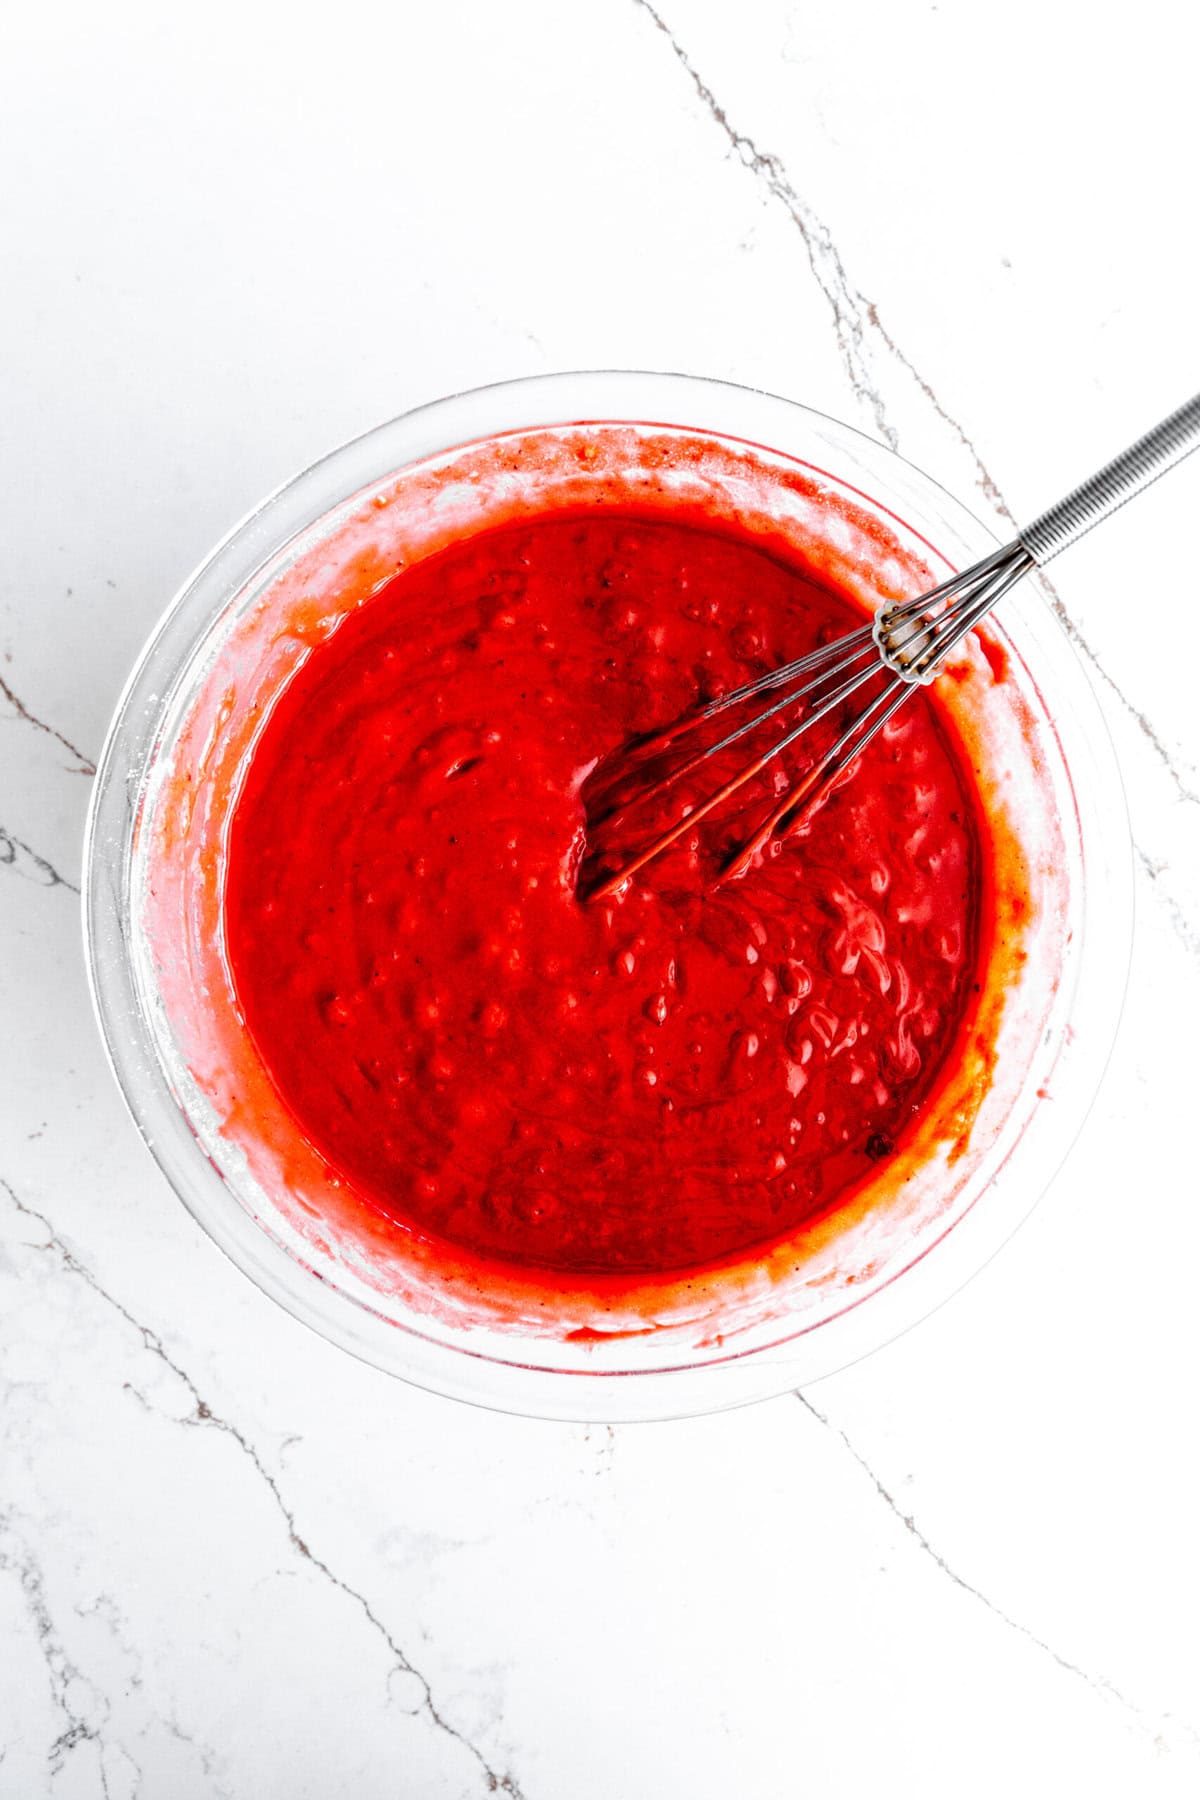
Begin by whisking all of the dry cake ingredients together in one bowl and all of the wet cake ingredients together in another. Pour wet into dry and mix until just combined. Do not over-mix.

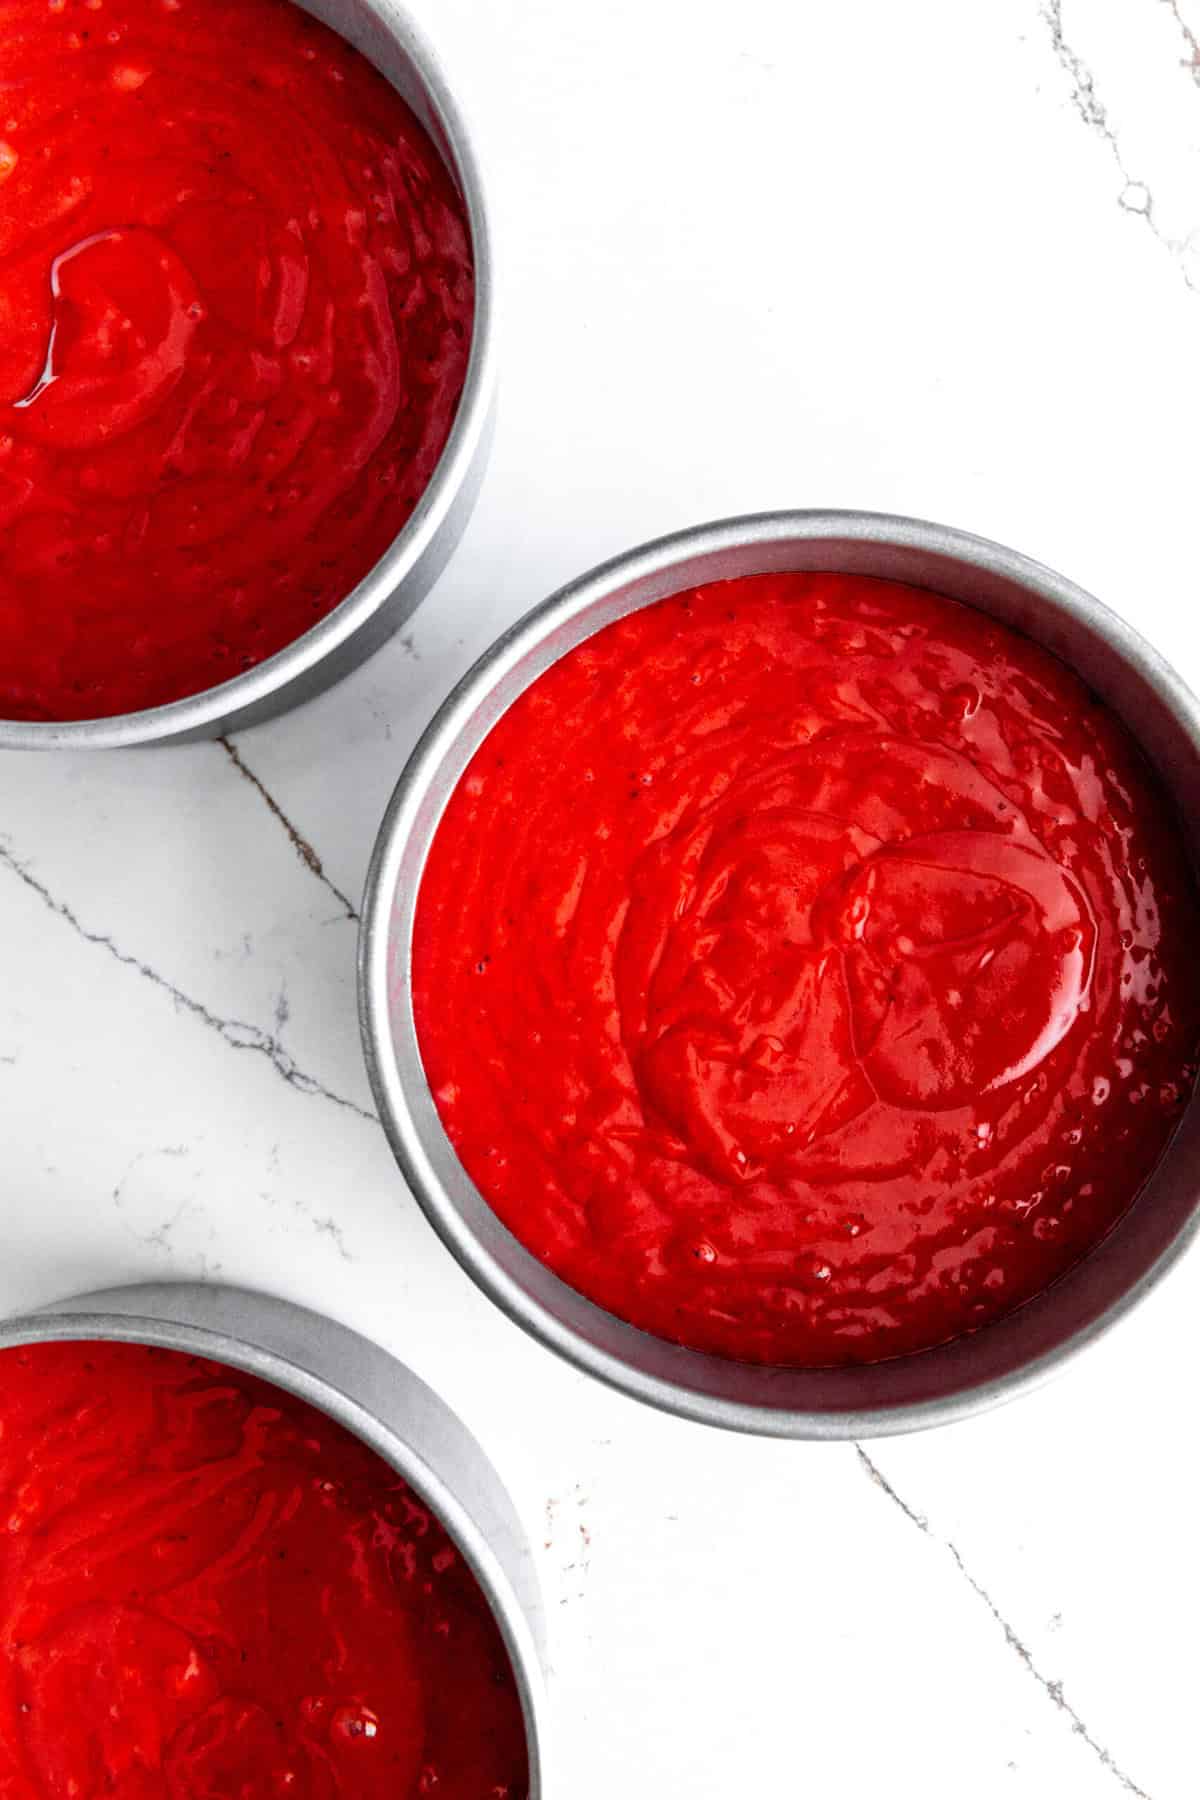
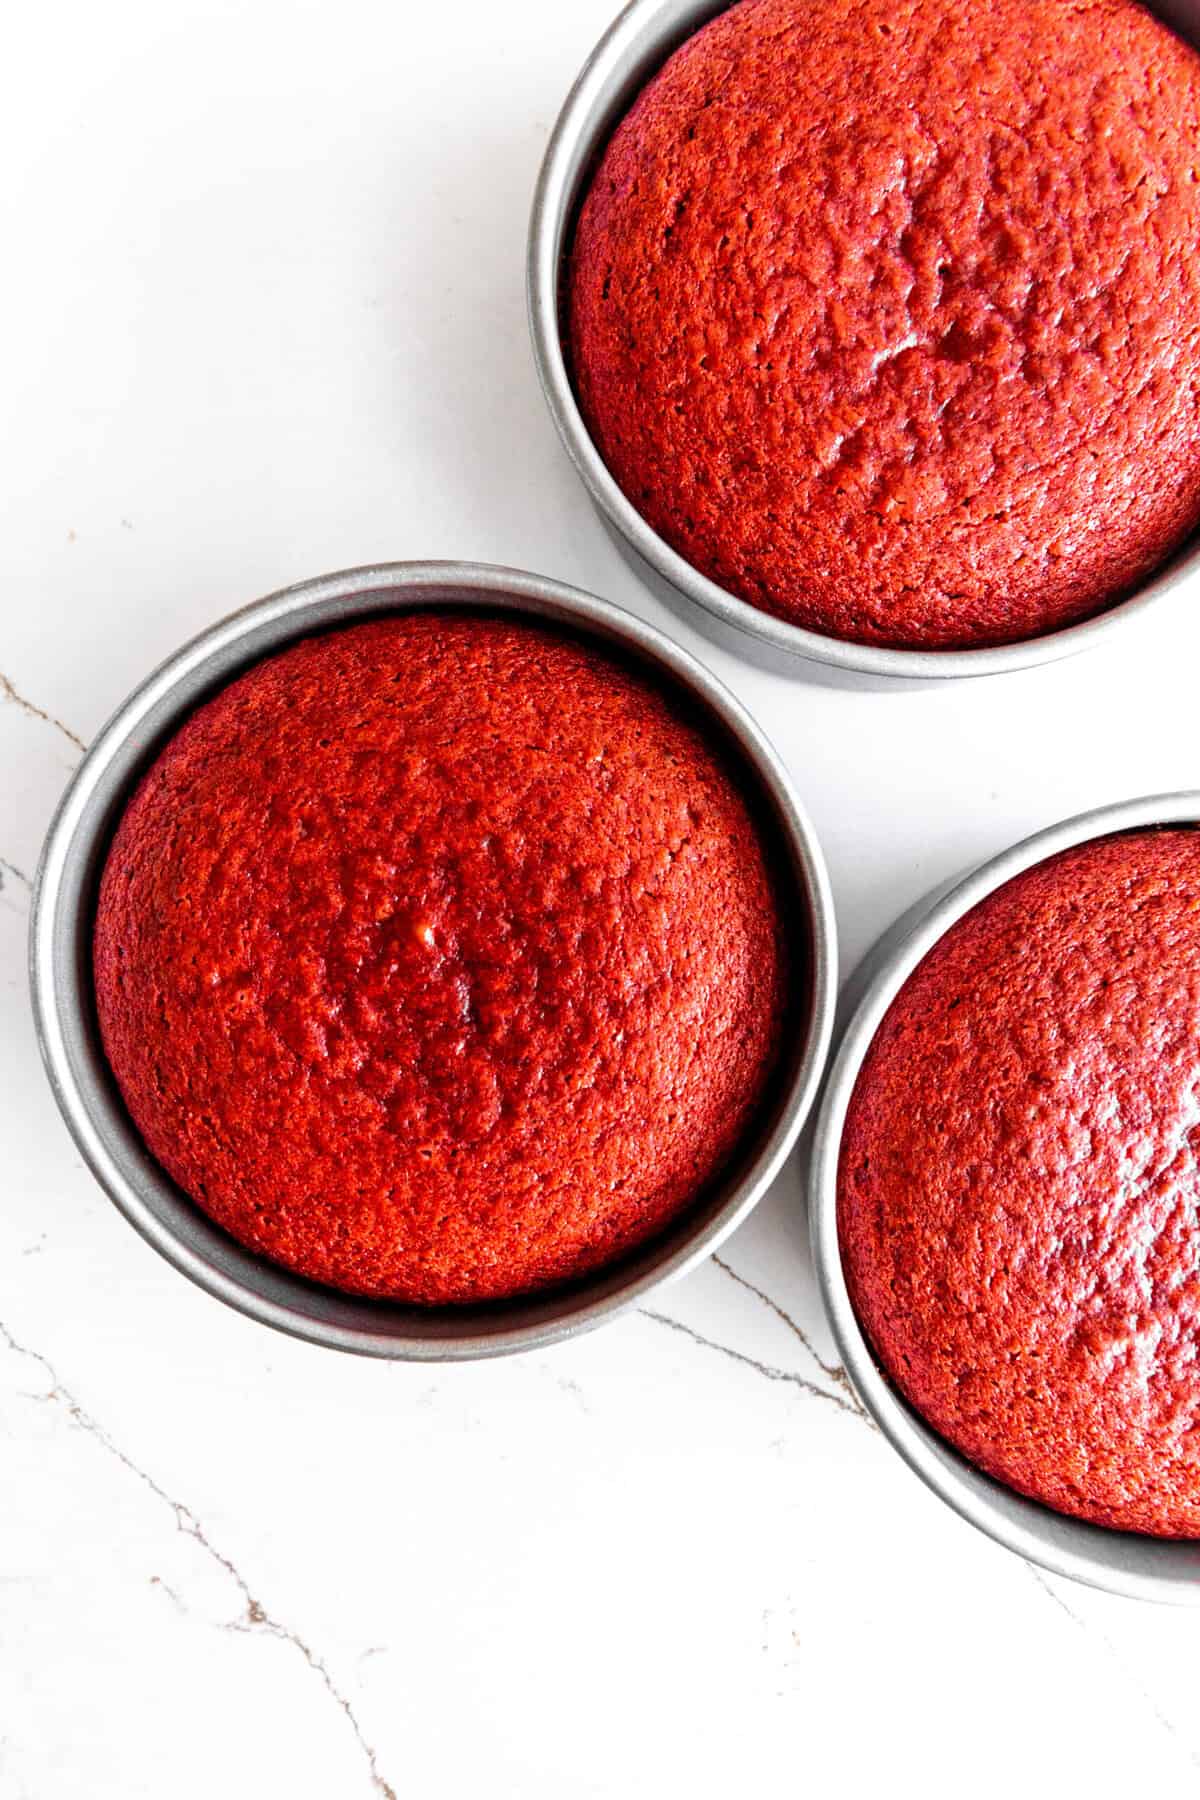
Pour the batter into 3 6-inch cake pans or 2 8-inch cake pans that have been greased and lined with parchment paper. Bake on center rack of oven that has been preheated to 350 degrees F (175 C) for 35-38 minutes.
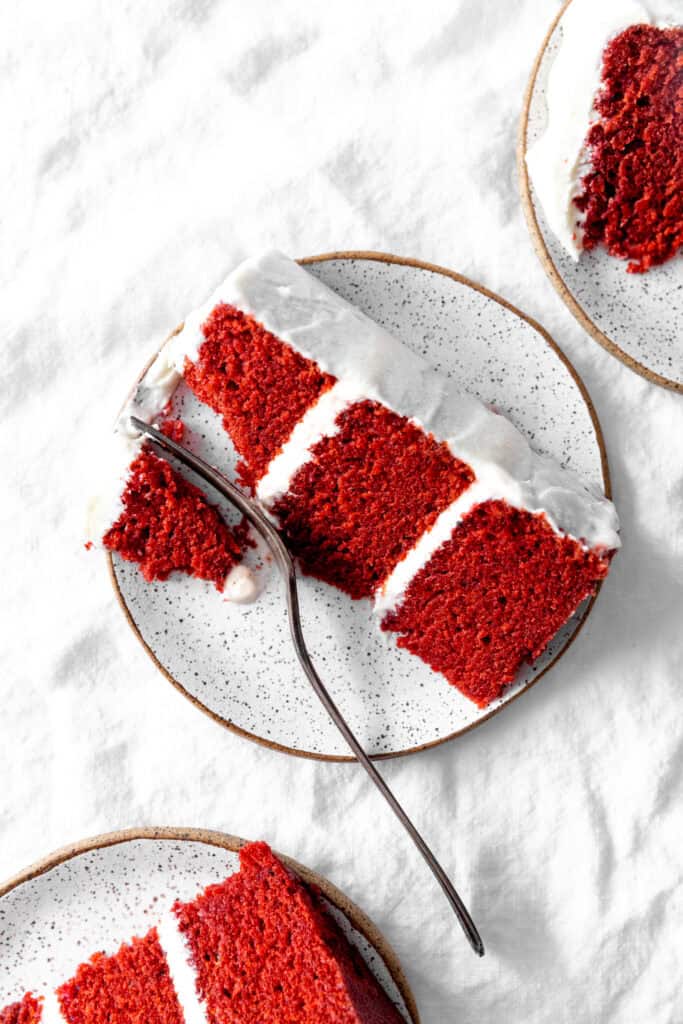
Once cake layers have cooled completely, you can begin frosting them. Slather a generous amount of frosting between layers and frost the top and sides of the cake.
There is enough frosting for a full-coverage look or you can instead go for a more rustic appearance.
Why you'll love this cake:
- Rich and Moist Texture: The combination of nondairy yogurt, and oil ensures a velvety-soft, moist crumb that melts in your mouth.
- Classic Red Velvet Flavor: With just the right amount of cocoa powder and a tangy hint from the vinegar and vegan cream cheese frosting, it captures the authentic red velvet taste.
- 100% Plant-Based: This cake delivers indulgence without the use of eggs or dairy, making it suitable for vegans and those with dietary restrictions.
- Visually Stunning: The vibrant red color creates a show-stopping dessert that's perfect for celebrations, holidays, or just treating yourself.
- Easy to Make: Straightforward ingredients and simple steps make this recipe beginner-friendly while still delivering bakery-quality results.
Tips for Making a Perfect Vegan Red Velvet Cake
- Choose Quality Ingredients: Opt for high-quality, fresh ingredients, including nondairy milk, nondairy yogurt, and vegan butter. Fresh ingredients can significantly impact the taste and texture of your cake.
- Don't Over-mix the Batter: Stir just until the dry and wet ingredients are combined. Over-mixing can lead to a tougher texture by over-developing the gluten.
- Use High Quality Red Food Coloring: If possible, choose a high quality vegan red food coloring option to avoid artificial additives. You want to use a brand that can achieve a vibrant red color.
- Check for Doneness: Use a toothpick or cake tester to check for doneness. To illustrate, insert it into the center of the cake; if it comes out clean or with a few moist crumbs, the cake is ready.
- Chill the Cake Layers Before Frosting: Allow the baked layers to cool completely, and chill them for 20-30 minutes in the fridge. This reduces crumbs and makes frosting much easier.
- Level Cake Layers: Once cake layers are completely cool, slice off the dome shape that forms on top of the cake after baking. This will make your cake more stable and visually appealing. You may find this video helpful.
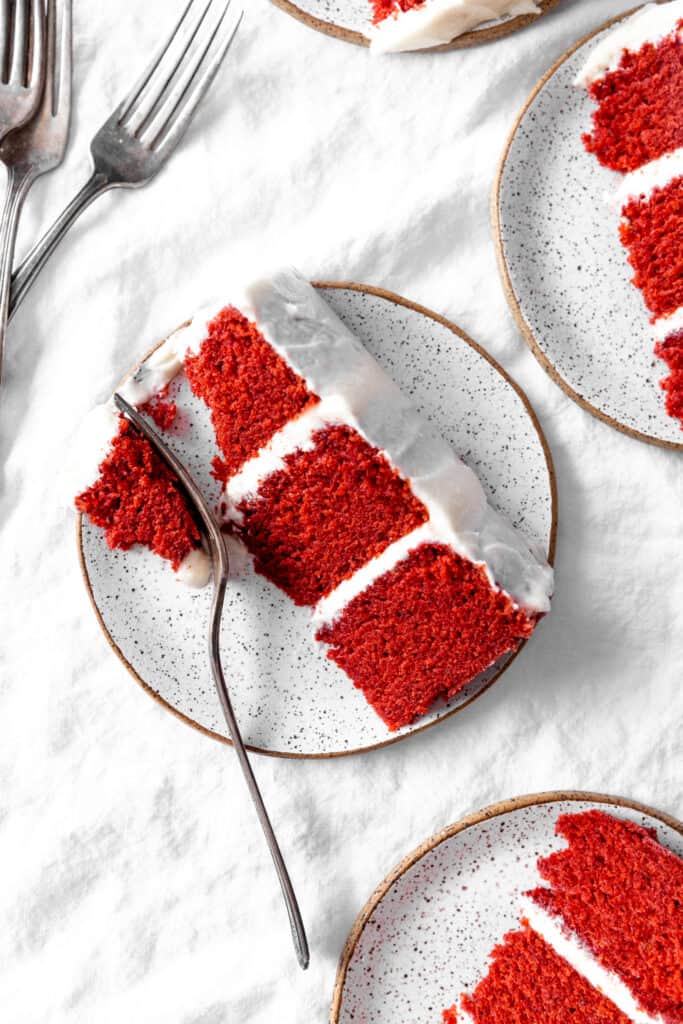
What is red velvet cake?
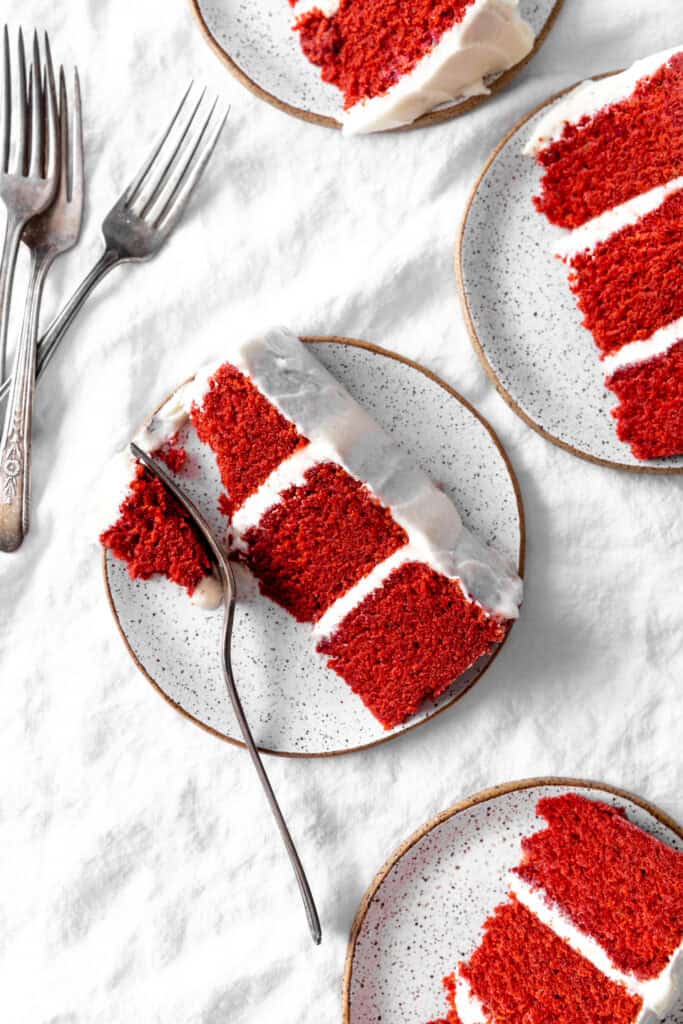
Red velvet cake is a classic dessert known for its vibrant red color, soft and velvety texture, and unique flavor. While often associated with chocolate due to its use of cocoa powder, red velvet cake has a milder, tangier taste.
The cake is typically paired with a creamy frosting, most commonly cream cheese frosting, which adds a tangy sweetness that complements the rich, moist cake layers.
Key features of red velvet cake:
- Color: The signature red hue originally came from the chemical reaction between natural cocoa powder and acidic ingredients. Modern versions often enhance this with food coloring.
- Texture: The cake is soft, tender, and "velvety," thanks to its combination of ingredients that create a fine crumb.
- Flavor: A balance of subtle cocoa and tanginess, with just enough sweetness to make it decadent.
- Tradition: Popular in the southern United States, red velvet cake is often served at special occasions like weddings, holidays, and birthdays.
Frequently asked questions:
White vinegar, when combined with baking soda, creates a reaction that helps the cake rise and contributes to its light and fluffy texture. It also enhances the red color of the cake.
If you don't have vegan red food coloring, you can use beetroot powder. Keep in mind that the color might not be as vibrant as traditional food coloring.
Grease and flour the cake pans or use parchment paper to line the bottoms. Additionally, allow the cake to cool in the pan for a few minutes before transferring it to a cooling rack.
This could happen if the oven temperature was too high or the batter was overmixed. Use an oven thermometer to ensure accuracy and mix the batter just until combined to avoid overdeveloping the gluten.
You can replace non-hydrogenated shortening with additional vegan butter in the frosting. This may slightly alter the texture, but it will still result in a delicious frosting.
Yes, you can freeze the unfrosted cake layers. Wrap them tightly in plastic wrap and aluminum foil before freezing. Thaw the layers in the refrigerator before frosting and serving.
Vegan red velvet cake decorating ideas:
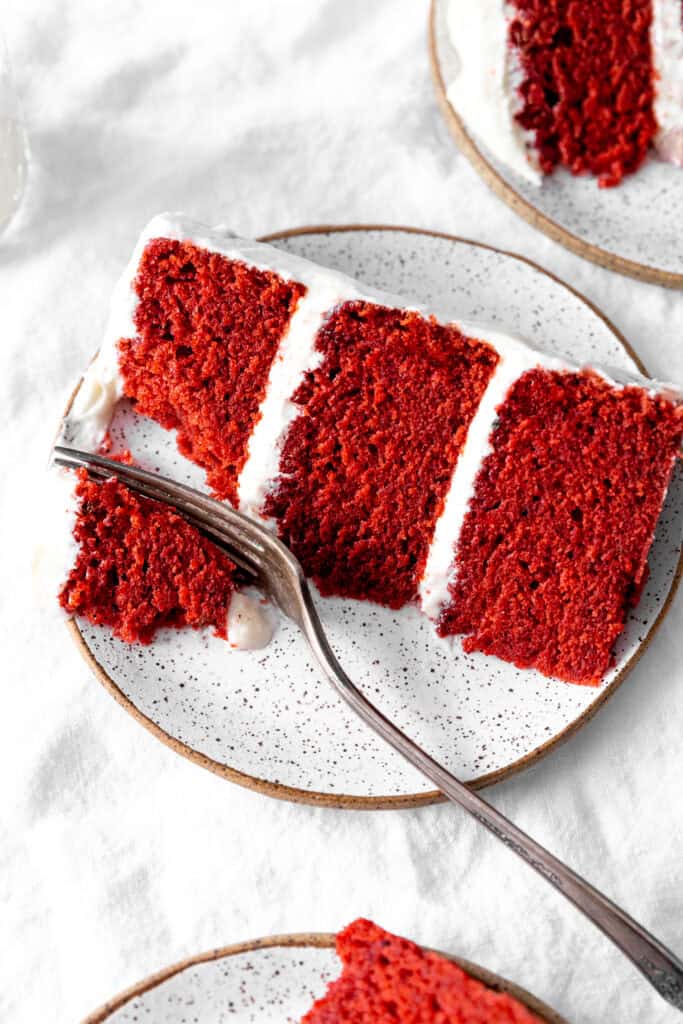
While a red velvet cake looks beautiful completely clean, there are a few things you can do to take its appearance to the next level. Here are some red velvet cake decorating ideas:
- Classic Crumb Coating: Use leftover cake crumbs to sprinkle over the frosting or press along the sides for a traditional red velvet look. Lightly toast them first.
- Piped Frosting Designs: Use a piping bag with decorative tips to create swirls, rosettes, or borders with vegan cream cheese or buttercream frosting.
- Fresh Berries: Garnish with fresh raspberries, strawberries, or cherries to add a pop of color and a fruity contrast to the tangy frosting.
- Drizzled Chocolate: Drizzle melted vegan chocolate over the top for an elegant touch. Let it drip slightly down the sides for a dramatic effect.
- Edible Flowers: Add a natural and whimsical touch with edible flowers like pansies, violets, or rose petals. Ensure they're organic and food-safe.
- Vegan Sprinkles or Glitter: Sprinkle vegan-friendly sprinkles, sugar pearls, or edible glitter over the top for a festive look, especially for birthdays or holidays.
- Heart-Shaped Decorations: Perfect for Valentine's Day, cut out heart shapes using vegan fondant or chocolate. Place them on top or along the sides of the cake.
- Top with Mini Red Velvet Cupcakes: Decorate the cake by placing a few mini red velvet cupcakes on top for a fun and creative presentation.
Storage
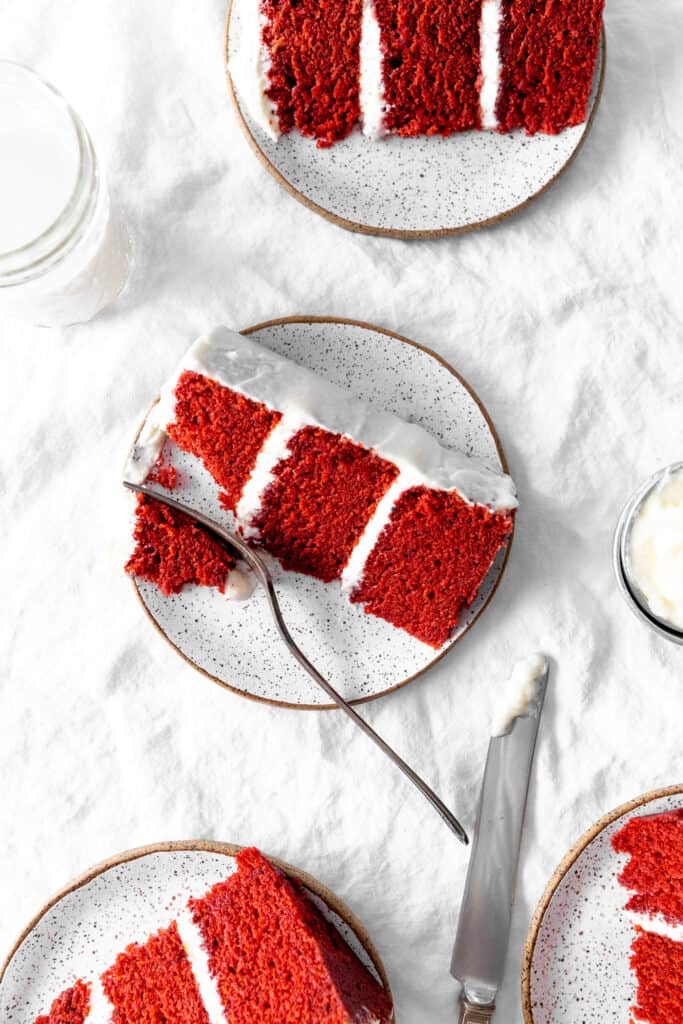
Proper storage is essential to maintain the freshness and quality of your vegan red velvet cake. Here's how to store it effectively:
- Refrigeration for Cream Cheese Frosting: If your vegan red velvet cake is frosted with cream cheese frosting, store it in the refrigerator. Cream cheese is perishable, and refrigeration helps prevent spoilage. Cover the cake with plastic wrap or place it in an airtight container to avoid drying out.
- Freezing for Long-Term Storage: Unfrosted cake layers can be frozen for up to one month. Wrap each layer tightly in plastic wrap. Thaw overnight at room temperature prior to frosting.
- Keep Away from Odors: Whether stored in the refrigerator or at room temperature, be cautious about placing the cake near strong-smelling foods. Cakes can absorb odors, affecting their flavor.
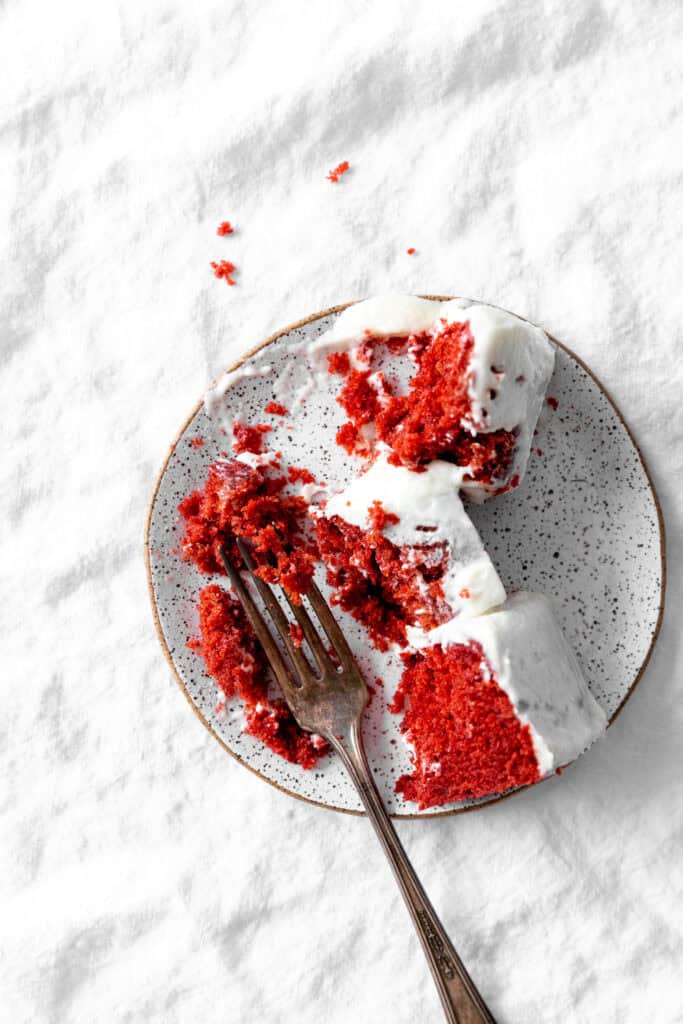
If you make this recipe please tag @censoredbaker on Instagram!
PrintVegan Red Velvet Cake
Sweet, moist red velvet cake layers held together with the creamiest and tangiest vegan cream cheese frosting. All 100% vegan.
- Prep Time: 20 minutes
- Bake Time: 35 minutes
- Total Time: 1 hour 30 minutes
- Yield: 1 8-inch Cake 1x
- Category: Cakes and Cupcakes
- Method: Bake
- Cuisine: American
- Diet: Vegan
Ingredients
For the Cake
3 cups all purpose flour
2 cups granulated sugar
2 tablespoons cocoa powder
2 teaspoons baking powder
1 teaspoon baking soda
1 teaspoon salt
1 cup nondairy yogurt*
1 cup nondairy milk
1 cup canola oil
1 tablespoon vanilla extract
1 teaspoon white vinegar
For the Frosting
4 oz vegan cream cheese, softened
½ cup non hydrogenated shortening
½ cup vegan butter, softened
3 cups powdered sugar
½ teaspoon vanilla extract
Instructions
- Prep: Preheat oven to 350 degrees F (175 C) and grease and line 3 6-inch or 2 8-inch round cake pans with parchment paper. Set aside.
- Cake Batter: In a large bowl whisk together the flour, sugar, cocoa powder, baking powder, baking soda and salt. In a separate bowl, vigorously whisk together the nondairy yogurt, nondairy milk, canola oil, vanilla extract, vinegar and food coloring. Pour wet ingredients into dry ingredients and whisk until just combined. Do not over-mix! A few lumps are ok.
- Bake: Divide cake batter evenly between the prepared pans. Set pans on center rack of preheated oven and bake for 35-38 minutes or until a toothpick inserted into the center of a cake layer comes out clean with only a few crumbs clinging to it. Allow cake layers to cool in the pan for 20 minutes before turning out onto a wire rack to cool completely.
- Make the Frosting: Add vegan cream cheese to a mixing bowl and beat with an electric hand mixer until completely smooth. Add in the shortening and vegan butter and beat until combined. Add the powdered sugar and vanilla to the bowl and beat until frosting comes together.
- Assemble: Once the cake layers have cooled completely, begin assembling. If you'd like to level your cake layers, now is the time to do so. You may find this video helpful. Set a cake layer on your serving plate of choice. Spread a generous layer of frosting over the top. Place second cake layer on top of the frosting and frost top and sides of cake. If you're making a three layer cake, place the third layer before frosting the sides.
- Chill: Chill cake in the refrigerator for at least 30 minutes before serving. This will firm up the frosting slightly, making the cake easier to cut. Your slices will also have more defined layers. Store cake in the refrigerator, allowing it to sit at room temperature for about 15 minutes before serving.
Notes
*Frosted cake will keep in an airtight container in the refrigerator for 3-4 days. Unfrosted cake layers can be frozen for up to a month.
*When using nondairy yogurt in baking, it's important to purchase unflavored and unsweetened yogurt.
*The amount of red food coloring you'll need for this recipe will depend completely on the type you purchase. This will likely be anywhere from 1 teaspoon to 1 tablespoon. Start with a small amount and work your way up. Red color tends to come through stronger after the cake is baked.
*Leveling your cake layers is optional but encouraged. Doing so will make your cake more stable and professional-looking. To aid in this process, I like to wrap the cooled cake layers in plastic and chill them overnight. This firms them up and keeps crumbs to a minimum.


Leave a Reply