
The perfect vanilla cake is light, fluffy, frosted, and delicious. This vegan vanilla cake recipe delivers on all counts! It is great for just about any occasion, totally customizable and incredibly easy to throw together.
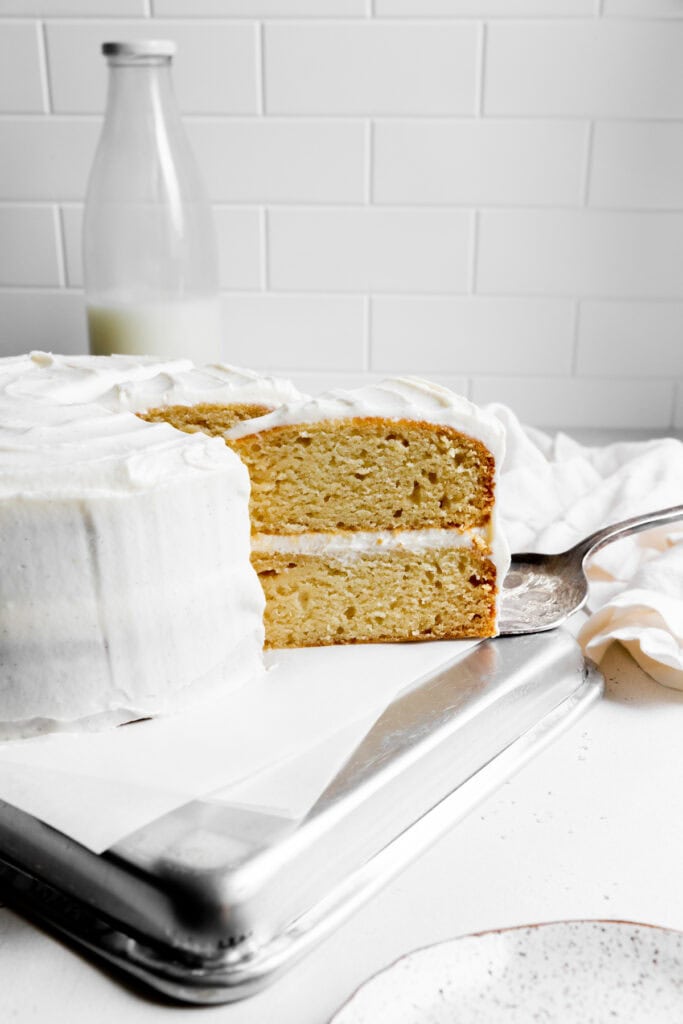
This cake was perfect! No one in my family could believe it was vegan! -Emily
If you've never made vegan cakes and cupcakes before, this is the post for you! Here we have compiled all of our tips and tricks for making the perfect vegan cakes.
In a world where celebrations revolve around a gorgeous layer cake centerpiece, everyone should know how to make this fundamental dessert. This cake is a great place to start. Let's learn how to make it!
Jump to:
- vanilla cake ingredients
- why you'll love this cake
- how to make a vegan vanilla cake (with pictures!)
- how to level cake layers
- Why to Level Cake Layers
- Tips for Making Great Vegan Cakes
- How to Make Fluffy Vegan Cakes
- Why is My Vegan Cake so Dry?
- Frequently Asked Questions
- recipe variations
- storage
- vegan vanilla cake
- More Vegan Cakes and cupcakes
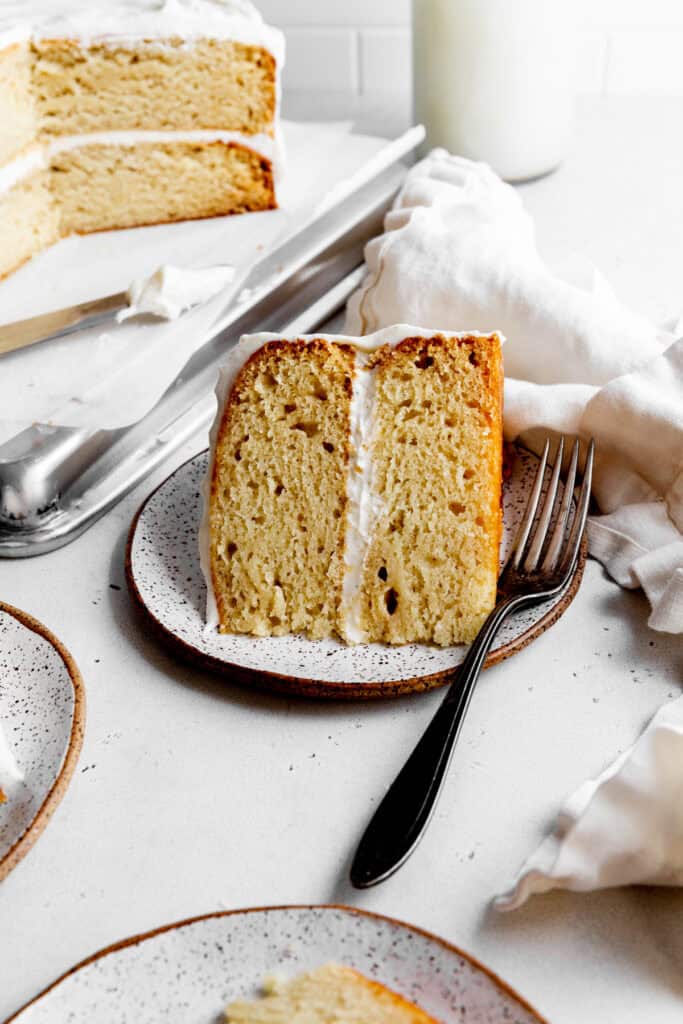
vanilla cake ingredients
The following ingredients work together to create a vegan vanilla cake with a tender crumb, light texture, and delicious flavor.
- Cake Flour: Creates a softer, lighter, and more tender crumb than all-purpose flour.
- Granulated Sugar: Adds sweetness while helping keep the cake moist and tender.
- Baking Powder: Helps the cake rise and creates a light, fluffy texture.
- Baking Soda: Provides additional leavening and helps create a tender crumb.
- Salt: Balances the sweetness and enhances the vanilla flavor.
- Nondairy Yogurt: Adds moisture and richness while helping create a soft, tender cake.
- Nondairy Milk: Adds moisture and brings the batter together without using dairy.
- Canola Oil: Provides moisture and creates a soft, tender crumb without adding a strong flavor.
- Vanilla Bean Paste: Gives the cake and frosting a rich, authentic vanilla flavor with beautiful vanilla bean specks.
- Almond Extract (Optional): Adds subtle nutty depth and enhances the overall vanilla flavor.
- Non-Hydrogenated Shortening: Creates a stable, fluffy frosting that holds its shape well for decorating.
- Vegan Butter: Adds buttery flavor and richness while contributing to a creamy frosting texture.
- Powdered Sugar: Sweetens and thickens the frosting while creating a smooth, spreadable consistency.
have a specific food allergy?
Click the button below to ask ChatGPT to alter it for your diet!
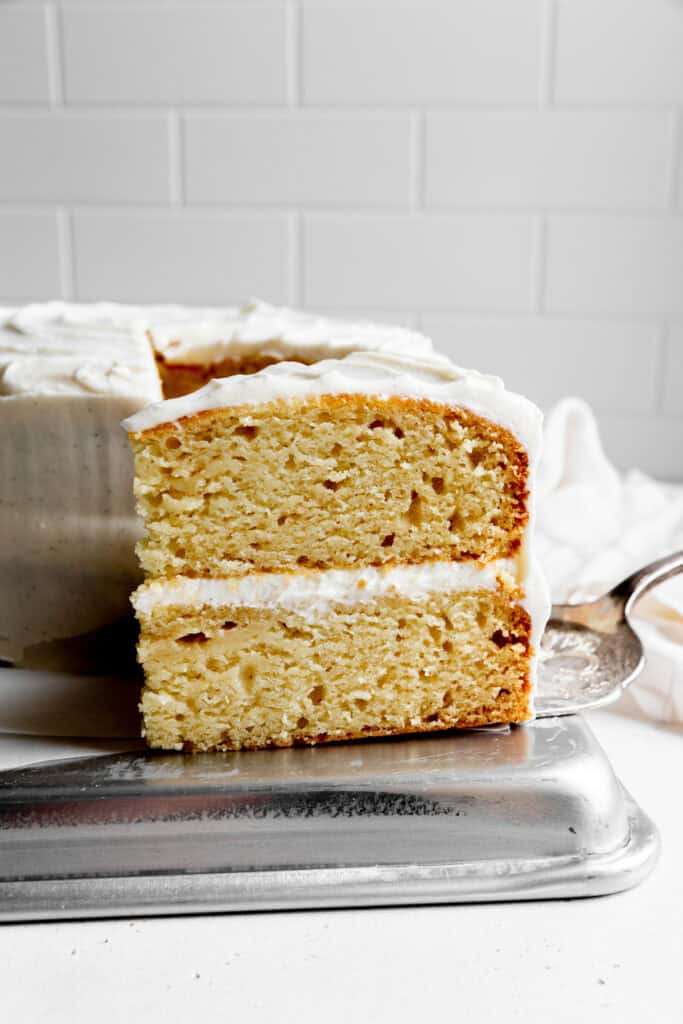
why you'll love this cake
- Soft and fluffy: This cake has a tender, moist crumb that stays deliciously soft.
- Classic vanilla flavor: It's sweet, buttery, and packed with rich vanilla flavor.
- Completely vegan: No eggs or dairy needed, but you'd never know it from the texture.
- Easy to make: Simple ingredients and straightforward steps make this a great everyday cake.
- Perfect for any occasion: Dress it up with frosting and sprinkles for birthdays or keep it simple for an easy dessert.
- Crowd-pleasing: It's a classic flavor that both vegans and non-vegans will love.
how to make a vegan vanilla cake (with pictures!)
Please see the recipe card at the bottom of the page for full instructions and ingredient measurements.
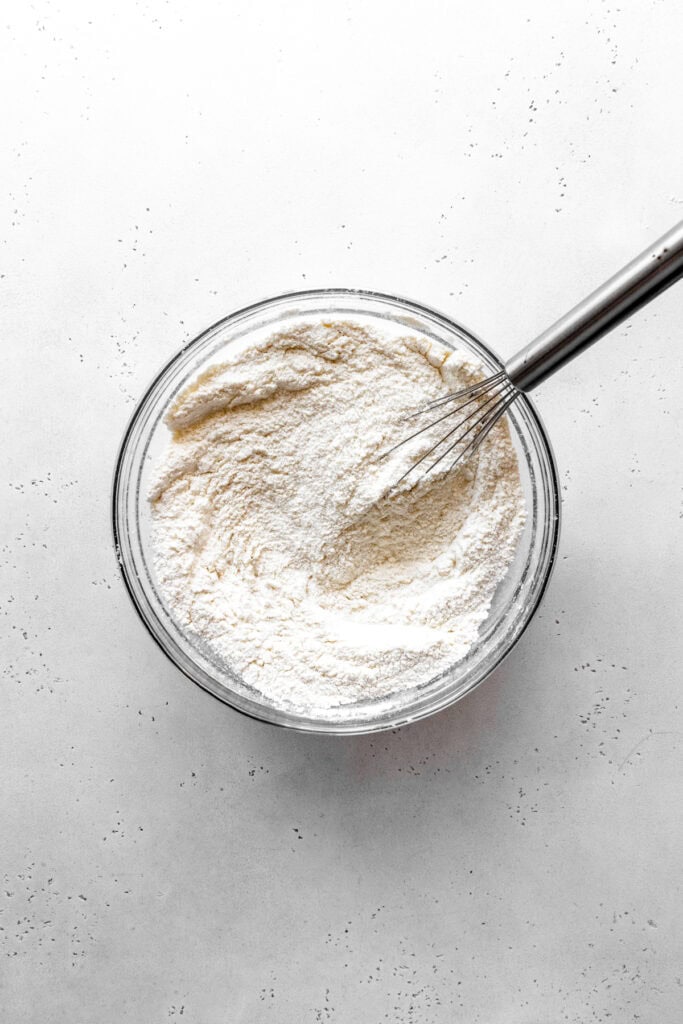
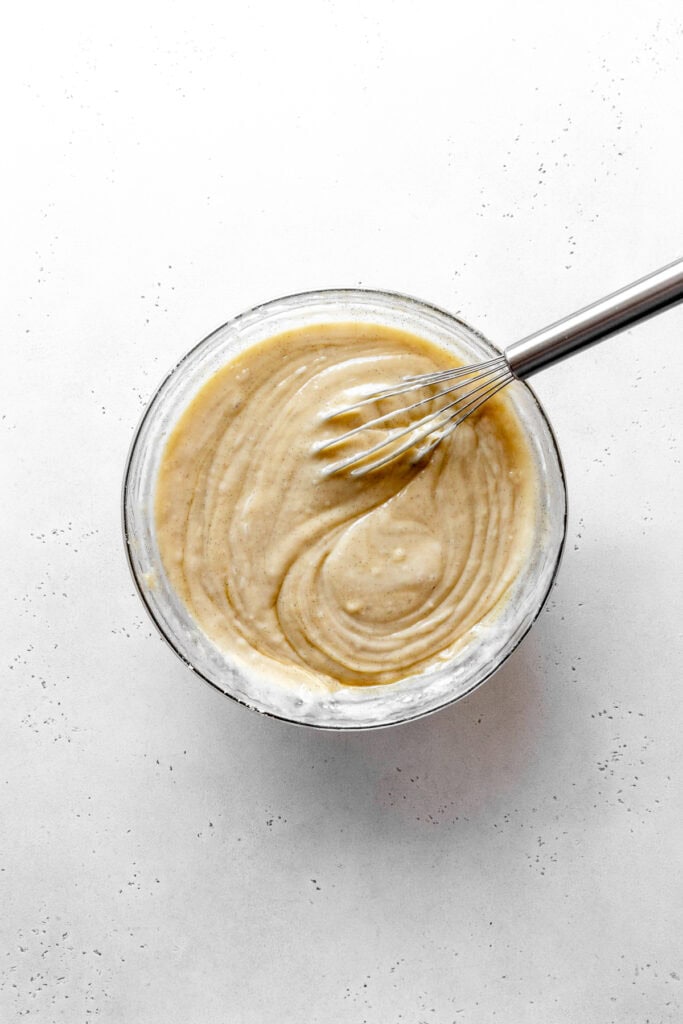
Being by whisking together all of your dry ingredients together in a large bow. Add the wet ingredients to the bowl and whisk until just combined. Do not over-mix!
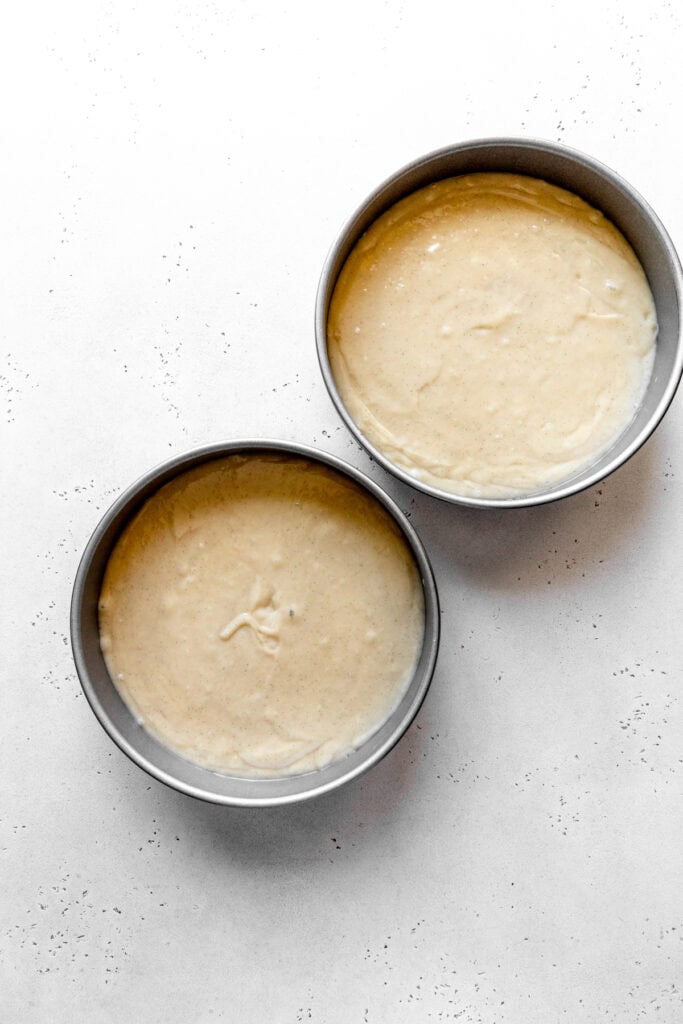
Distribute the prepared cake batter between 2 8-inch or 3 6-inch cake pans that are lightly greased and lined with parchment paper.
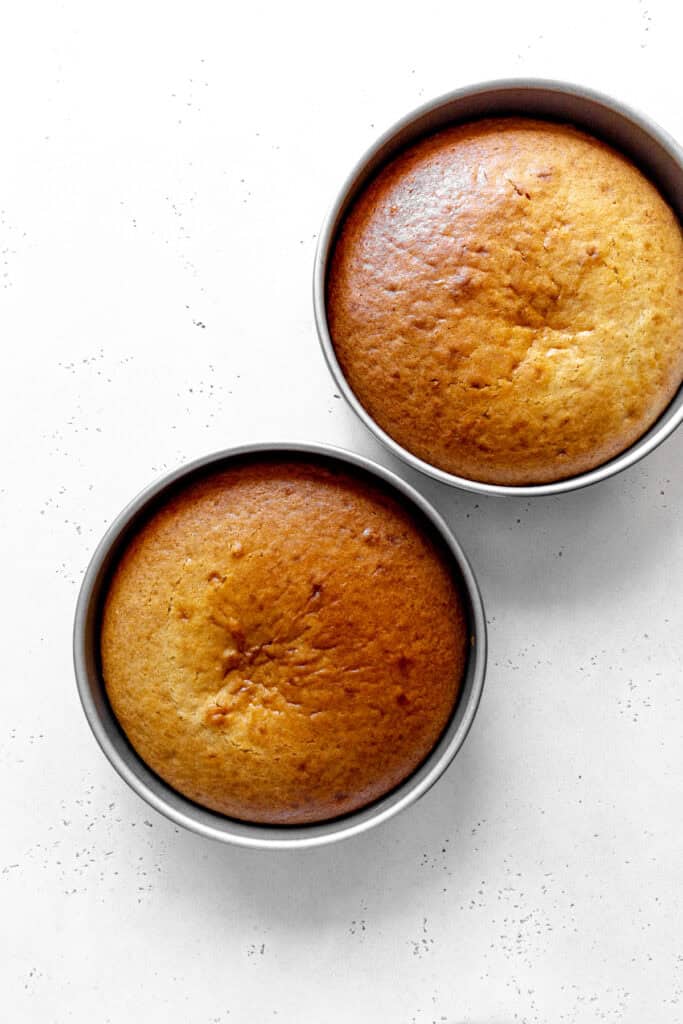
Bake cake layers on center rack of oven preheated to 350 degrees F (175 C) for 32-38 minutes or until toothpick inserted into the center comes out mostly clean. Allow cakes to cool in their pans for 20 minutes before inverting onto a wire rack to cool completely.
Prepare the frosting while the cake layers cool. Beat together the non-hydrogenated shortening and vegan butter until completely smooth. Sift in the powdered sugar and pour in the nondairy milk and vanilla extract. Beat until frosting comes together. Frost cake as desired.
how to level cake layers
before leveling
- Allow the Cake to Cool: Ensure your cake has cooled completely before attempting to level it. Warm cakes can be fragile and may crumble during the leveling process.
- Assemble Your Tools: You will need a serrated knife, a long ruler or cake leveler, and a rotating cake stand (optional but helpful).
- Choose a Level Surface: Place your cake on a flat, stable surface such as a cake board or a turntable.
- Evaluate the Cake: Carefully examine the cake's top surface to identify any unevenness or doming.
- Mark the Desired Level: Using a long ruler or cake leveler, mark the desired height to which you want to level your cake layer. Place the ruler horizontally across the cake's top and gently score the side of the cake at the desired level. This mark will serve as a visual guide during the leveling process.
to level
- Begin Leveling: Hold the serrated knife parallel to the surface of the cake, aligning it with the marked line. Start cutting into the cake gently, using a sawing motion while applying light pressure. Slowly work your way across the cake, maintaining the knife parallel to the marked line.
- Check for Consistency: After leveling, run your hand lightly over the surface to ensure it feels even. If you detect any uneven areas, make further adjustments using the serrated knife.
- Clean Up the Crumbs: Use a clean, dry brush or a bench scraper to remove any loose crumbs from the top and sides of the cake.
Why to Level Cake Layers
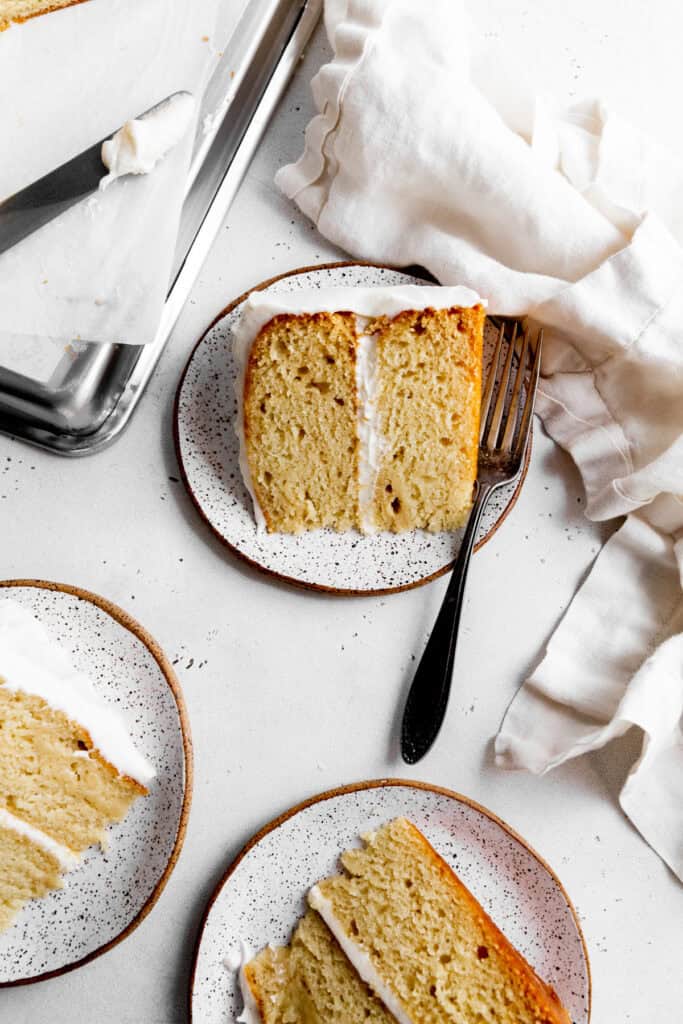
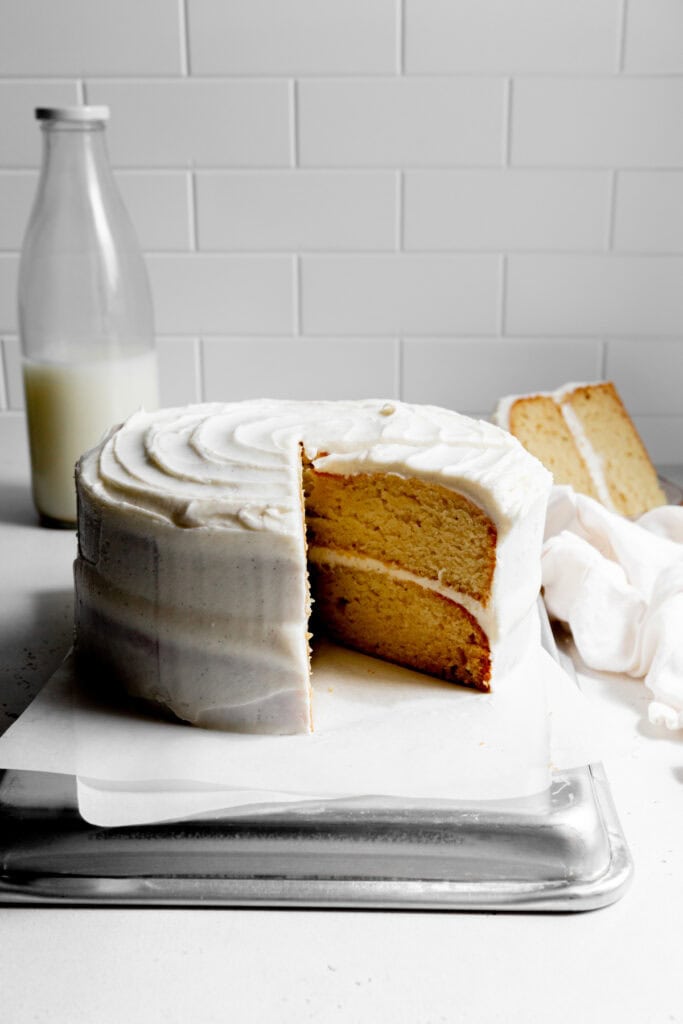
- Even Layering: Leveling the cake layer helps create uniformity in the height of each layer, resulting in a professional-looking cake.
- Balanced Frosting Distribution: A leveled cake layer offers a flat surface for the frosting, allowing it to spread evenly across the cake's top and sides.
- Enhanced Stability: A leveled cake layer provides a stable foundation for multi-layered cakes, reducing the risk of toppling or sliding.
Mastering the technique of leveling a cake layer with a serrated knife is essential for achieving professional-looking cakes. By following the step-by-step guide above, you can easily level your cake layers, ensuring even layering, balanced frosting distribution, and enhanced stability.
Tips for Making Great Vegan Cakes
While many traditional cake making tips are applicable to vegan baking, there are additional things you can use to achieve perfection.
- Choose high-quality ingredients: Opt for fresh and high-quality plant-based ingredients to ensure the best flavor and texture in your cake.
- Measure your flour carefully. Too much flour can leave a vegan cake dry or dense. For the most accurate results, use a kitchen scale or spoon the flour into your measuring cup and level it off.
- Don't skip the leavening agents. Since vegan cakes don't contain eggs, baking soda and baking powder are especially important for creating a light, fluffy texture.
- Follow the recipe as written. Vegan baking relies on a careful balance of moisture, fat, flour, and leavening. Avoid making substitutions unless you know how they will affect the recipe.
- Don't over-mix the batter. Over-mixing can lead to a dense and tough cake. Mix the ingredients until just combined to avoid developing too much gluten.
- Don't open the oven too early. Resist the urge to check your cake during the first part of baking. Opening the oven door can cause the temperature to drop and may make the cake sink.
- Only line the bottom of you pans with parchment paper. Trace the bottom of your cake pans over a sheet of parchment paper with a pencil. Cut out paper circles with scissors cutting slightly within the traced line. Lightly spray each pan with oil before placing the parchment paper in the pan. This will help keep it in place.
- Let the cake cool completely before frosting. Allowing the cake to cool completely before applying the frosting prevents it from melting and sliding off the cake.
- One of the best ways to ensure a fabulous layer cake is to get ahead. Bake your cake layers the day before you intend to assemble. Allow them to cool completely and wrap each individual layer tightly in plastic wrap and let them sit in the fridge overnight.
How to Make Fluffy Vegan Cakes
To make fluffy vegan cakes, there are a few key considerations and ingredients you can incorporate:
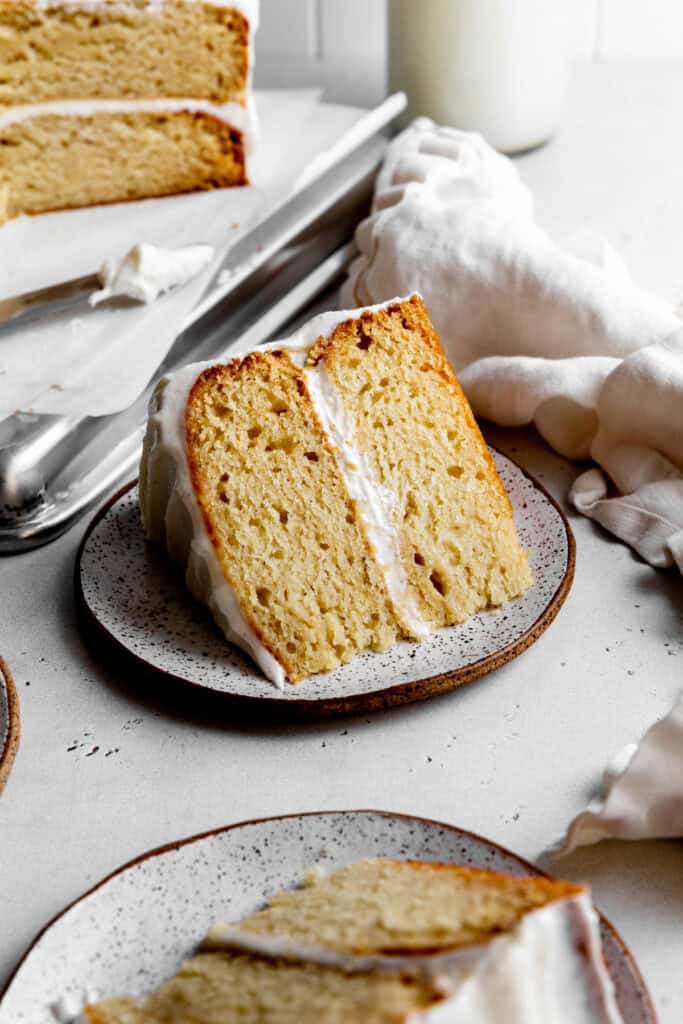
- Use a combination of leavening agents: Vegan cakes benefit from a combination of baking powder and baking soda. These leavening agents help the cake rise and create a light, fluffy texture.
- Opt for a neutral oil: Replace butter with a neutral-tasting oil such as canola oil or coconut oil. These oils help keep the cake moist and tender.
- Sift the dry ingredients: Sifting the flour, baking powder, and baking soda helps incorporate air into the mixture and ensures even distribution, resulting in a lighter cake.
- Avoid over-mixing: When combining the wet and dry ingredients, be careful not to over-mix the batter. Over-mixing can lead to a dense and heavy cake. Mix until just combined.
Why is My Vegan Cake so Dry?
If your vegan cake is turning out dry, there could be a few possible reasons and solutions:
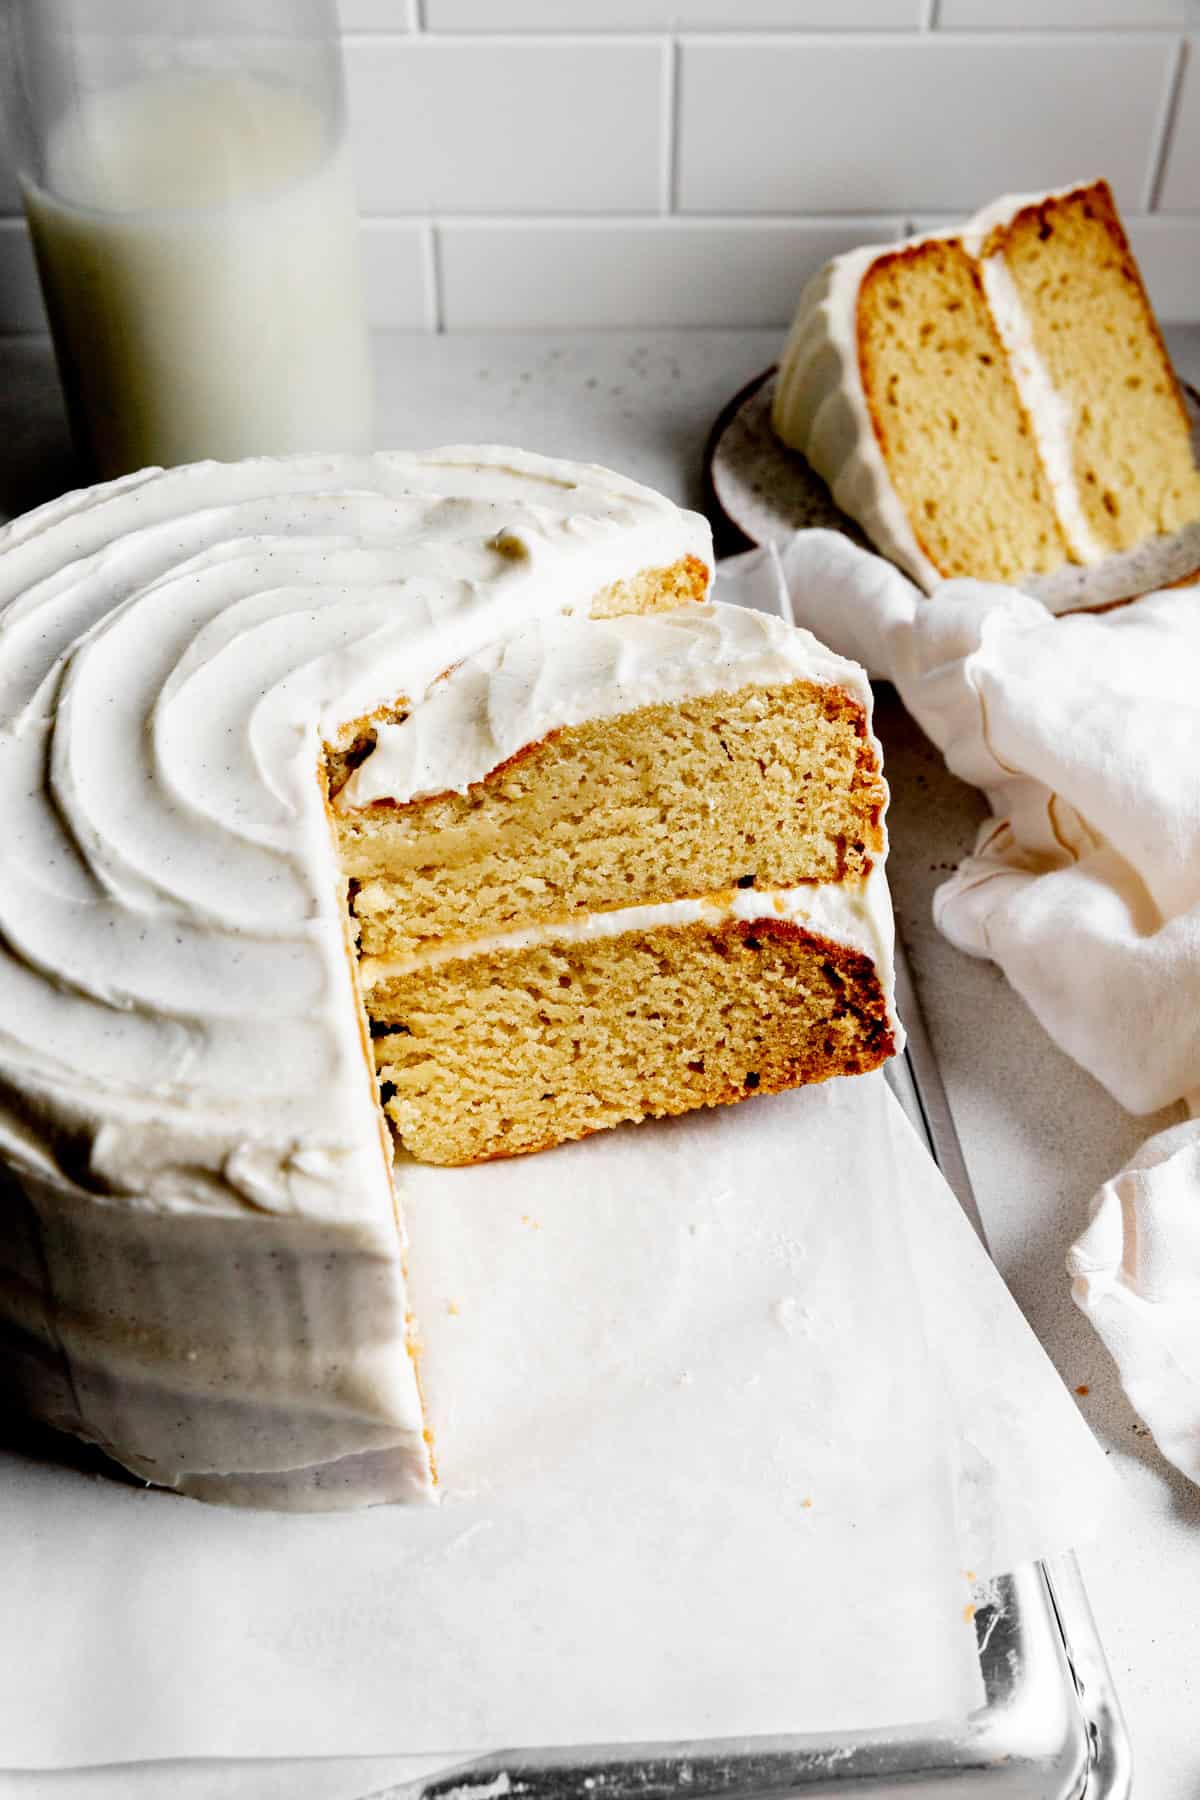
- Over-baking: One common reason for dryness in cakes is over-baking. Vegan cakes may have slightly different baking times compared to non-vegan cakes due to the absence of eggs and dairy. Check your cake for doneness a few minutes before the recommended baking time.
- Insufficient moisture: Vegan cakes may require additional moisture due to the absence of eggs and dairy. Ensure that you are using sufficient wet ingredients in the recipe, such as plant-based milk, oil, or other liquid substitutes.
- Inaccurate measurements: Precise measurements are crucial for baking. If the dry ingredients, such as flour, are measured incorrectly, it can affect the moisture balance in the cake. Use measuring cups or a kitchen scale for accuracy. Additionally, ensure that the flour is not packed tightly into the measuring cup.
Frequently Asked Questions
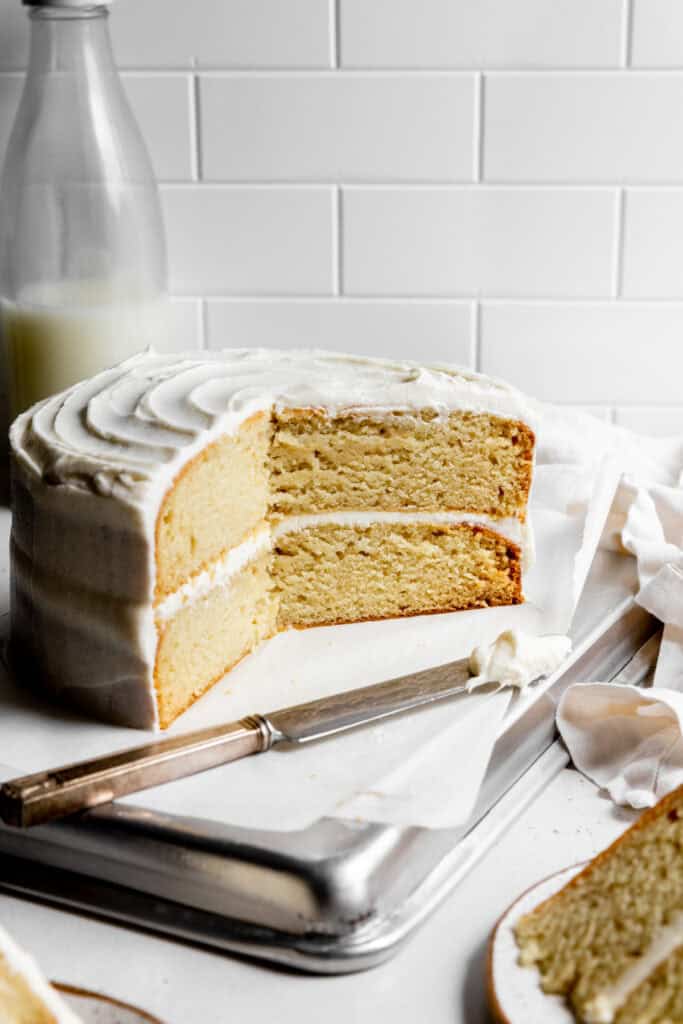
Yes, although the cake may be slightly less tender. Cake flour gives this recipe its especially soft and delicate crumb.
Unsweetened soy, oat, almond, or cashew milk will work well. For the most neutral flavor, choose an unsweetened variety.
Overmixing the batter, using too much flour, or using expired leavening agents can result in a dense cake. Be sure to measure your flour carefully and mix the batter only until just combined.
Yes! You can use a good-quality 1:1 gluten-free cake flour blend in place of the cake flour. Choose one specifically formulated for baking for the best texture.
Not all white cake mixes are vegan, as they often contain ingredients like eggs and dairy. However, there are some brands that offer vegan-friendly cake mixes, or you can adapt a regular cake mix to make it vegan.
didn't find the answer you were looking for?
Ask ChatGPT to answer based on this specific recipe:
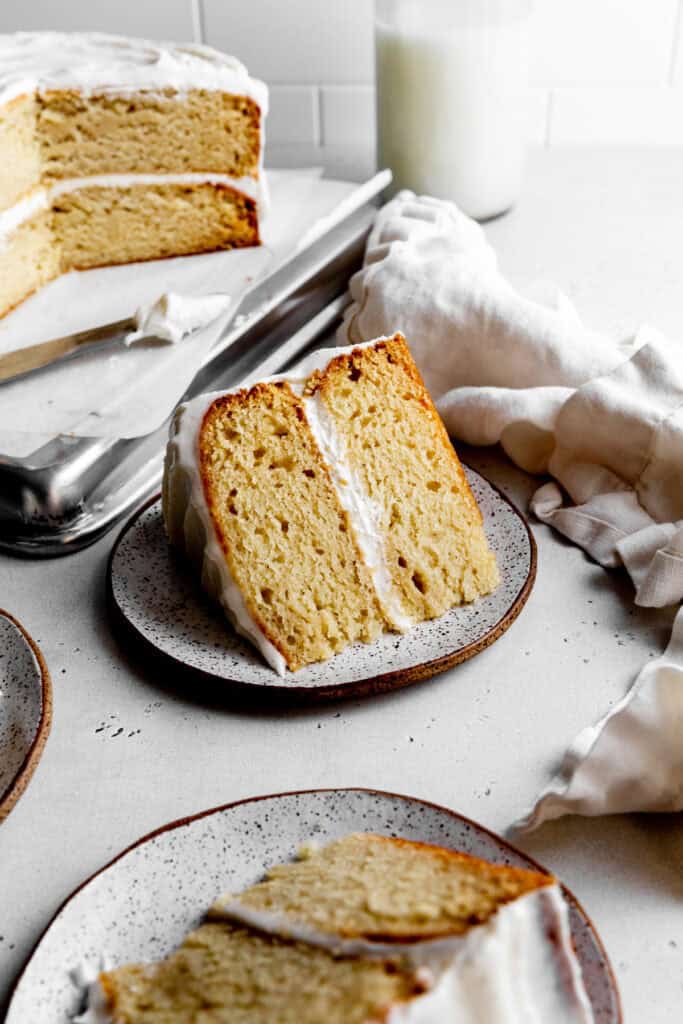
recipe variations
There are countless ways to customize a vanilla cake recipe to suit your preferences and add delightful flavors. Here are some ideas to inspire your creativity:
- Add sprinkles: Fold ½ cup of vegan sprinkles into the batter for a fun, colorful cake perfect for birthdays and celebrations.
- Make it lemon vanilla: Add 1-2 tablespoons of fresh lemon zest to the batter for a bright, citrusy twist.
- Add berries: Gently fold 1 cup of fresh or frozen blueberries, raspberries, or chopped strawberries into the batter.
- Make it coconut vanilla: Add ½ cup of shredded coconut to the batter for a subtle tropical flavor.
- Add chocolate chips: Fold ½ cup of vegan white chocolate or mini chocolate chips into the batter for little pockets of sweetness.
- Add cinnamon: Mix 1 teaspoon of ground cinnamon into the batter for a warm, lightly spiced vanilla cake.
- Add fresh fruit on top: Once frosted, decorate the cake with fresh strawberries, blueberries, raspberries, or a combination of berries.
- Add jam: Swirl a few tablespoons of your favorite fruit jam into the batter before baking for bursts of fruity flavor.
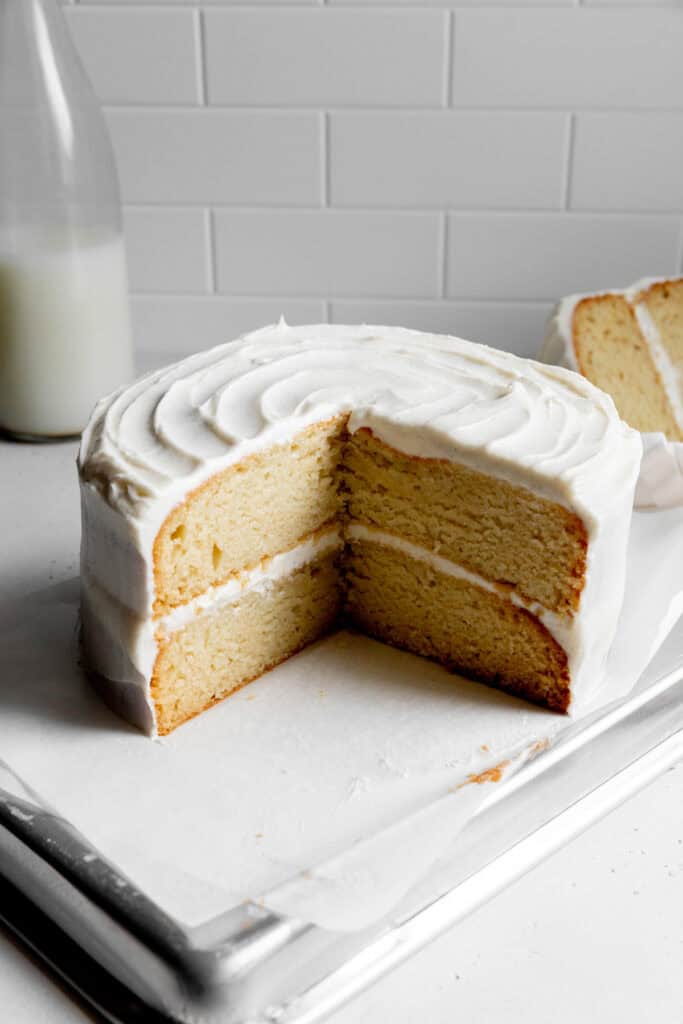
storage
Room temperature: Store the frosted cake covered at room temperature for up to 3 days.
Refrigerator: For longer storage, refrigerate the cake in an airtight container for up to 5 days. Let it come to room temperature before serving for the best texture.
Freezer: Freeze the unfrosted cake layers tightly wrapped in plastic wrap and placed in a freezer-safe bag or container for up to 1 month. Thaw completely before frosting and serving.
Make ahead: The cake layers can be baked 1-2 days ahead and stored tightly covered until you're ready to frost and decorate.
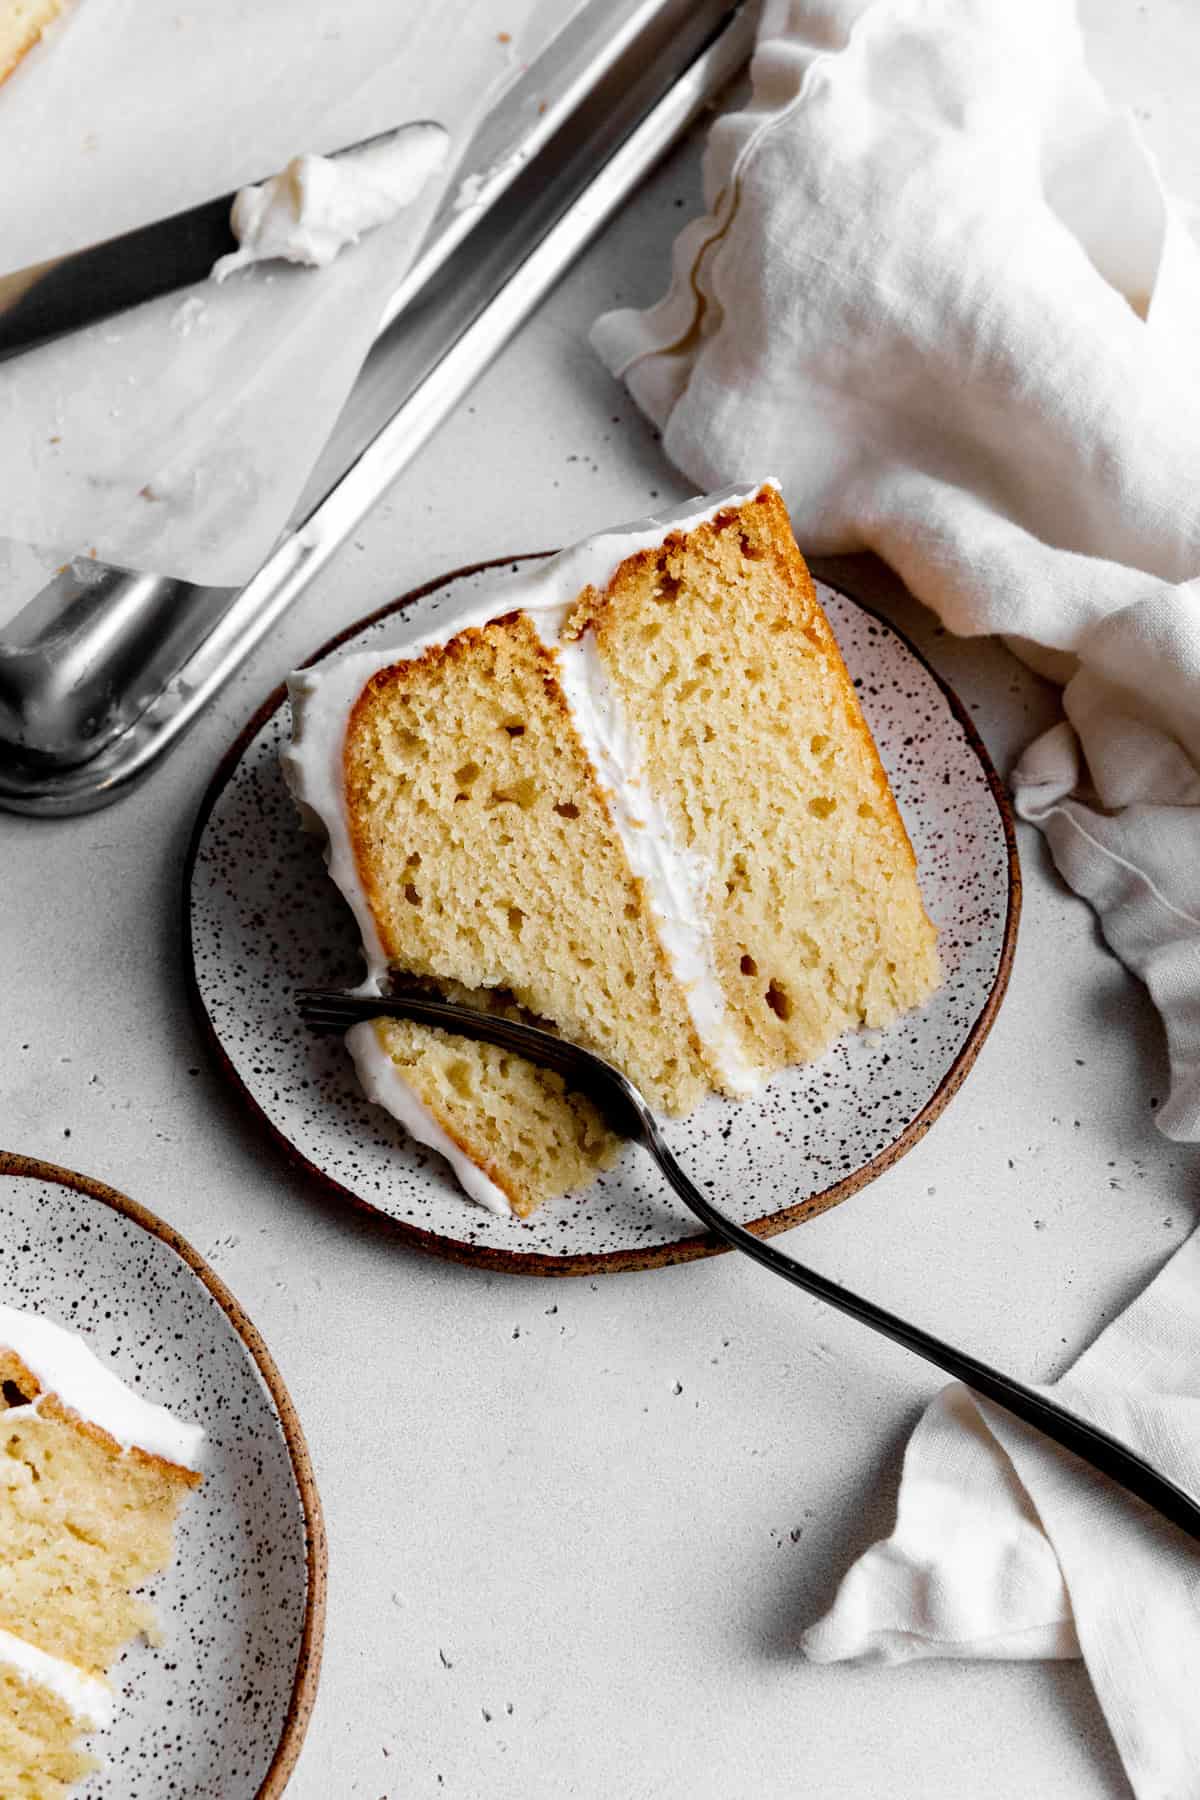
If you make this recipe, please tag @censoredbaker on Instagram!
Printvegan vanilla cake

Light, fluffy and delicious vanilla cake. Totally egg and dairy free, completely customizable and easy to make.
- Prep Time: 30 minutes
- Bake Time: 30 minutes
- Total Time: 1 hour
- Yield: 1 6 or 8-inch Cake 1x
- Category: Cakes and Cupcakes
- Method: Bake
- Cuisine: American
- Diet: Vegan
Ingredients
For the Cake
3 cups cake flour
2 cups granulated sugar
2 teaspoons baking powder
1 teaspoon baking soda
1 teaspoon salt
1 cup nondairy yogurt
1 cup nondairy milk
1 cup canola oil
2 tablespoons vanilla bean paste
1 teaspoon almond extract (optional)
For the Frosting
1 cup non-hydrogenated shortening
¼ cup vegan butter, softened
3 cups powdered sugar
2 tablespoons nondairy milk
1 tablespoon vanilla bean paste
pinch of salt
Instructions
- Prep: Preheat oven to 350 degrees F (175 C) and line 3 6-inch or 2 8-inch round cake pans with parchment paper. Set aside.
- Mix: Add cake flour, sugar, baking powder, baking soda and salt to a large bowl and whisk together. Pour in the nondairy yogurt, nondairy milk, canola oil, vanilla bean paste and almond extract. Mix together until just combined. Do not over-mix.
- Bake: Divide cake batter between prepared pans. Bake cakes in preheated oven for 32-38 minutes or until they are lightly golden and a toothpick inserted into the center comes out clean with only a few crumbs clinging to it. Allow cakes to cool in their pans for 30 minutes before carefully turning them out onto a wire cooling rack.
- Frosting: Prepare the frosting while cake layers cool. Add shortening and vegan butter to a large bowl and beat together using an electric hand mixer until smooth. This should take 30 to 60 seconds. Add powdered sugar, nondairy milk, vanilla bean paste and salt to the bowl. Beat until frosting comes together.
- Assemble: Once cakes are completely cool, it is time to frost! If you would like to level your cakes*, now is the time to do so. Set one layer of cake on a serving plate and spread a layer of frosting over the top using an offset spatula. Top with another cake layer and spread with more frosting. Spread remaining frosting over the sides of the cake.
Notes
*Prepared cake will keep in an airtight container at room temperature for 2-3 days. If you don't have a cake stand that will accommodate the size of the cake, turn a large pot over it instead. Unfrosted cake layers can be frozen for up to 1 month.
*When lining cake pans with parchment paper, it is best for the paper to only cover the bottom of the pan. You don't want the parchment pressing up against the sides. To accomplish this, trace the bottom of your cake pan over a sheet of parchment paper and cut it out using scissors. Cut slightly inside the line. It should fit perfectly!
*While leveling cake layers isn't totally necessary, I would highly recommend it. Using a sharp serrated knife, gently slide the knife across the dome-shaped top of your cake. You will be holding the knife horizontally. See instructions above.
*Investing in a cake turntable is a great way to more easily frost and level your cakes.
*This cake it totally customizable flavor-wise! See above section for ideas!

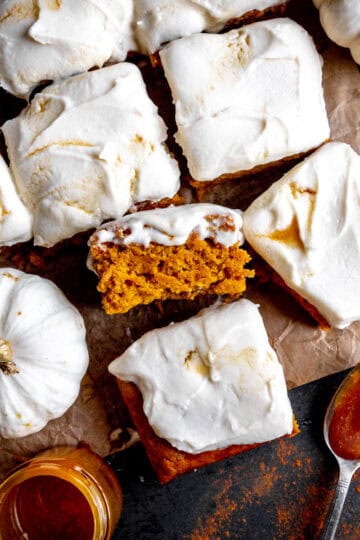

This cake was perfect! No one in my family could believe it was vegan!
I love when it surprises people!