
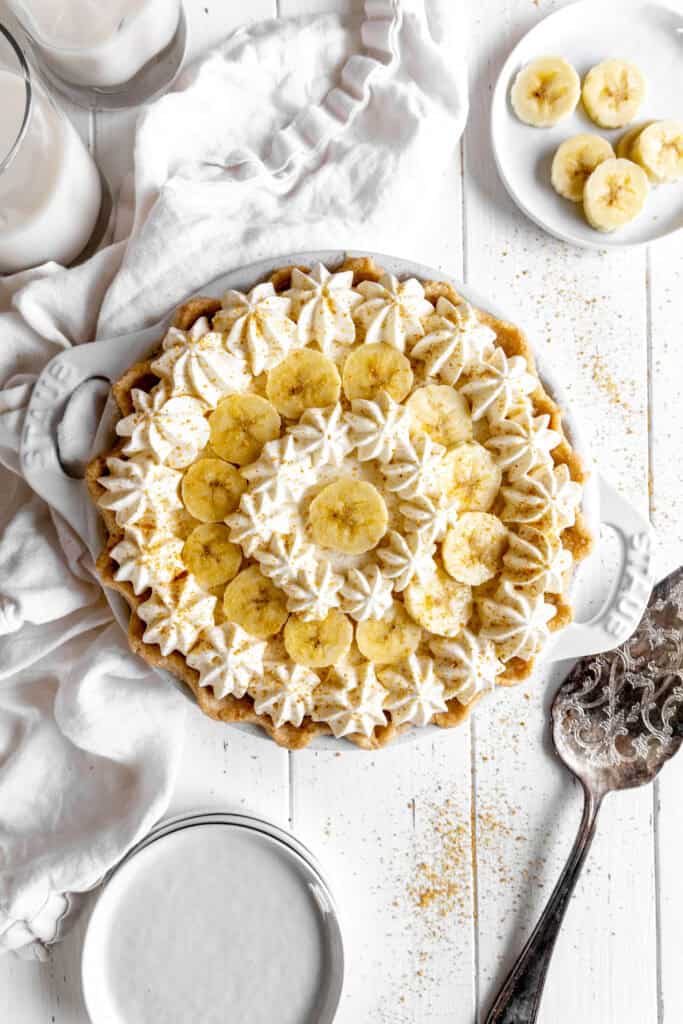
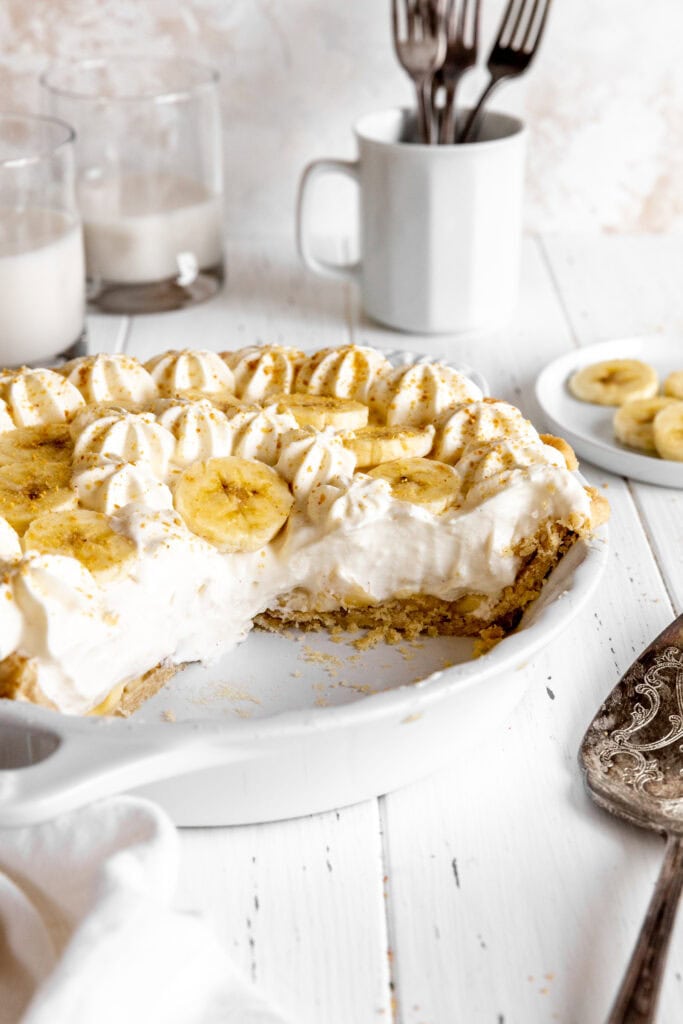
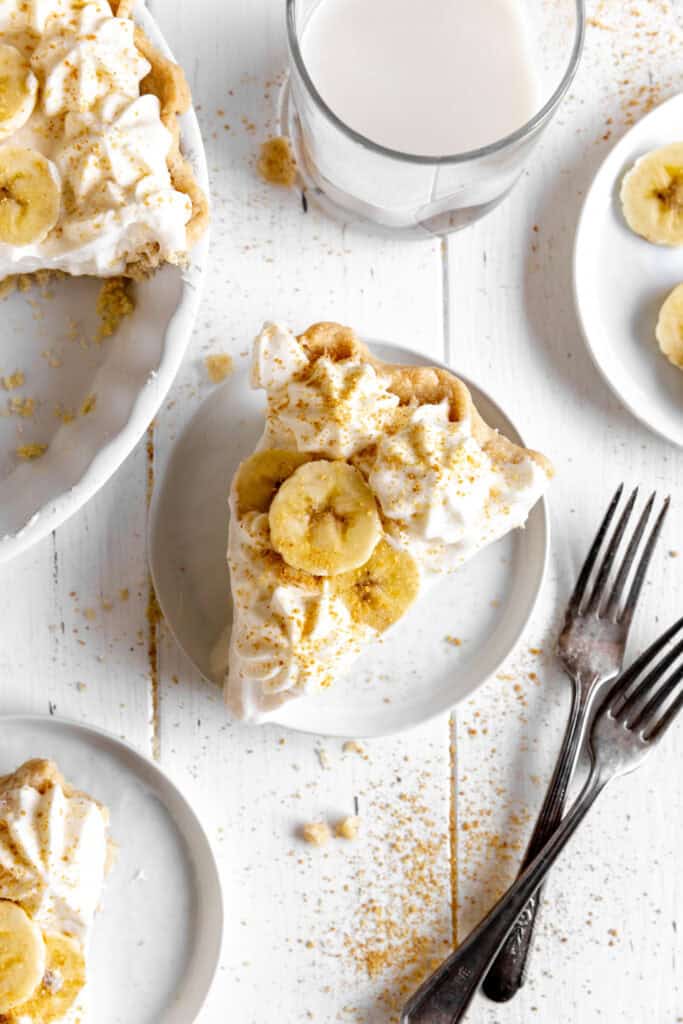
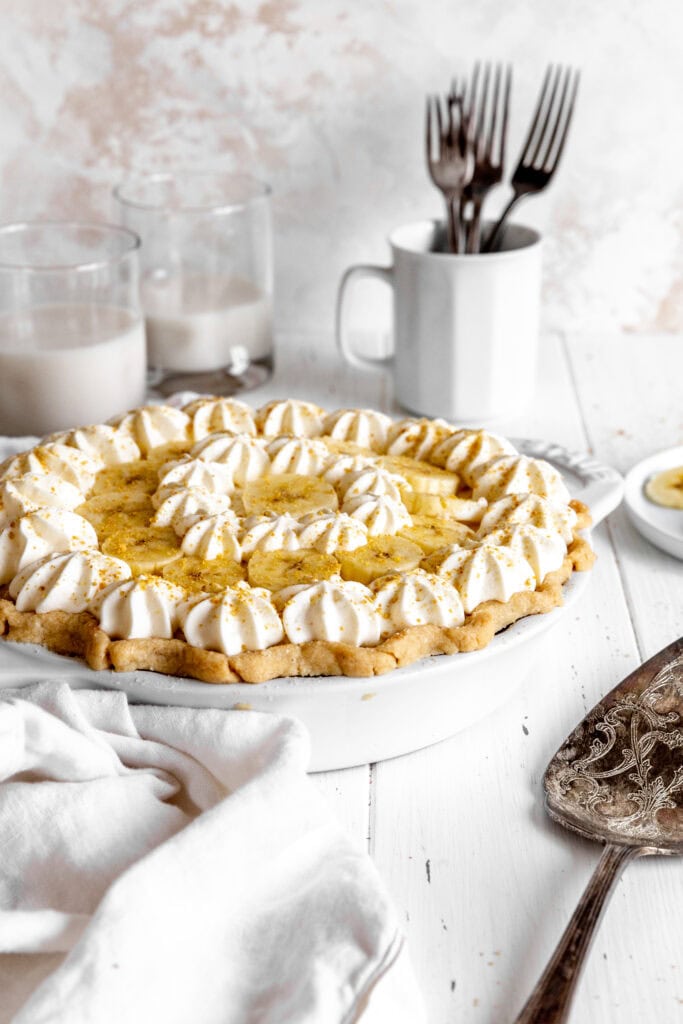
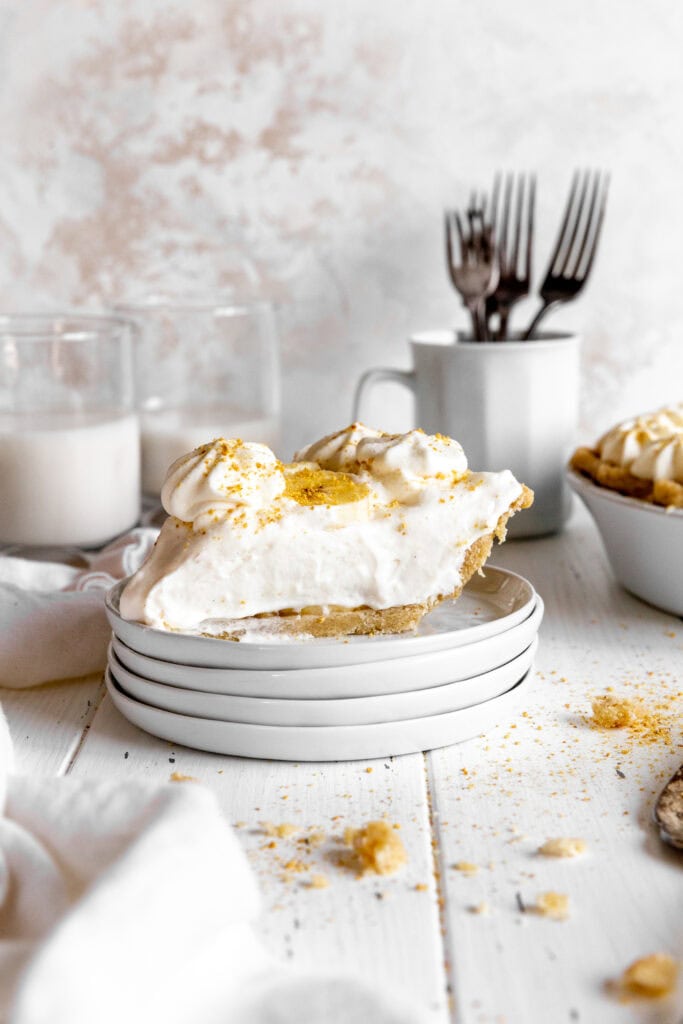
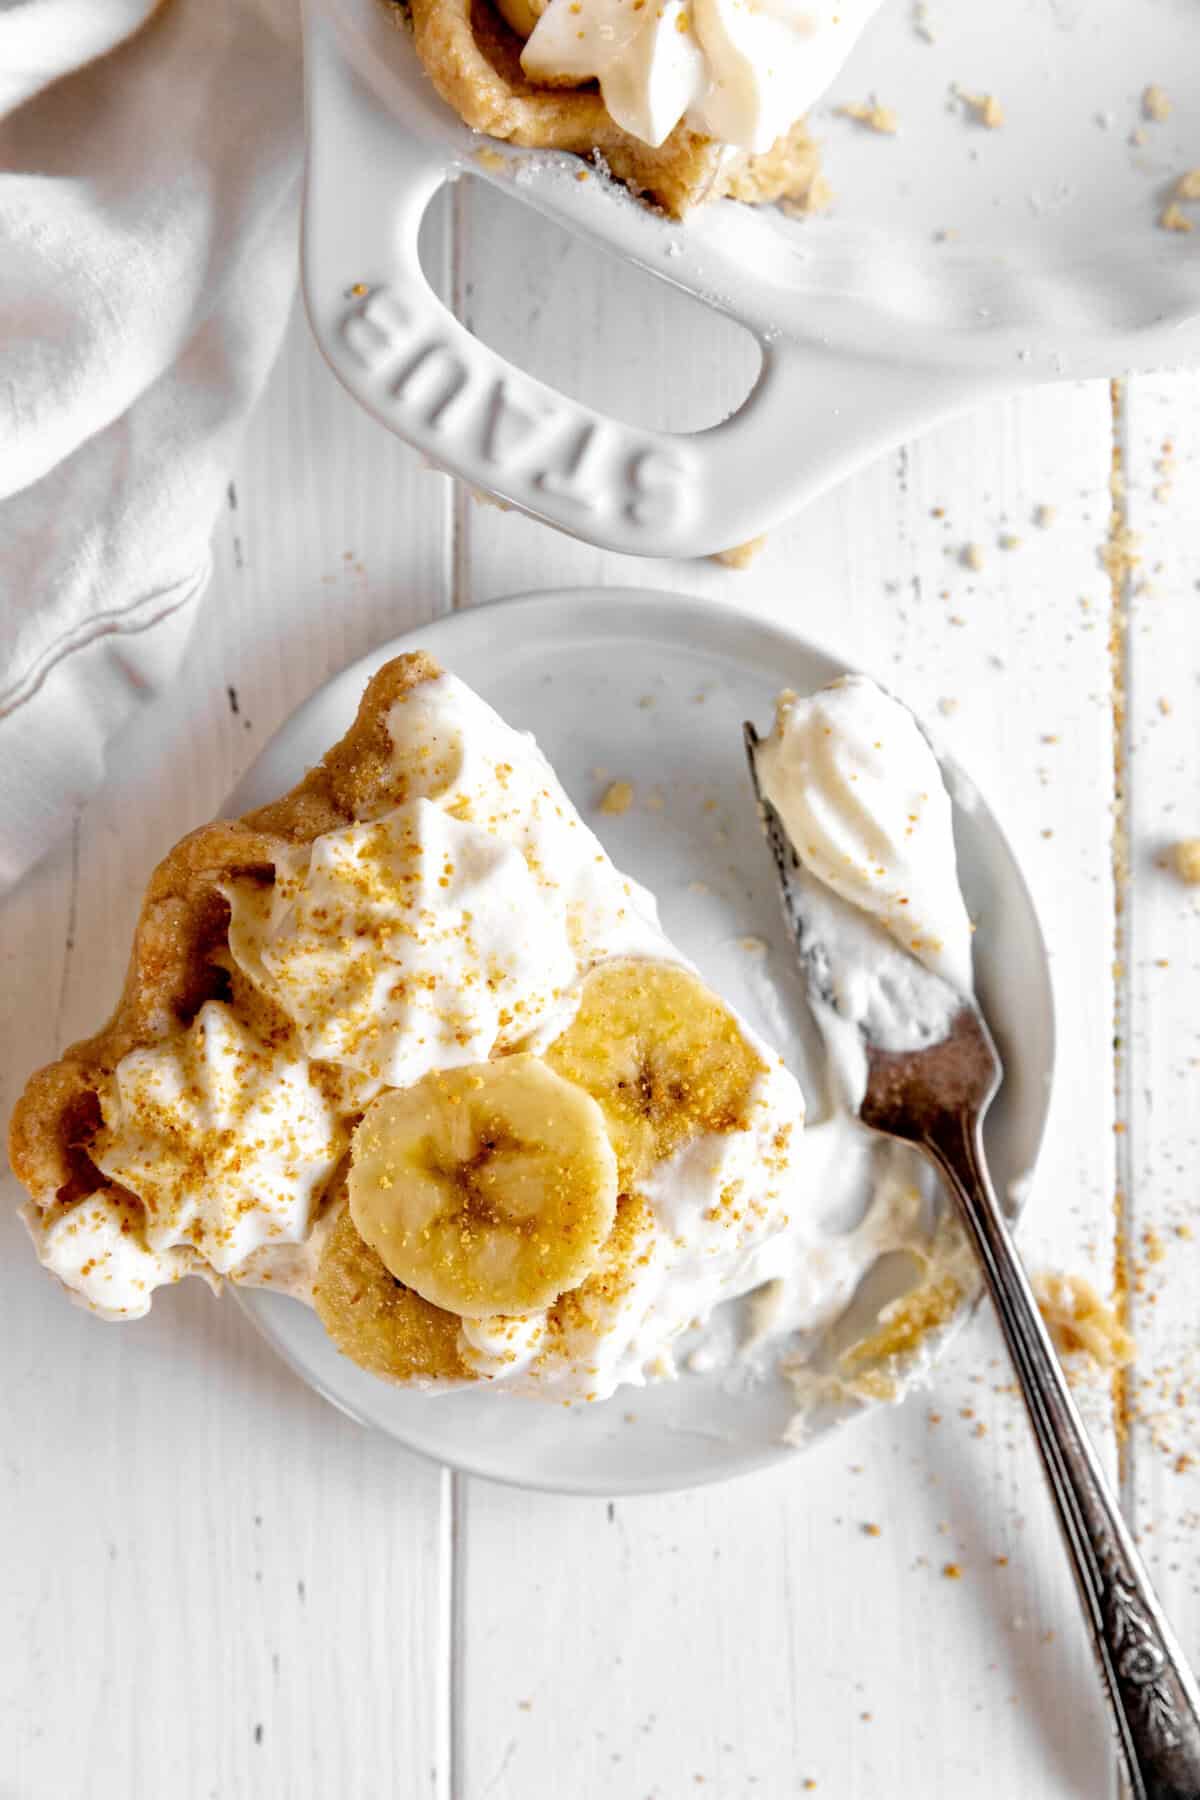
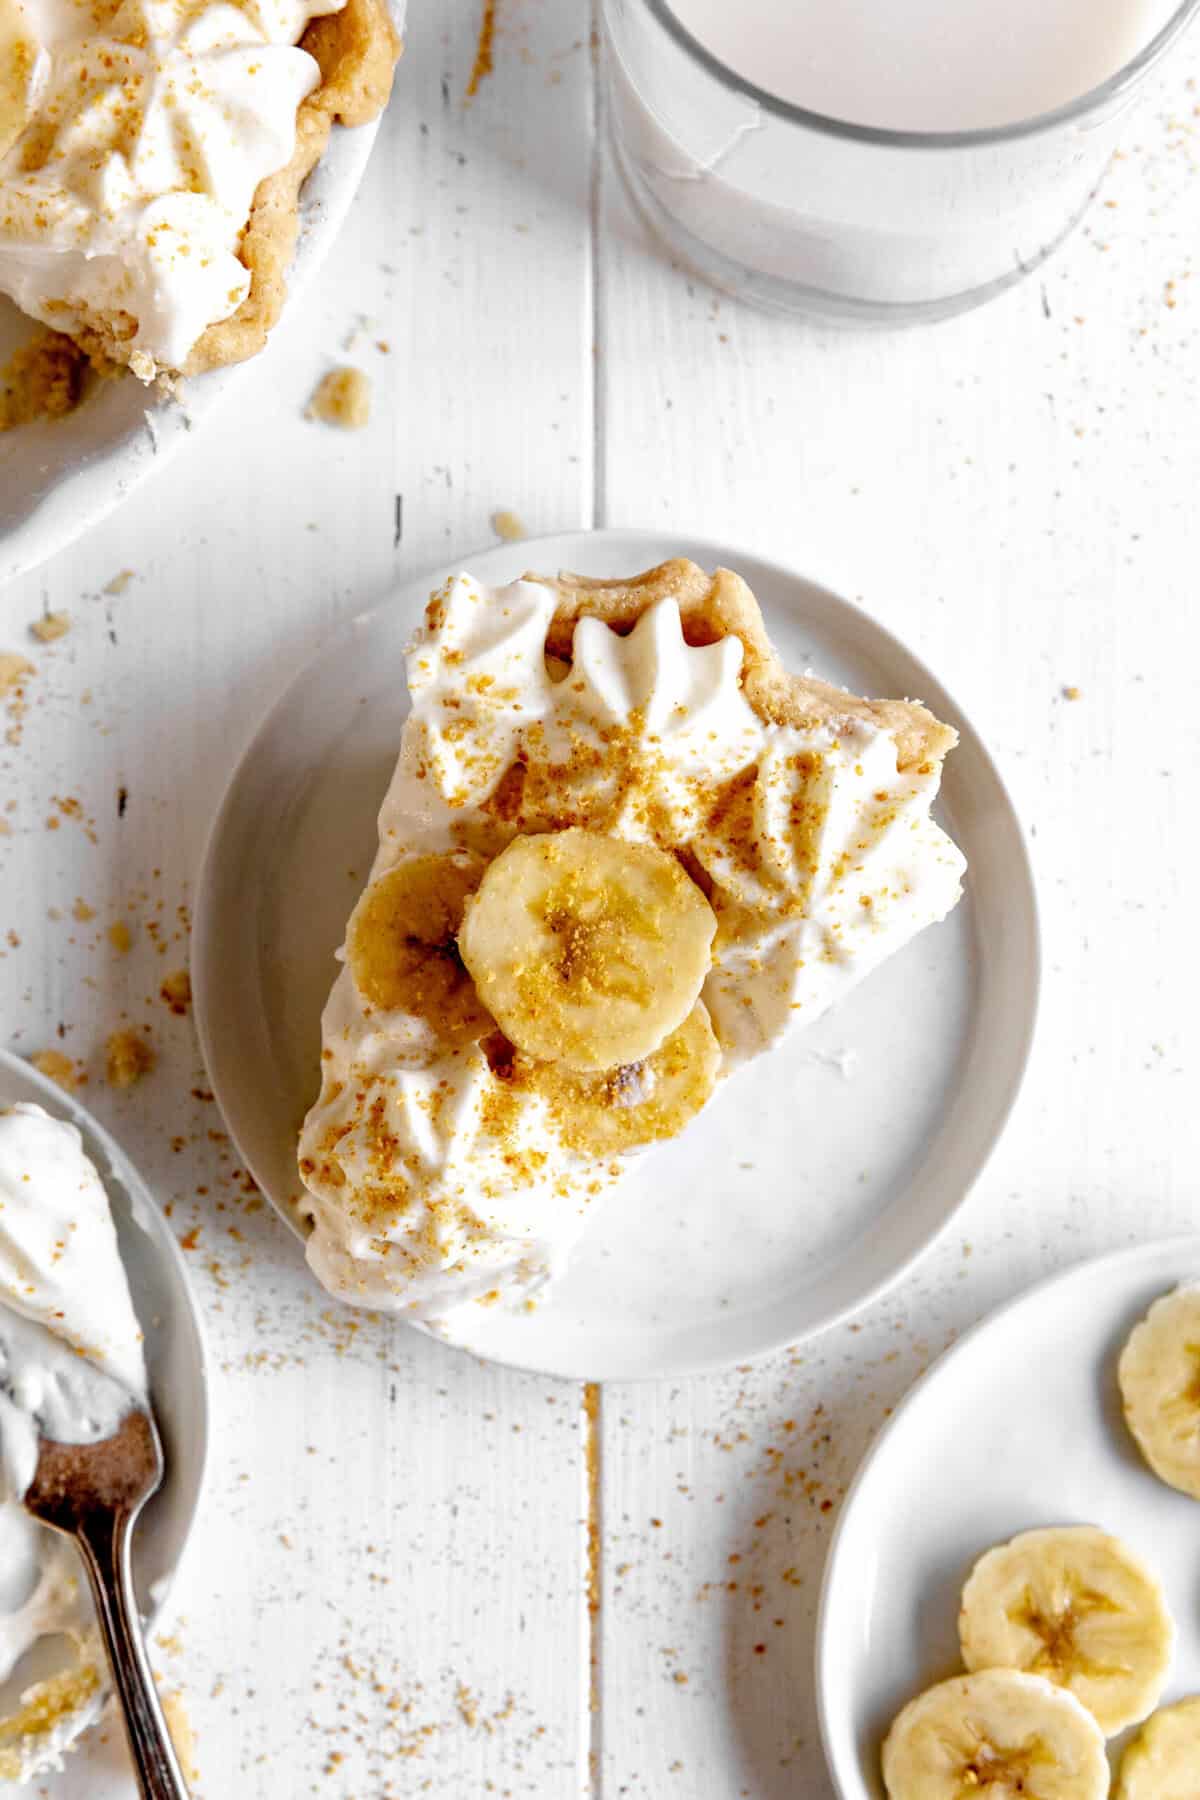
This Vegan Banana Cream Pie features a buttery, flaky pie crust, a vanilla pudding filling loaded with banana slices, and a homemade whipped cream topping. Let's learn how to make it!
Nothing beats a perfectly creamy banana cream pie. This one is totally dairy and egg-free and 100% delicious.
All parts of this pie are completely homemade and come together easily. Check out our post on vegan pie crust for all of the best baking tips and tricks.
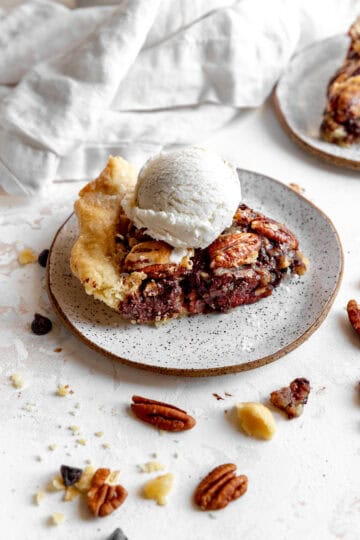
Looking for more creamy pies? Our vegan chocolate fudge pie is to die for!
Ingredients
- single pie crust: Acts as the base of the pie, providing structure and a crisp, buttery contrast to the creamy filling. Make it yourself or use a store-bought, vegan piecrust.
- nondairy milk: The liquid base for the pudding. Part is used to dissolve the cornstarch and part is heated with the sugar to form the custard.
- cornstarch: The key thickening agent that helps the pudding set to a creamy, sliceable consistency.
- granulated sugar: Sweetens the pudding and complements the natural sugars in the bananas.
- salt: Balances the sweetness and enhances the overall flavor of the filling.
- vanilla bean paste: Adds rich vanilla flavor essential to classic banana cream pie, making the custard taste smooth and comforting.
- nondairy heavy cream: The base for the whipped topping, providing a light, airy texture that mimics traditional whipped cream without dairy.
- powdered sugar: Sweetens the whipped cream and helps stabilize it slightly for better texture.
- vanilla extract: Adds flavor and complements the vanilla notes in the filling.
- bananas: The star of the pie-layered into the filling for sweetness, texture, and that classic banana flavor.
Why you'll love this pie:
- Ultra-Creamy & Dreamy - The silky vanilla custard pairs perfectly with ripe banana slices for a melt-in-your-mouth filling.
- Classic Flavor, Totally Vegan - All the rich, nostalgic goodness of banana cream pie with no dairy or eggs required.
- Buttery, Flaky Crust - A crisp base that balances the smooth filling and adds just the right amount of texture.
- Topped with Cloud-Like Whipped Cream - Light, airy, and sweet-just what a creamy pie deserves.
- Great Make-Ahead Dessert - Perfect for prepping ahead of time for holidays, potlucks, or casual gatherings.
- Kid-Approved & Crowd-Pleasing - Familiar flavors that everyone loves, whether or not they're vegan.
How to make a vegan banana cream pie (with pictures!):
Please see the recipe card at the bottom of the page for full instructions and ingredient measurements.
Begin by making a single vegan pie crust. Shape into a disk and chill until ready to use.
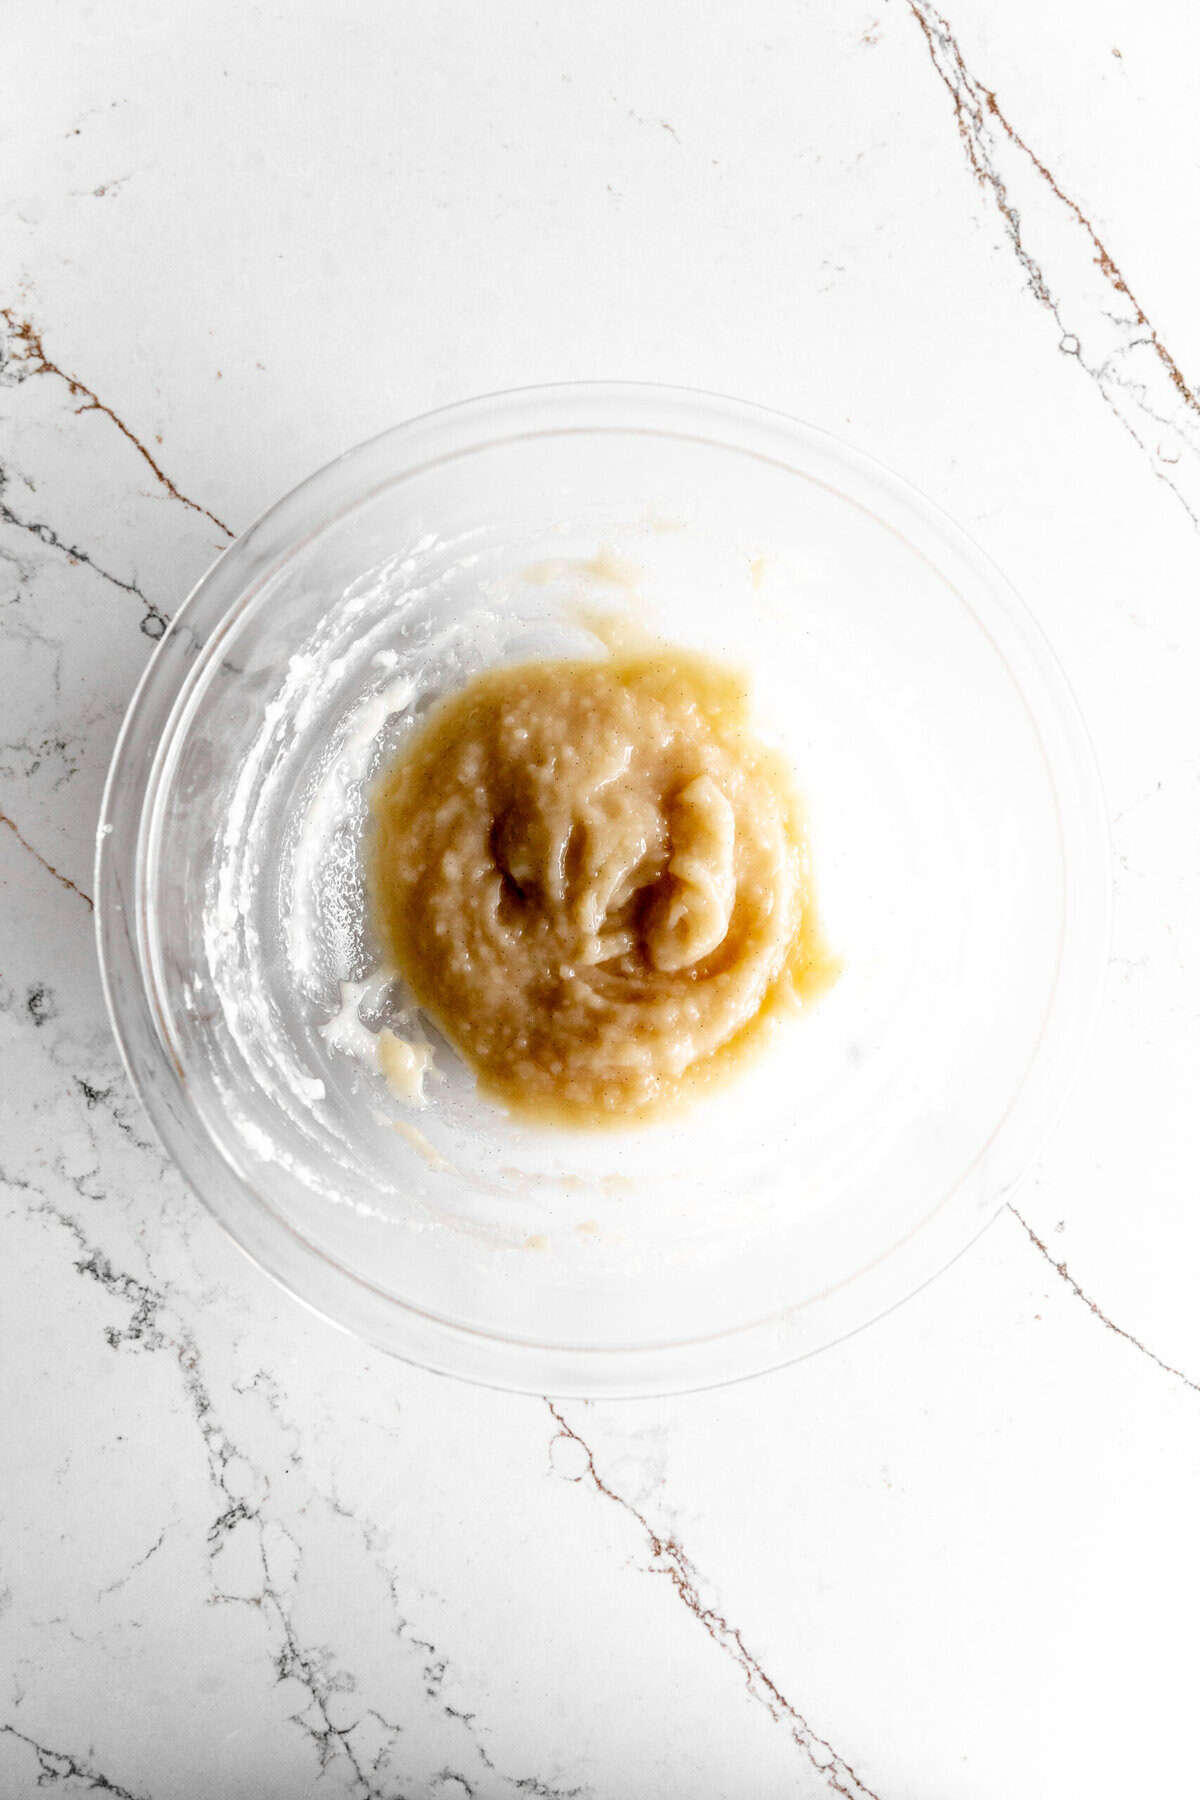
Prepare the pie filling by whisking together ¼ cup nondairy milk and ¼ cup cornstarch until no lumps remain.
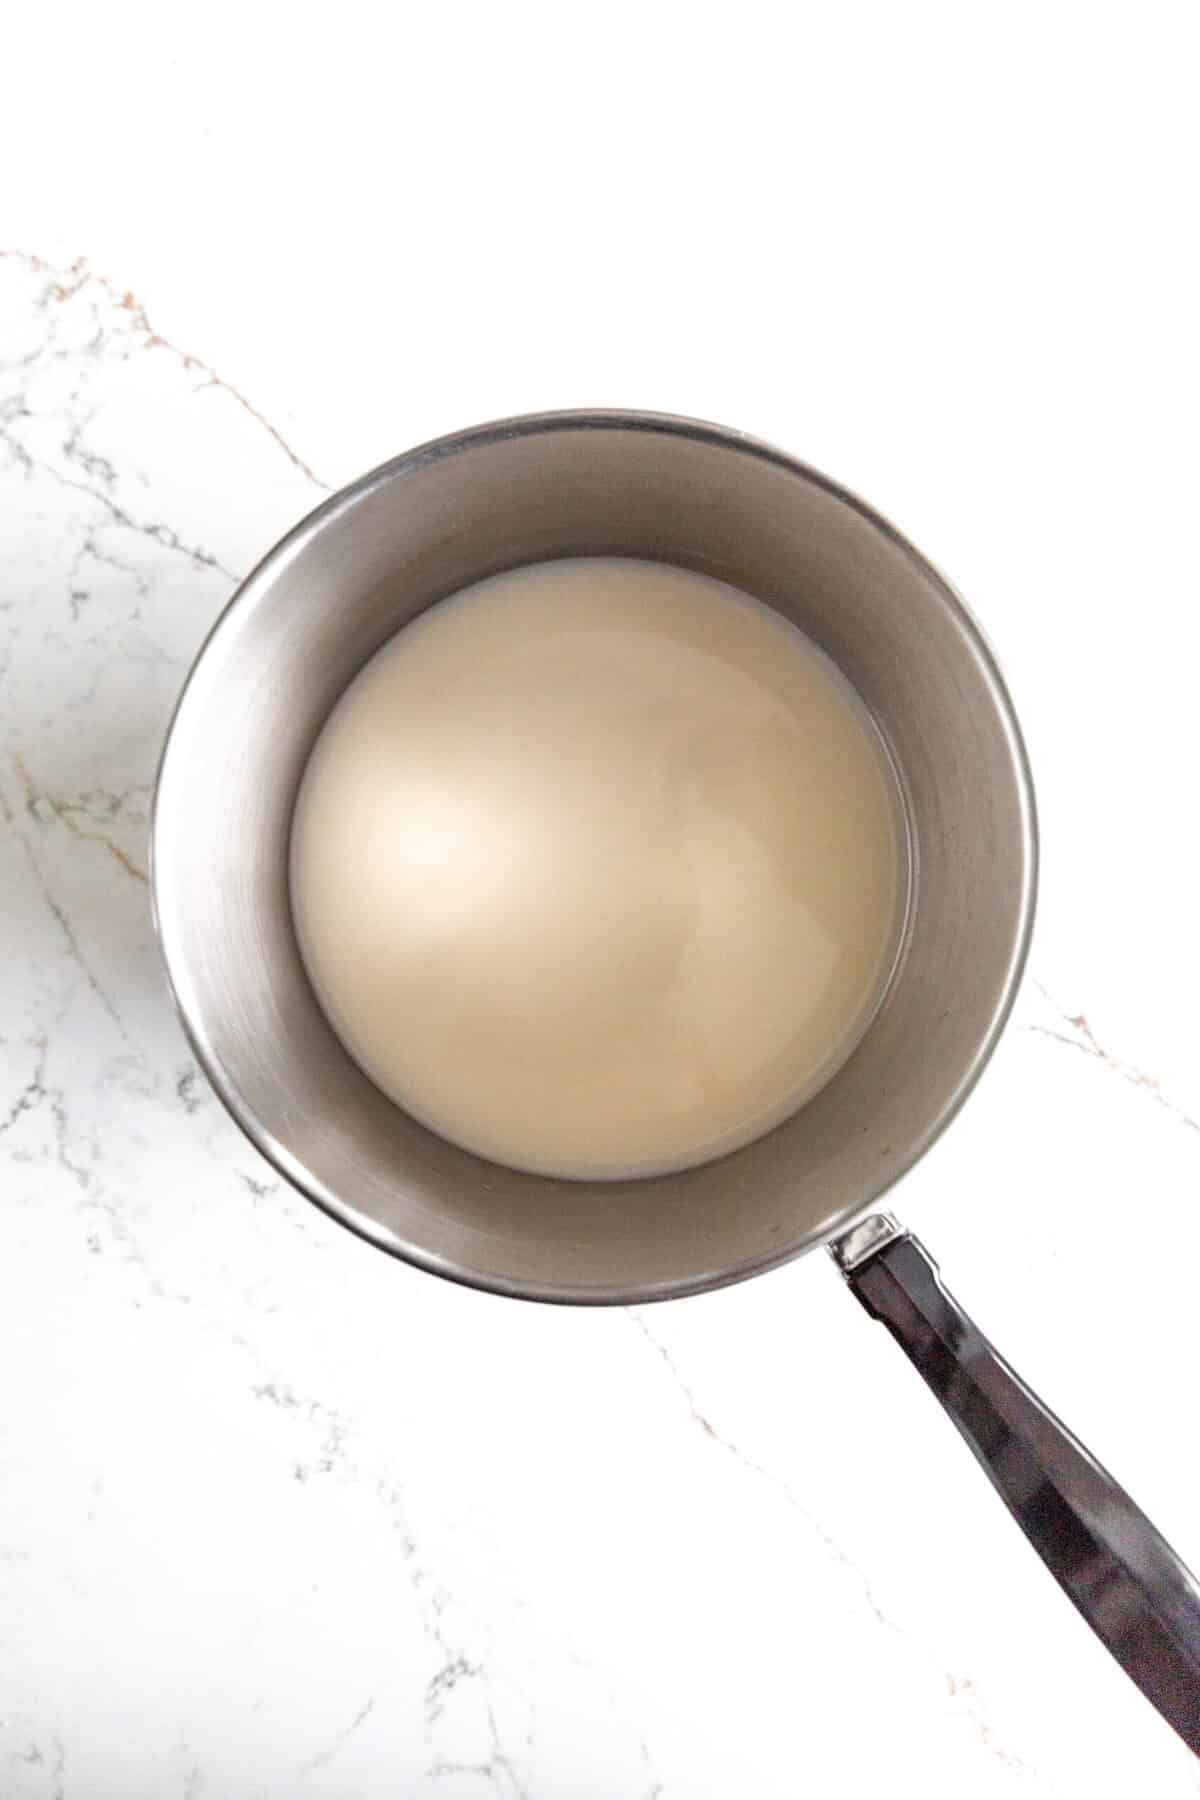
Add the remaining nondairy milk, granulated sugar and salt to a saucepan. Bring to a simmer and whisk in the cornstarch mixture. Continue to cook, whisking frequently until mixture resembles a thick pudding.
Remove from heat and whisk in the vanilla. Transfer to a large mixing bowl, cover and place in the refrigerator to chill for 2 hours.
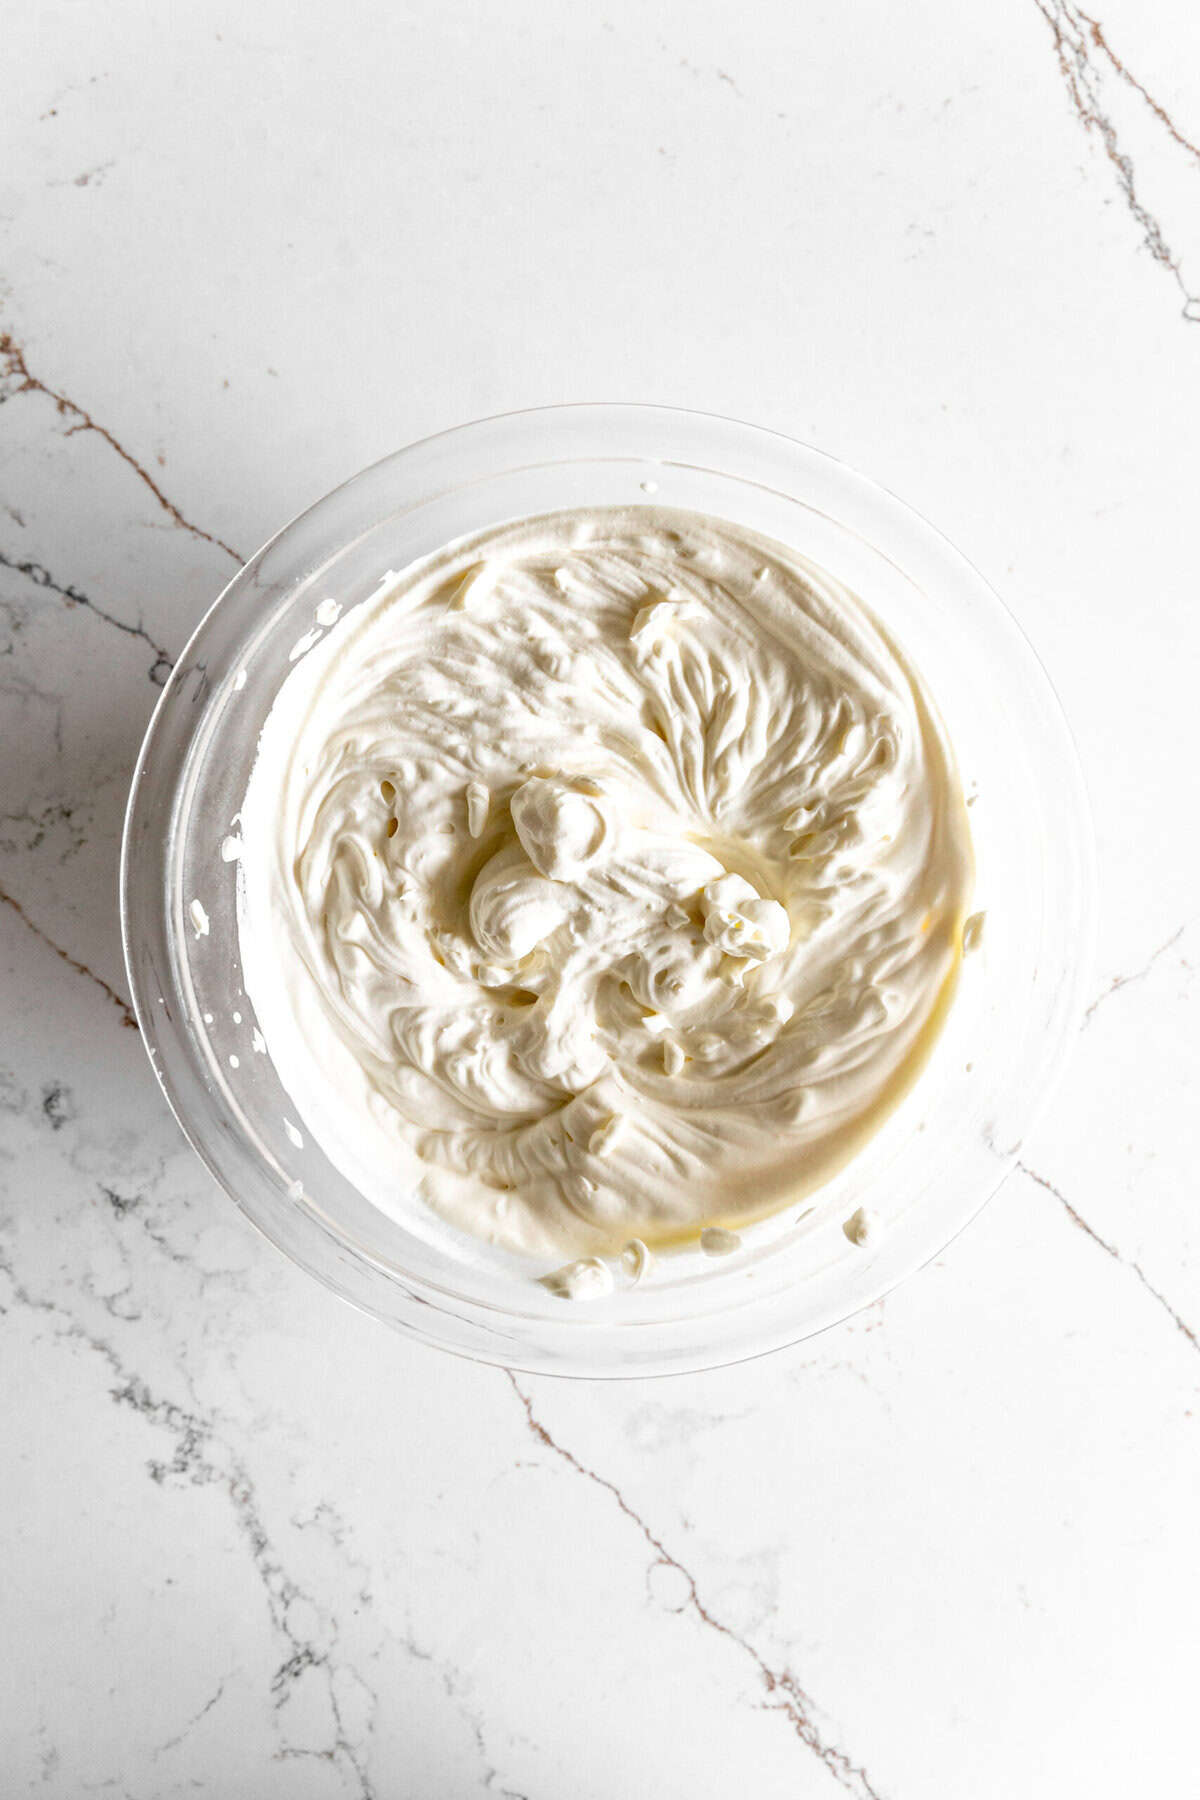
Add the heavy cream, powdered sugar and vanilla extract to a large mixing bowl. Beat with an electric hand mixer until stiff peaks form.
Cover and place in the refrigerator to chill with the pie filling.
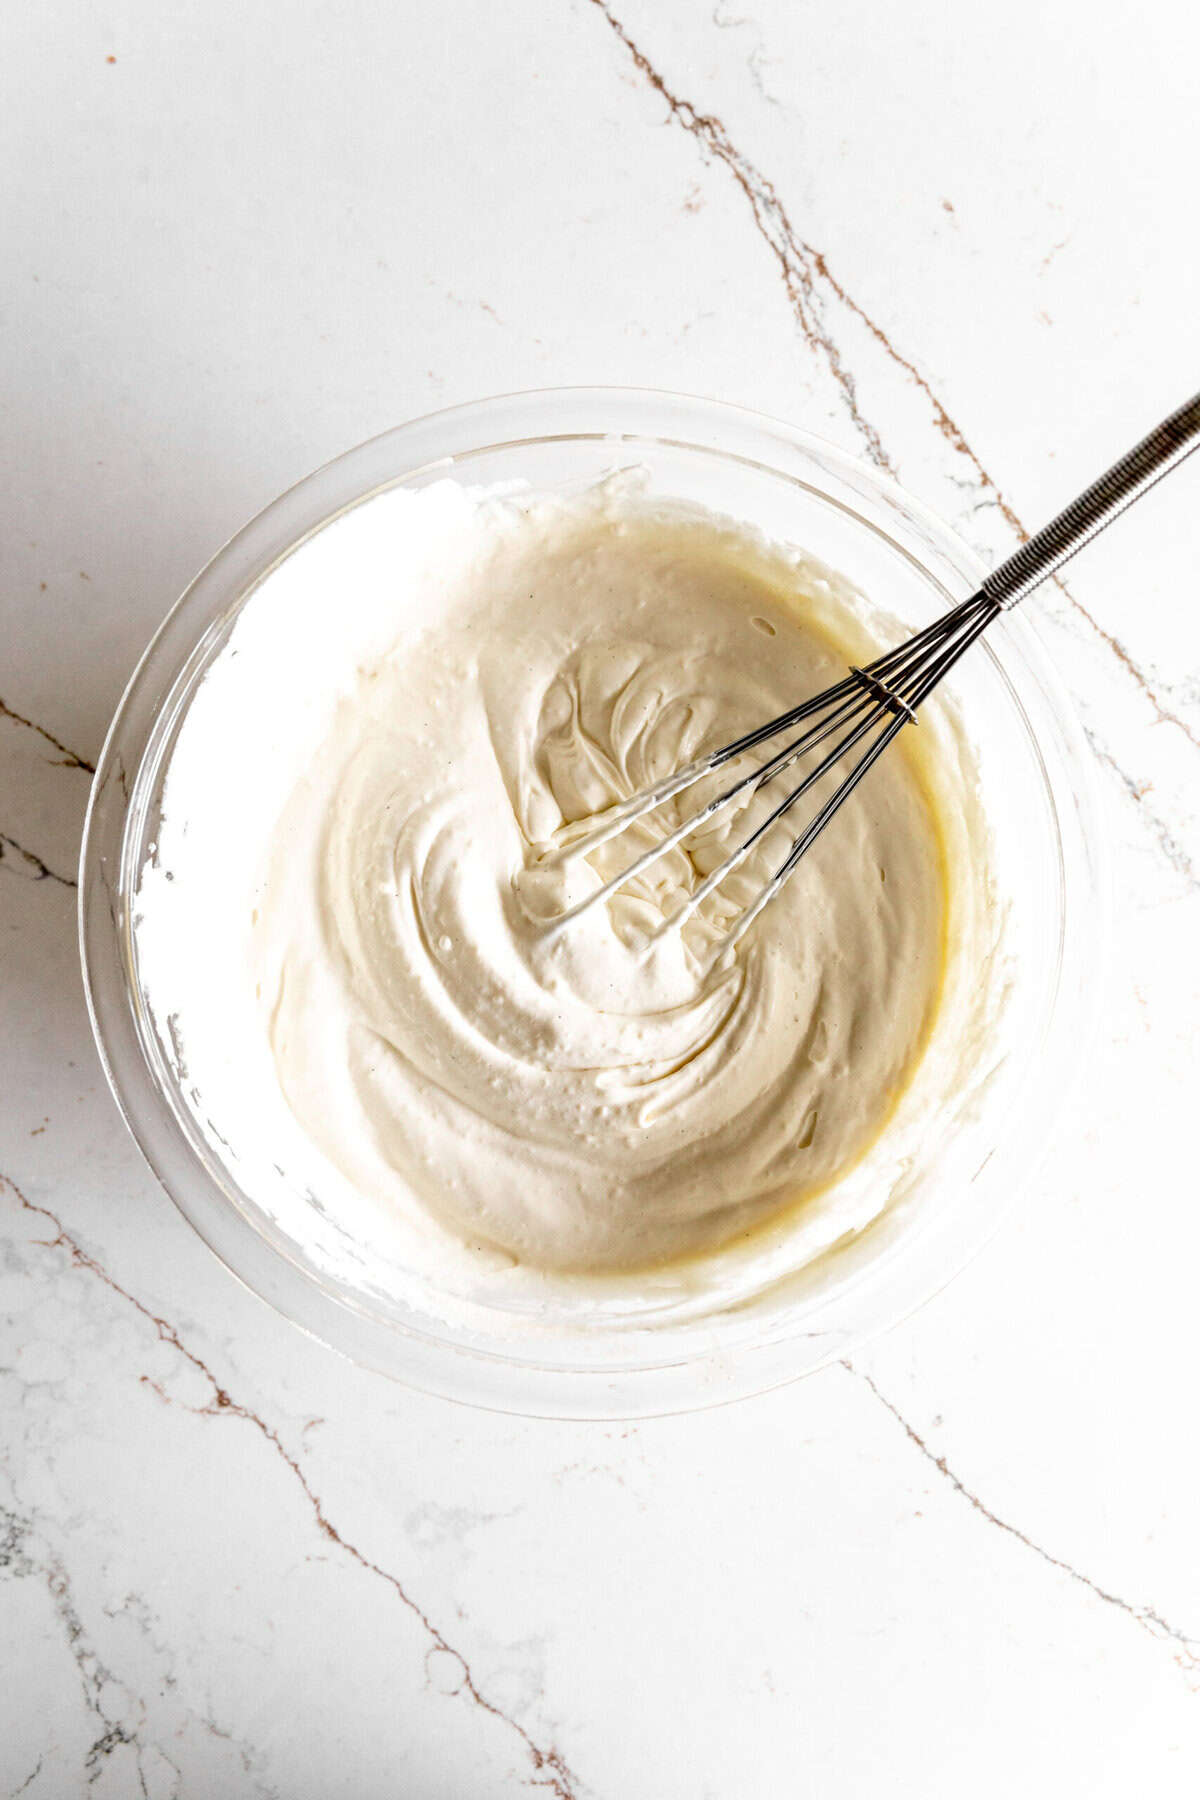
Once appropriately chilled, vigorously whisk the pudding mixture until smooth. Add two-thirds of the whipped cream to the pudding and whisk until no lumps remain. Cover and chill until ready to use.
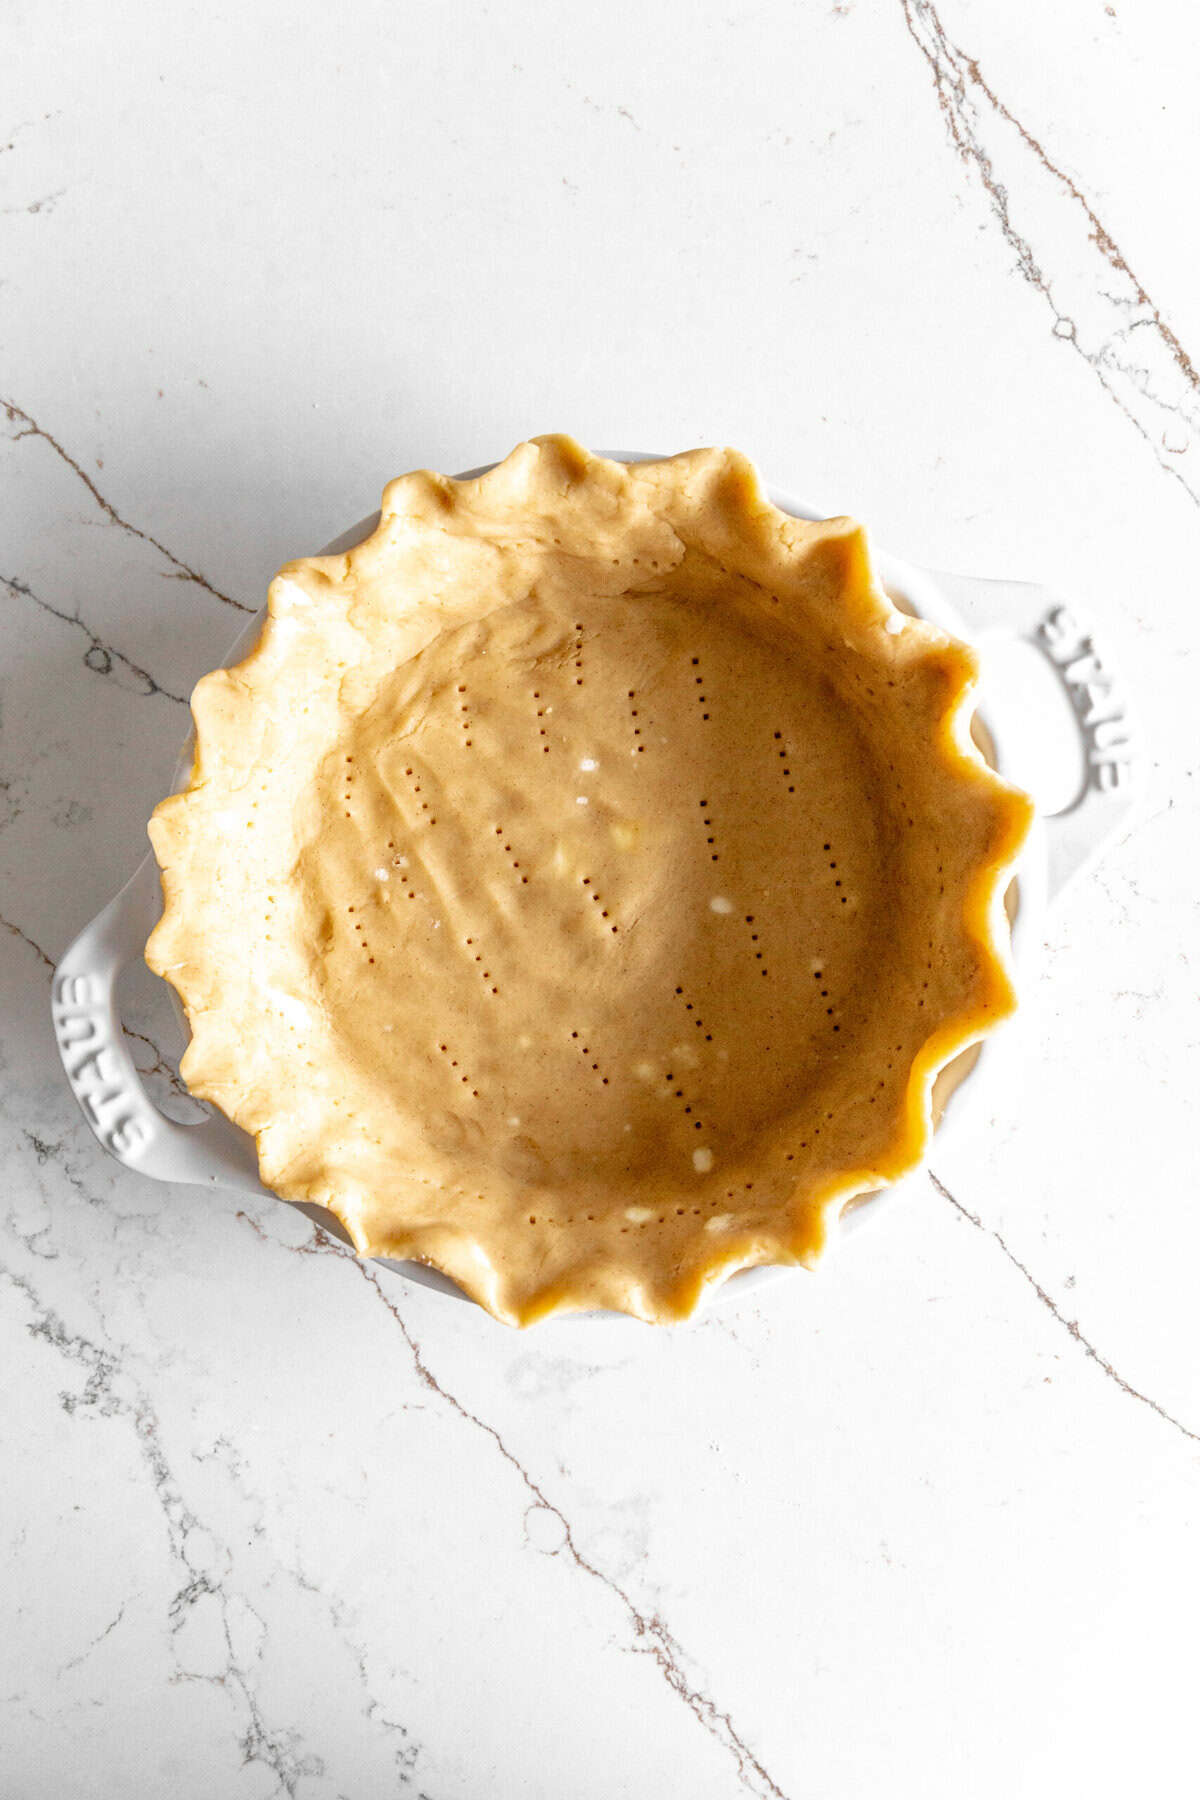
Roll out your prepared pie crust into an 11-12 inch circle. Transfer to a 9-inch pie pan, tucking under and crimping the edges.
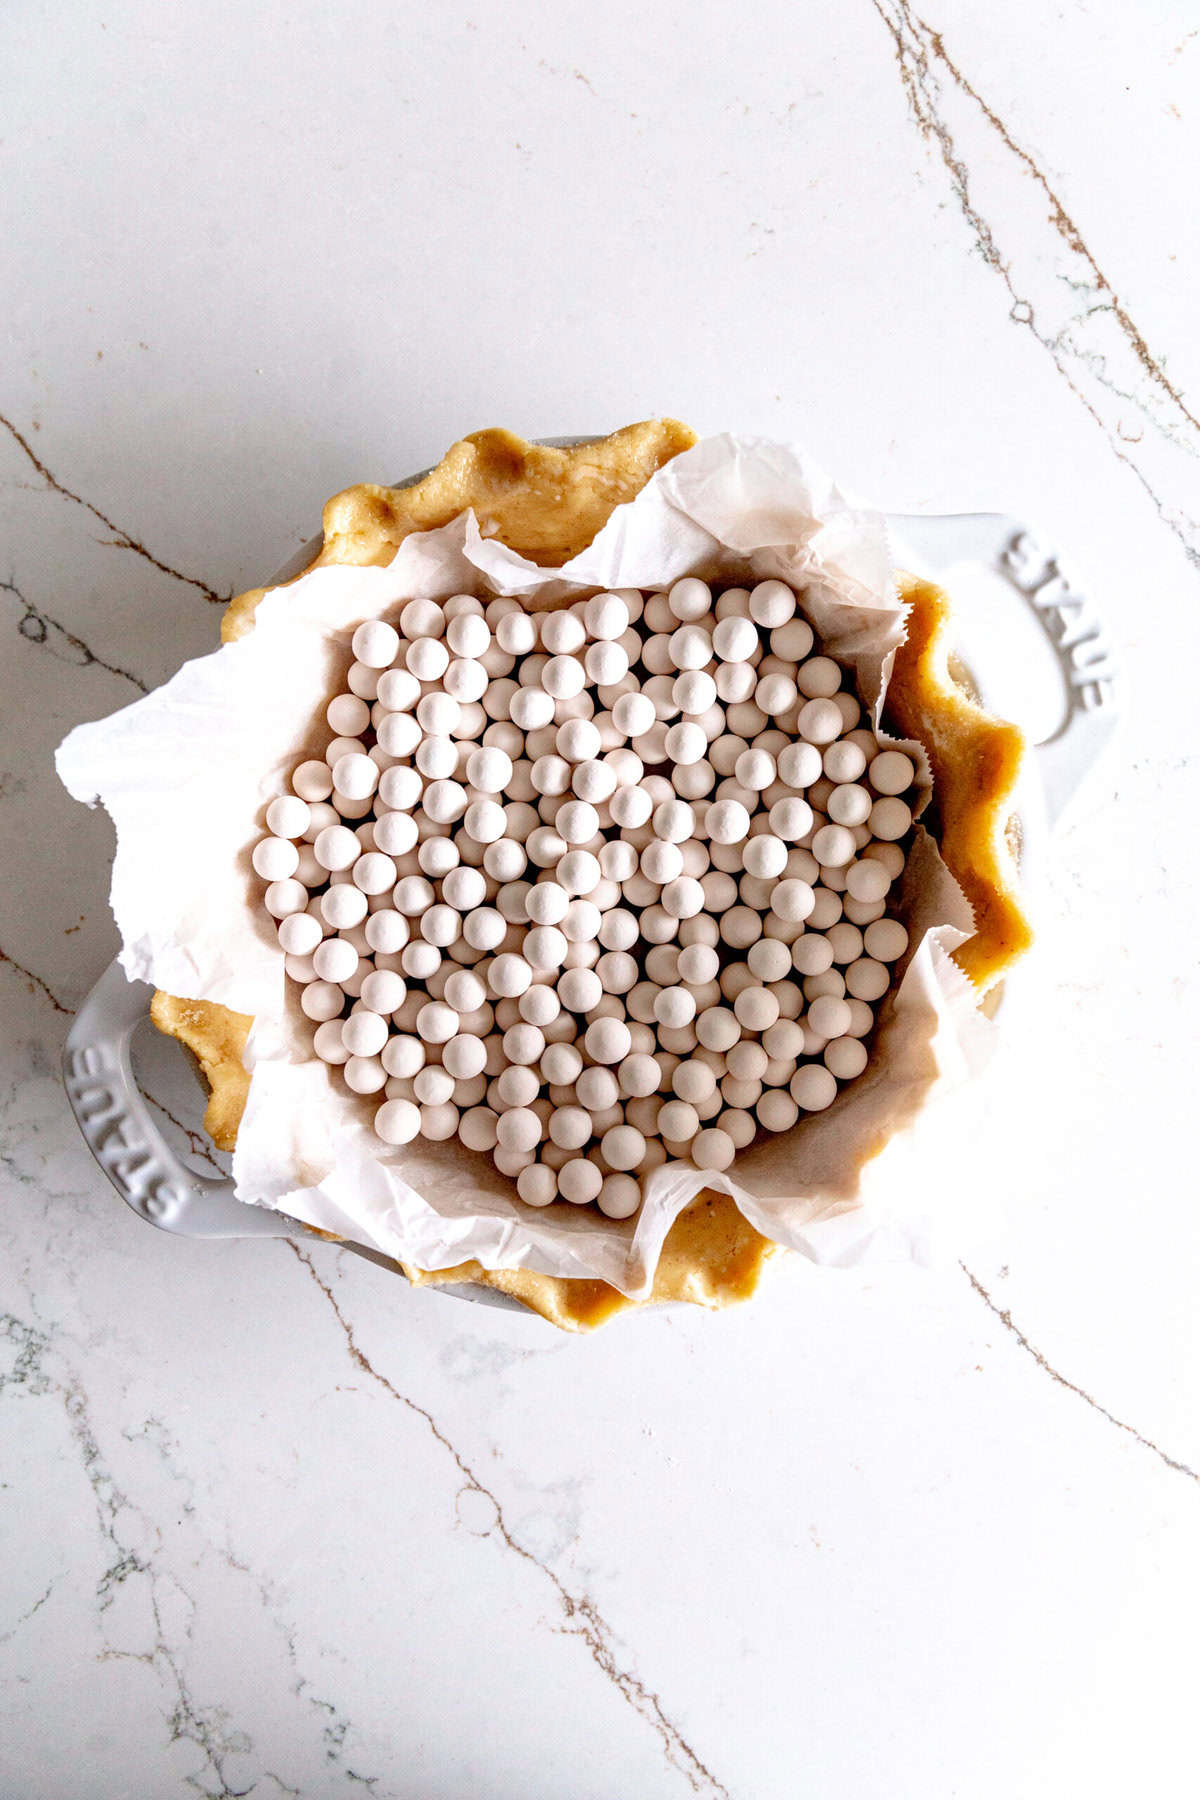
Lay a sheet of parchment paper in the pie shell and fill with ceramic pie weights. Bake at 350 degrees F (175 C) for 15 minutes.
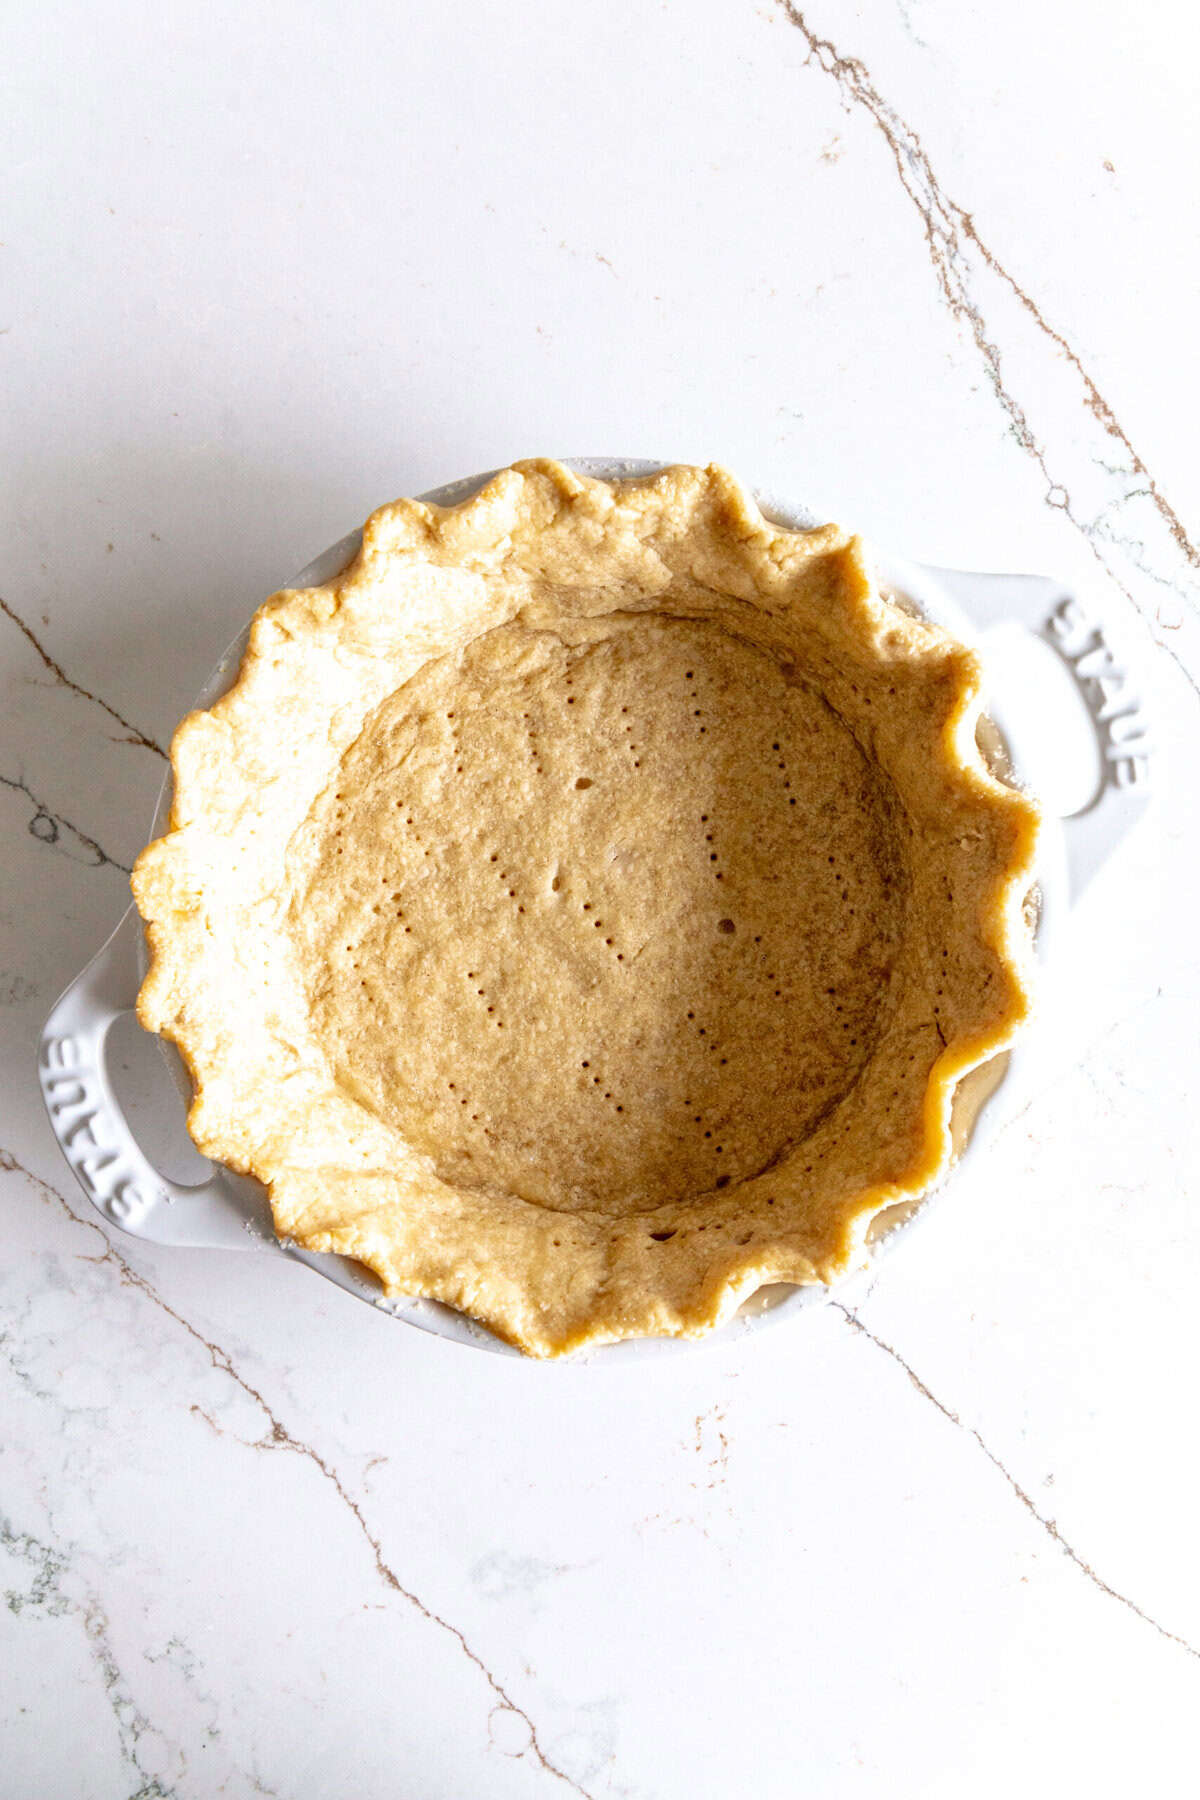
Take pie out of the oven and remove the parchment and pie weights. Return piecrust to oven and bake for an additional 15 minutes or until golden.
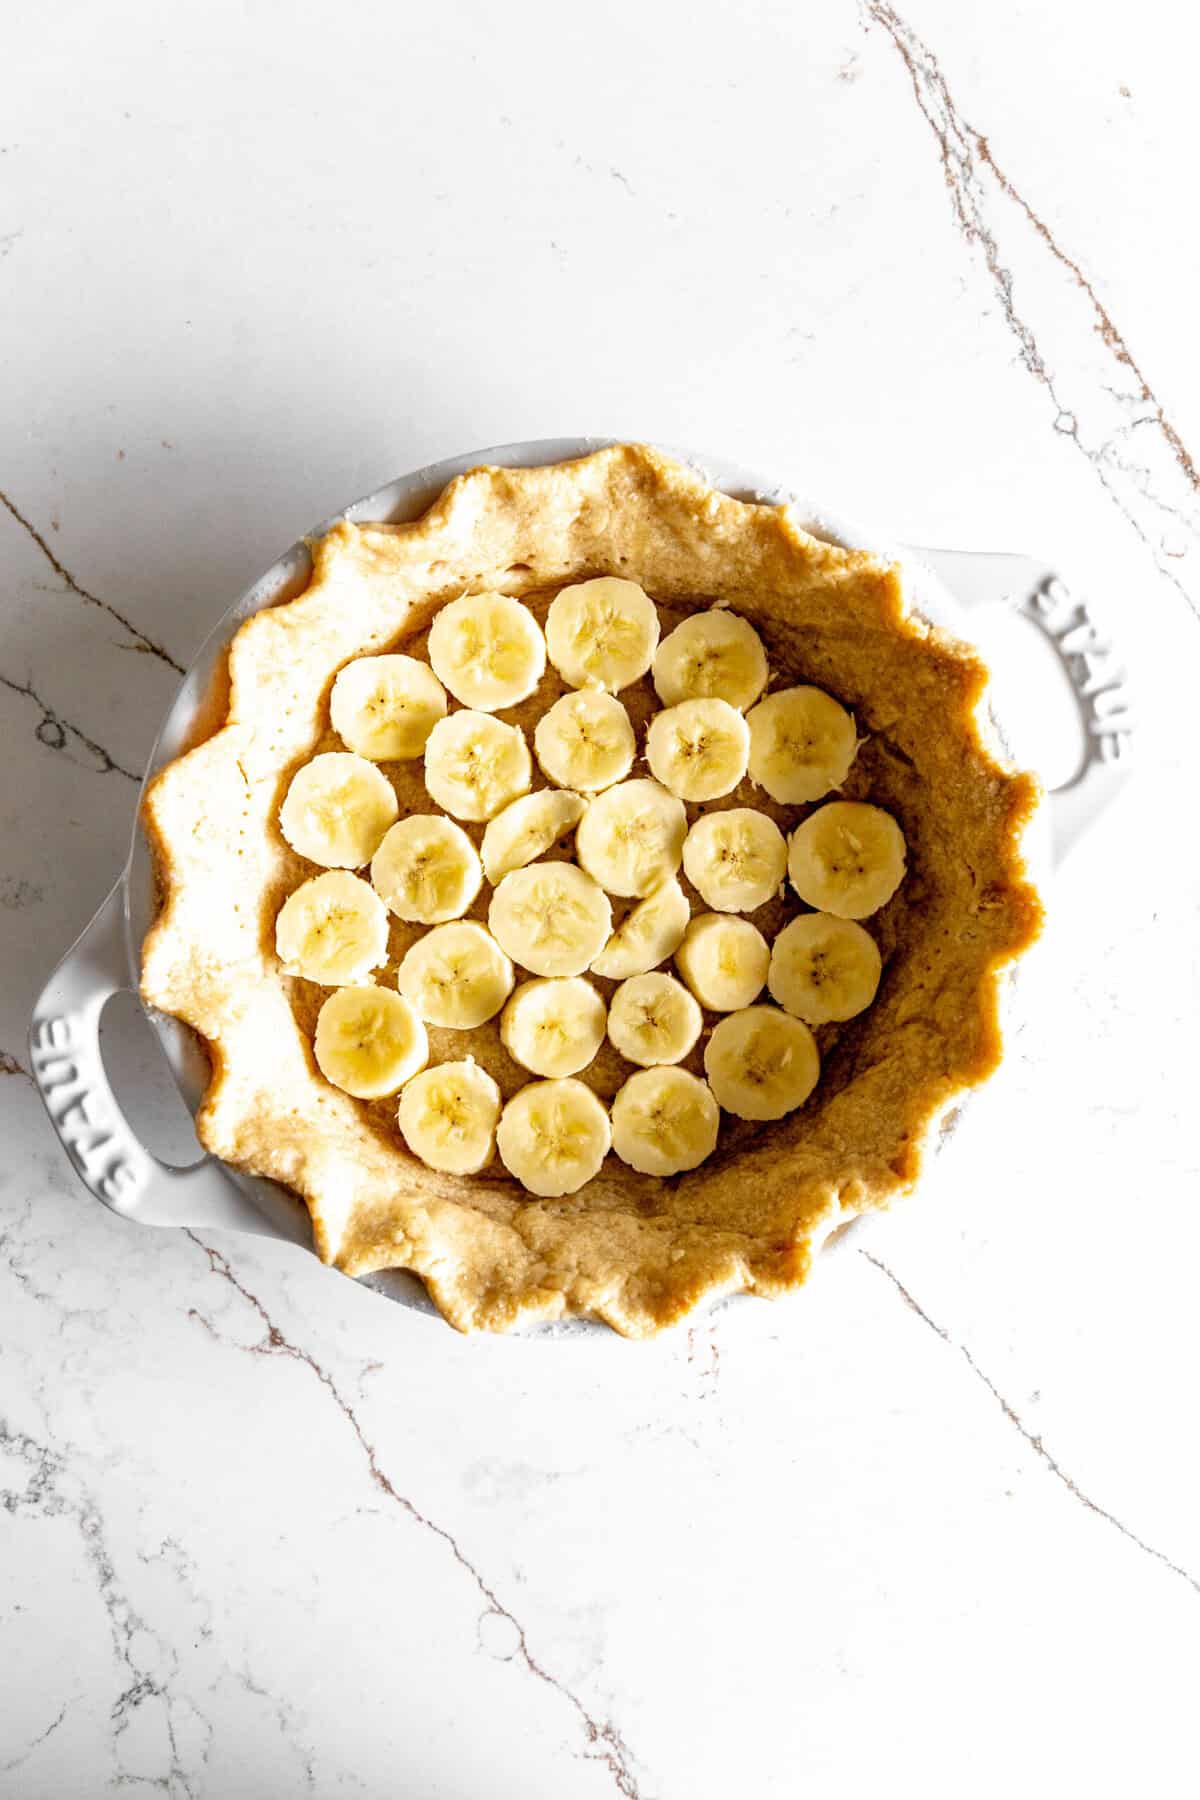
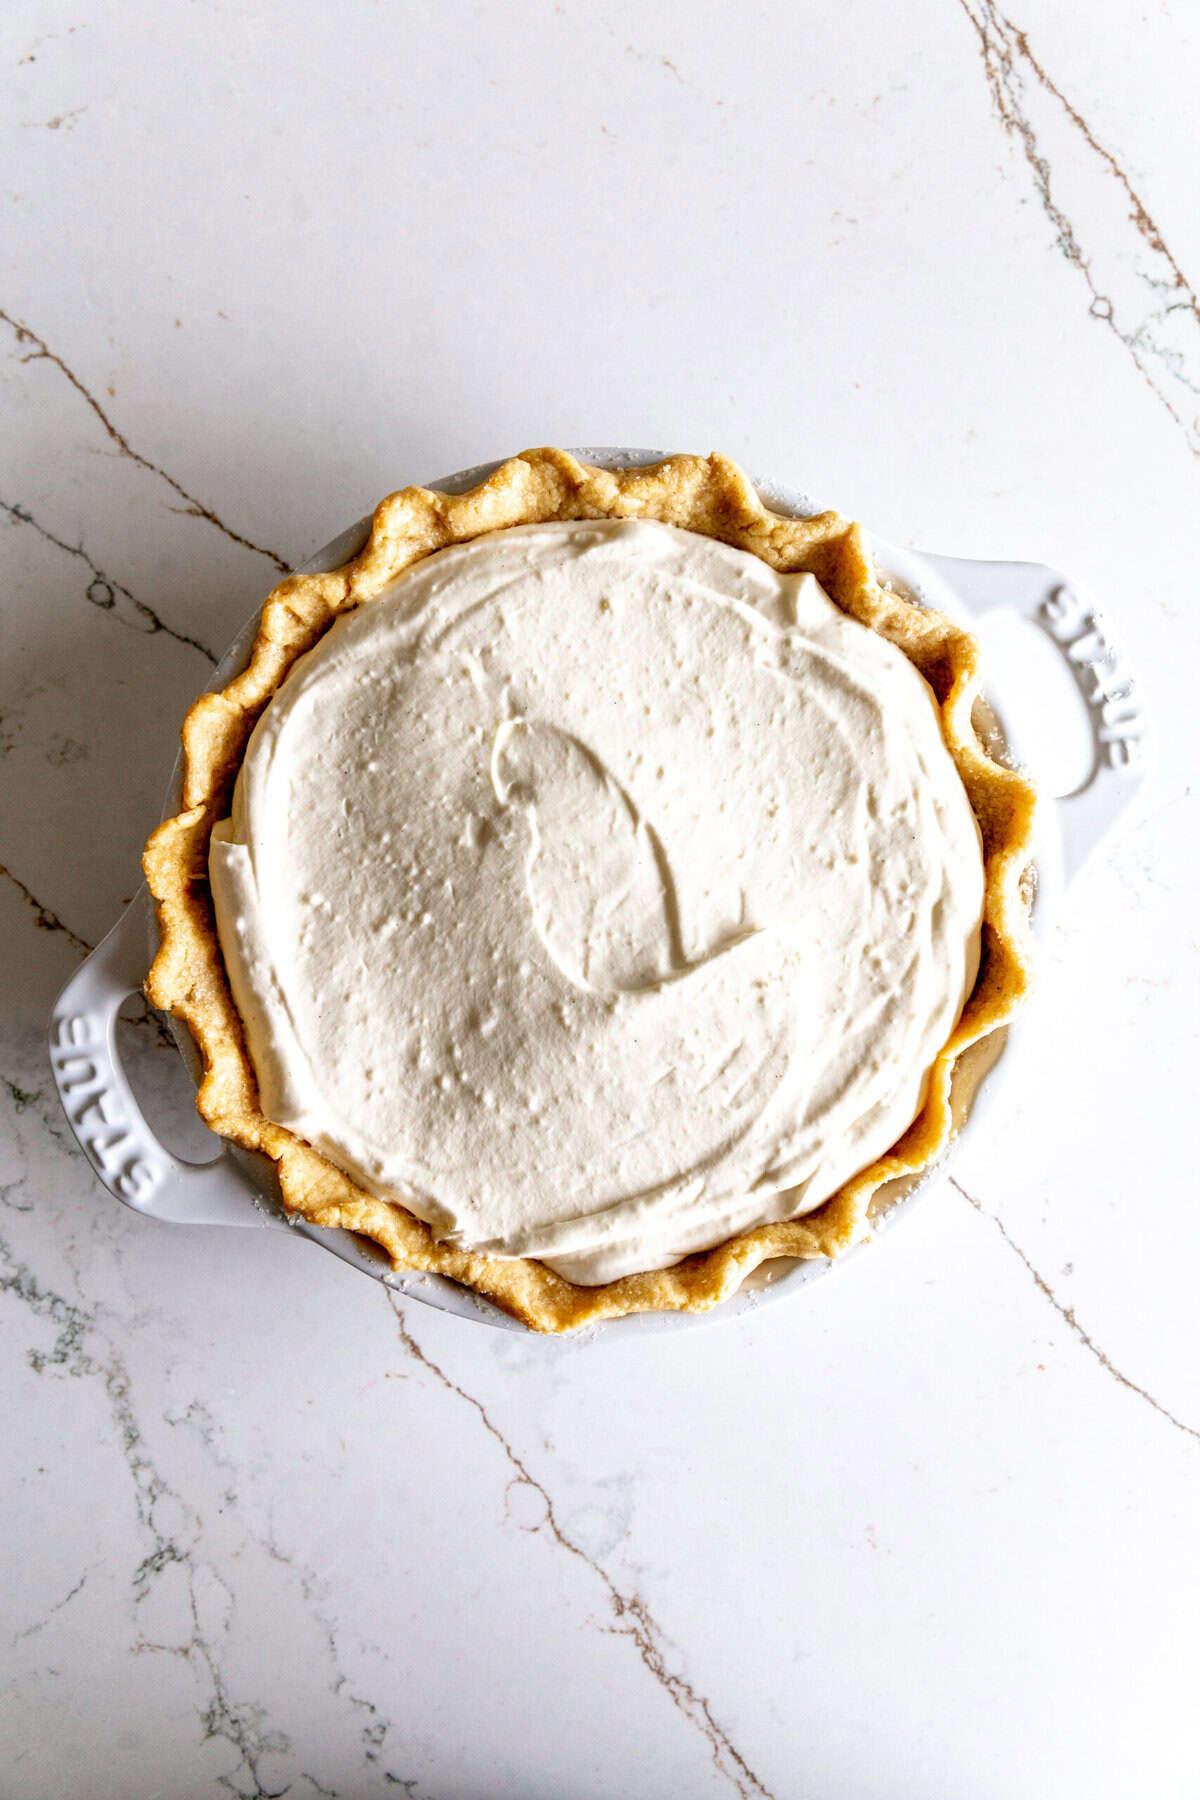
Cover bottom of pie crust completely with banana slices. Pour the prepared filling over the banana slices, filling the baked pie shell. Smooth out the top and place in the refrigerator to set for at least 4 hours.
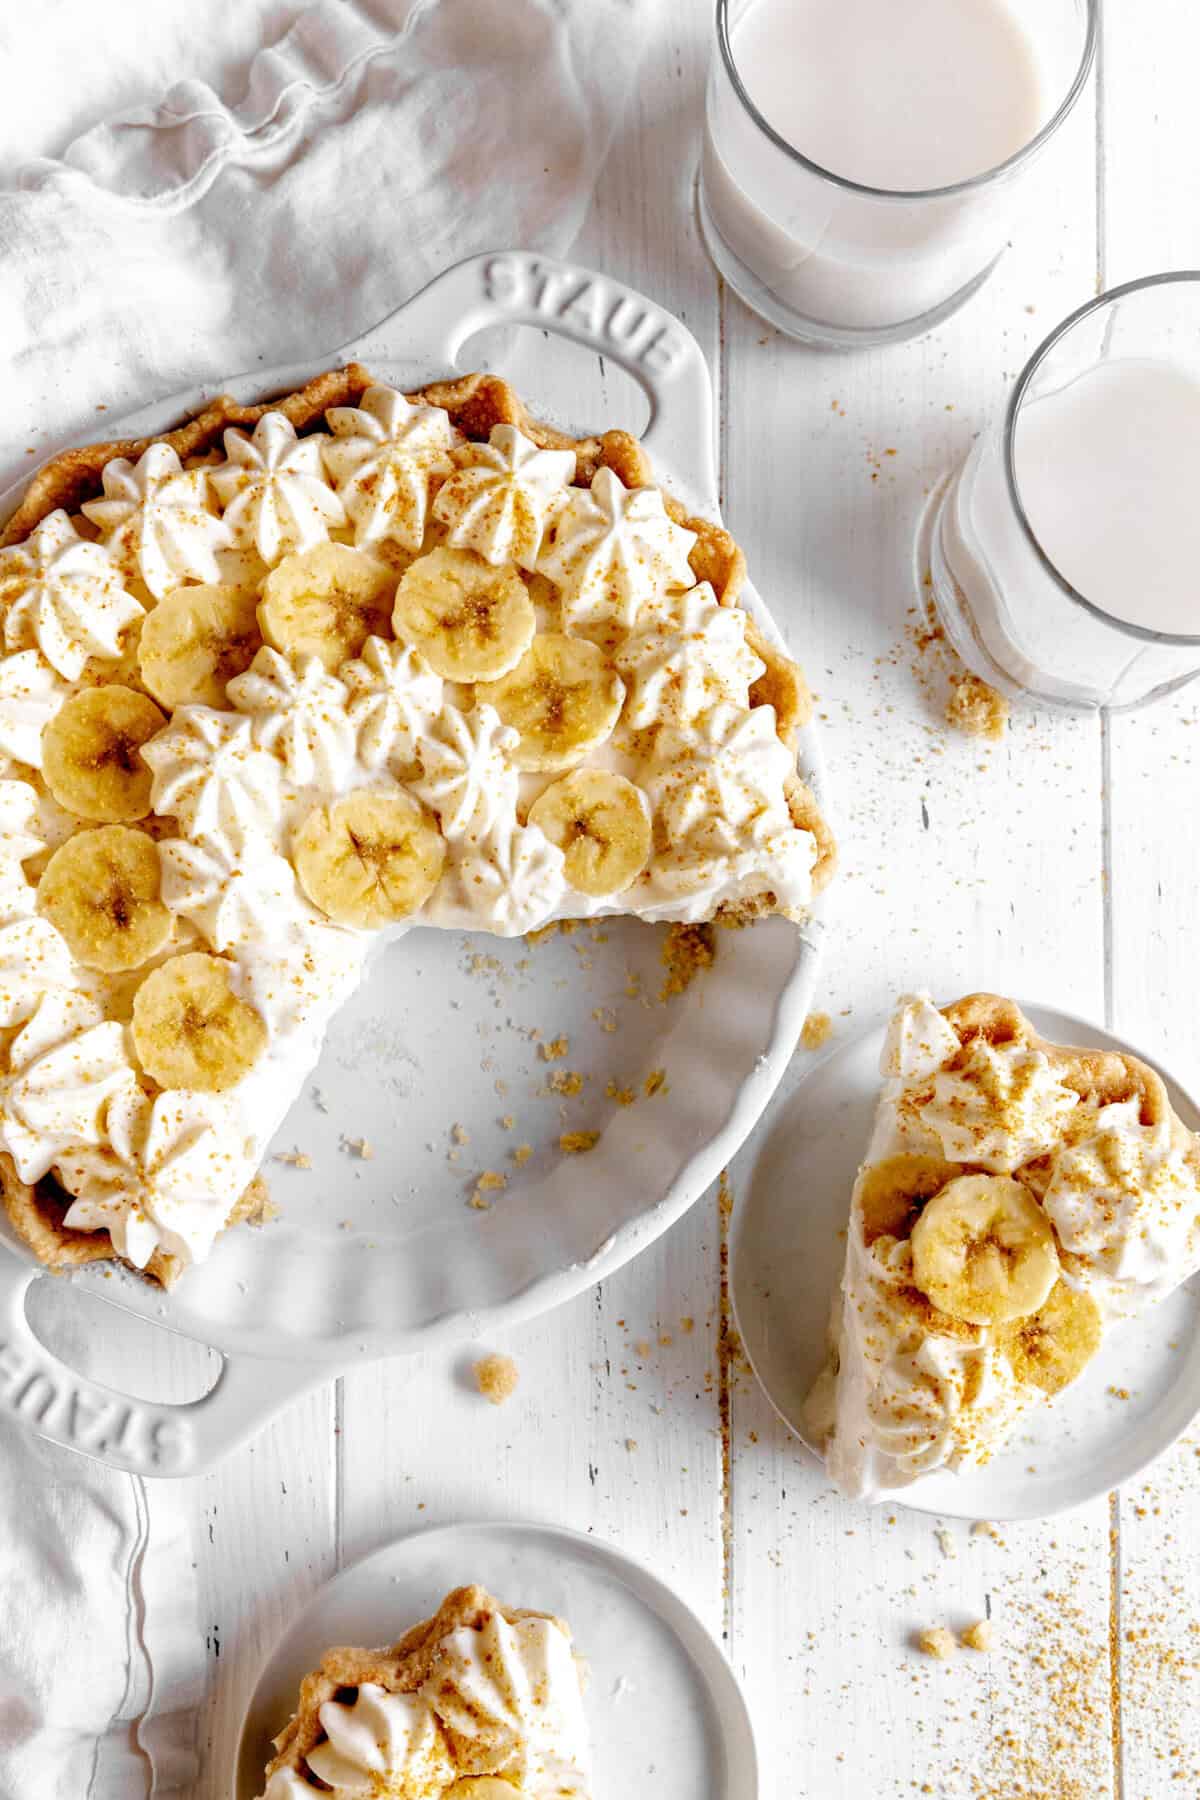
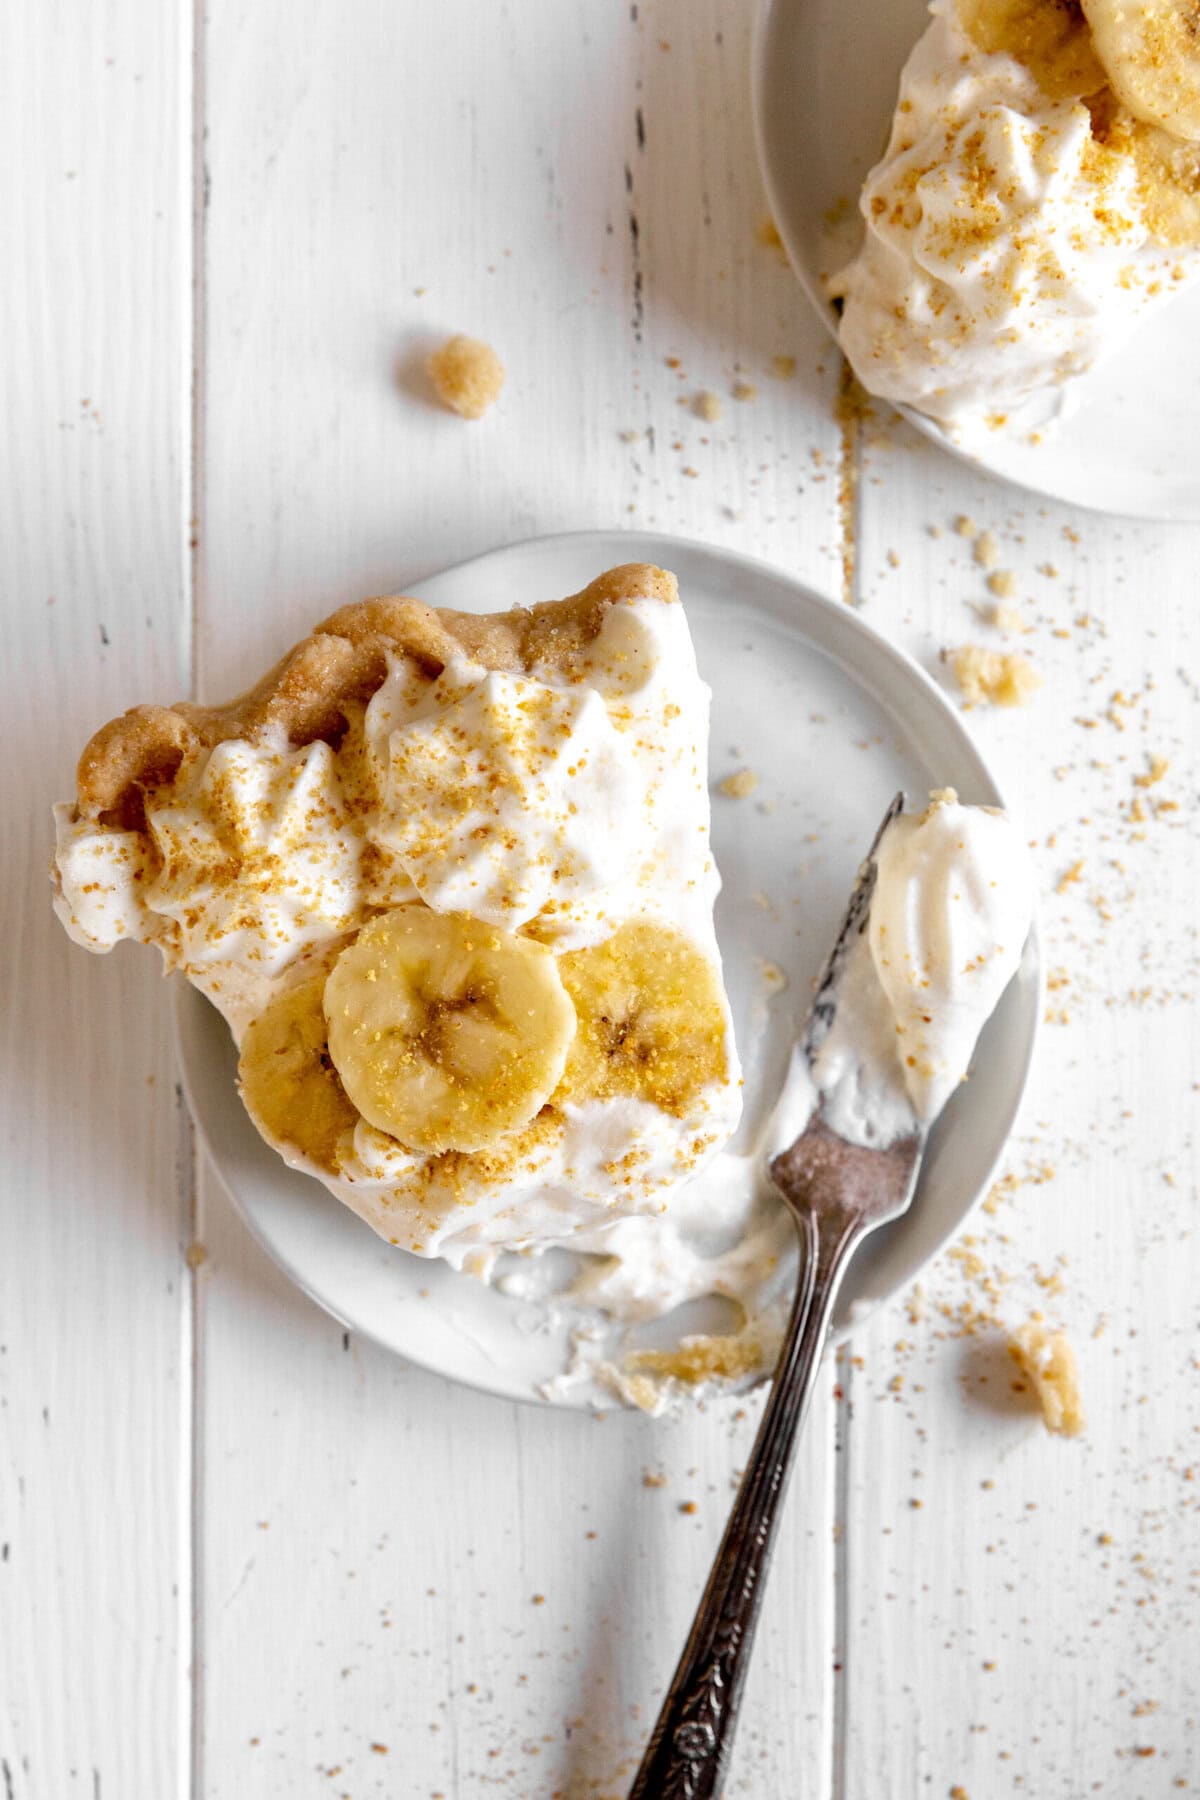
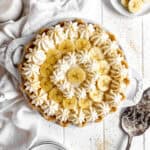
Once set, decorate the top of the pie with leftover whipped cream and banana slices. Chill until ready to serve.
Tips & Tricks
Here are some helpful tips for making the best Vegan Banana Cream Pie, including a handy get ahead suggestion:
- Use Ripe (Not Overripe) Bananas: Choose bananas that are yellow with a few brown spots-sweet and flavorful, but firm enough to hold their shape.
- Whisk Constantly When Cooking the Pudding: To avoid lumps and ensure a silky texture, keep whisking as the mixture thickens.
- Use Vanilla Bean Paste for Richer Flavor: If you have it, vanilla bean paste adds a deeper, more luxurious flavor and those lovely specks throughout the filling.
- Allow for Proper Cooling: Ensure your par-baked pie crust is completely cool before adding the filling. Filling too early will lead to a soggy bottom.
- Layer Bananas Just Before Serving (Optional): For the freshest look and flavor, you can add a layer of freshly sliced bananas right before topping with whipped cream.
- Chill the Pie Thoroughly Before Slicing: Refrigerate for at least 4-6 hours, or ideally overnight, to allow the filling to set fully.
- Get Ahead: Make the pudding and pie crust 1 day in advance. Prepare the pie crust dough, shape it into a disk and wrap it tightly in plastic. Chill in the refrigerator overnight alongside the prepared, covered pudding.
Why Banana Cream Pie Doesn't Have Banana-Flavored Filling
Banana cream pie traditionally doesn't use banana-flavored pudding or custard. Instead, it features a classic vanilla custard that's layered with fresh banana slices. Here's why:
- Flavor Balance: Vanilla custard provides a neutral, creamy base that lets the natural flavor of fresh bananas shine. Artificial banana flavoring can easily overpower the pie or taste too candy-like.
- Texture Matters: Real bananas layered into the pie offer a soft bite and natural sweetness, which you'd lose with a banana-flavored filling alone. They also contrast beautifully with the flaky crust and whipped topping.
- Tradition: Classic banana cream pie has always been made this way-vanilla custard + fresh bananas-for a reason. It gives the most authentic taste and texture without relying on extracts or flavorings.
Bonus Tip
If you do want more banana flavor throughout, you can:
- Mash a ripe banana and stir it into the custard (though this may affect the texture slightly).
- Add a drop or two of natural banana extract for a stronger banana note.
Frequently Asked Questions
Yes! Just make sure it's vegan-many brands offer dairy-free crusts. Bake it fully before adding the filling for best results.
Lightly toss banana slices in lemon juice to slow oxidation. You can also add the banana layer just before serving.
Yes! You can make the crust and filling 1-2 days ahead. Assemble the pie and add whipped topping the day you plan to serve it for the freshest look and texture.
Yes! The cornstarch thickens the pudding beautifully as it cooks and continues to set while chilling-no eggs needed.
Yes, but use it sparingly-start with ⅛ to ¼ teaspoon. A little goes a long way and too much can taste artificial.

Why is my banana cream pie filling runny?
If your banana cream pie filling is runny, here are the most common reasons why-and how to fix or avoid them next time:
- The Pudding Wasn't Cooked Long Enough: Cornstarch needs to be cooked thoroughly to activate its thickening power. If you remove the pudding from the heat too soon, it may look thick while hot but will stay runny once cooled.
- Not Enough Cornstarch Was Used: Even a slightly incorrect measurement can affect the consistency. Use a level ¼ cup (4 tablespoons) of cornstarch for the amount of liquid in most vegan custards.
- Thin Nondairy Milk: Using a very watery plant milk (like rice milk or low-fat almond milk) can result in a looser pudding. Use a creamier plant milk like soy, oat, or barista-style almond milk.
- Not Chilled Long Enough: The pudding needs time to set in the fridge. Chill the assembled pie for at least 4-6 hours, or preferably overnight.
- Too Much Liquid (Bananas or Add-Ins): If mashed bananas were added or overly juicy fruit, they may thin the filling. Stick to sliced bananas, and layer them over the pudding rather than mixing them in.
Storage
Here's how to properly store vegan banana cream pie to keep it fresh and delicious:
Refrigerator Storage
- Store covered with plastic wrap, foil, or in an airtight container.
- Keep refrigerated for up to 3-4 days.
- For best results, add the whipped topping and banana slices just before serving to prevent them from softening or browning.
Can You Freeze Banana Cream Pie?
Technically yes, but it's not recommended:
- The custard can become watery or grainy after thawing.
- Bananas may turn mushy and brown.
- Whipped topping often loses its texture when frozen and defrosted.
If you must freeze it:
- Freeze before adding bananas or whipped cream.
- Wrap tightly in plastic wrap and foil.
- Thaw in the refrigerator overnight before serving.
- Add fresh toppings just before serving.
Please remember if you make this recipe to snap a pic and share with @censoredbaker on instagram!
PrintVegan Banana Cream Pie
Totally dreamy, vegan banana cream pie - flaky, buttery crust filled with vanilla-whipped cream pudding and loaded with banana slices.
- Prep Time: 1 hour
- Chill Time: 4 hours
- Cook Time: 30 minutes
- Total Time: 6 hours
- Yield: 1 9-inch Pie 1x
- Category: Pies and Pastries
- Method: Bake
- Cuisine: American
- Diet: Vegan
Ingredients
For the Crust
For the Filling
1 ¾ cups nondairy milk, divided
¼ cup cornstarch
½ cup granulated sugar
⅛ teaspoon salt
1 teaspoon vanilla bean paste or vanilla extract
For the Whipped Cream
1 cup nondairy heavy cream*
¼ cup powdered sugar
½ teaspoon vanilla extract
3 bananas, sliced
Instructions
- Piecrust: Prepare the single pie crust dough as directed. Shape into a disk, wrap tightly in plastic and place in the fridge to chill for 2 hours or overnight.
- Pie Filling: Add ¼ cup nondairy milk and cornstarch to a small bowl and stir together until there are no lumps remaining. Set aside but keep handy. To make your pie filling, add remaining nondairy milk, sugar and salt to a small saucepan. Heat on stove over medium until mixture is boiling. Reduce heat to a simmer and slowly pour in cornstarch mixture, whisking continuously. Continue to heat, whisking frequently until mixture reaches the consistency of a thick pudding. This should take 8-10 minutes. Remove from heat and whisk in the vanilla.
- Chill: Allow filling to cool in the saucepan for about 10 minutes before transferring to a different bowl. Cover with plastic wrap (plastic wrap should touch filling so a "skin" doesn't develop during chilling) and set in the fridge to chill for at least 2 hours.
- Whipped Cream: Pour your nondairy heavy cream into a large bowl. Add powdered sugar and vanilla and beat with an electric hand mixer for 2-3 minutes or until stiff peaks form. Cover bowl and set in fridge to chill with the filling.
- Par Bake Piecrust: Preheat oven to 350 degrees F (175 C) and locate a 9 inch pie pan. Remove dough from fridge and turn out onto a floured surface. Roll out the dough into an 11-12 inch circle. Transfer dough to pie pan and fold under the edges. Crimp them with a fork or using your hands. Poke the bottom and sides of the crust with a fork several times to allow ventilation. Place prepared piecrust in the freezer for 15 minutes. Remove crust from freezer and lay a sheet of parchment paper into the shell. Fill shell with ceramic pie weights*, taking care to push them all the way to the perimeter of the piecrust so they fill the shell evenly. This will prevent the crust from shrinking into your pan. Lightly brush the edges with nondairy milk and sprinkle with coarse sugar. Bake in preheated oven for 15 minutes then remove from oven. Remove pie weights and parchment from pie crust and wrap the crimped edge of your crust in tin foil. Place in the oven and bake for another 15 minutes or until golden. Remove from oven and let cool completely.
- Set Pie: After pie filling has chilled for 2 hours, remove from fridge and whisk until smooth. Add about two-thirds of the whipped cream to the pie filling, reserving the remaining one-third for garnish. Whisk together vigorously until filling comes together and no lumps remain. Line the bottom of your prepared pie crust with 1 banana's worth of slices. Pour filling evenly over the top and smooth with a rubber spatula. Cover pie and place in fridge to set 4 hours or overnight.
- Assemble: Once pie is set, top with remaining whipped cream and decorate with remaining banana slices. I like to pipe on the whipped cream using a piping bag and decorative piping tip. Chill pie until ready to serve.
Notes
*Pie will keep covered in the fridge for 3-4 days. Do not freeze!
*I prefer to make my piecrust in a food processor. It's easier to keep the ingredients cold as you are handling them less. If you would like to go this route, combine all crust ingredients in a food processor using the dough blade and pulse until dough ball comes together. Wrap in plastic and set in the fridge.
*When you are adding the cornstarch mixture to your filling be sure you are whisking! If you dump it in and then whisk, your filling will be riddled with cornstarch lumps.
*Dairy-free heavy cream can typically be found near the coffee creamers and traditional heavy creams. I like Country Crock and Trader Joe's brand.
Recipe adapted from Old Fashioned Banana Cream Pie by Lennie.
More banana dessert recipes:
- Vegan Banana Chocolate Chip Cookies
- Vegan Peanut Butter Banana Cupcakes
- Vegan Banana Bread
- Vegan Banana Cobbler


Leave a Reply